Get ready for a delicious chocolate indulgence! Make your own luxurious homemade chocolate ice cream with cocoa powder and semisweet chocolate for a rich flavor. Combine heavy cream and sugar to achieve the perfect level of sweetness. Use your ice cream maker and saucepan to create a smooth custard. Chill it properly for the best taste, then freeze until firm. Add whipped cream, nuts, or fruit for an extra special touch. Curious about storage and different variations? Continue exploring for helpful tips and techniques to elevate your chocolate ice cream experience!
Key Takeaways
- Use high-quality cocoa powder and semisweet chocolate for rich flavor.
- Chill custard for at least 6 hours before churning for creaminess.
- Top with whipped cream, nuts, or fruit for added richness.
- Experiment with mix-ins like chocolate chunks for texture and flavor.
- Properly seal airtight containers to maintain freshness for up to two weeks.
Ingredients and Substitutions
If you don't have heavy cream on hand, you can opt for whole milk or half and half as substitutes while maintaining a creamy texture in your homemade chocolate ice cream.
Heavy cream is typically recommended for an ultra-creamy texture, but whole milk or half and half can still provide a satisfying richness.
Cocoa powder is essential for achieving a rich and intense dark chocolate flavor in your ice cream. To add depth and richness, consider using semisweet chocolate, which contains around 60% cocoa.
When it comes to sweetness, granulated sugar is a must-have ingredient that doesn't have a direct replacement in this situation. It's pivotal for balancing the flavors and achieving the desired level of sweetness in your chocolate ice cream.
Equipment Needed

To prepare homemade chocolate ice cream, make sure you have the necessary equipment at hand. An ice cream maker, such as a Cuisinart, is essential for churning the creamy chocolate mixture to the perfect consistency.
You'll also need a saucepan for heating and mixing the ingredients together until they're smooth. A fine mesh metal strainer comes in handy for straining the chocolate custard to achieve a silky texture free of any lumps.
When it comes to mixing everything thoroughly, a wire whisk is a useful tool to have. Ultimately, a batter bowl with a lid is recommended for storing the chilled custard before transferring it to the ice cream maker for churning.
With these essential pieces of equipment in your kitchen, you're all set to create a batch of rich and creamy homemade chocolate ice cream that will surely delight your taste buds.
Preparation Steps

Now it's time to move on to the preparation steps.
First, you'll need to chill and temper the chocolate base before freezing it.
After that, you'll be ready to freeze the mixture in an ice cream maker and enjoy the rich, creamy result.
Chilling and Tempering
Chill the chocolate ice cream custard in the refrigerator for at least 6 hours to improve its texture and flavor. Proper chilling allows the flavors to meld, resulting in a rich and creamy ice cream. Tempering the egg yolks is vital for achieving a smooth and creamy consistency in the final product. When you temper the egg yolks in the custard mixture, they blend seamlessly, enhancing the overall texture of the ice cream. The interplay between chilling and tempering is crucial to guarantee a delicious homemade chocolate ice cream.
Below is a table summarizing the key points for chilling and tempering in making chocolate ice cream:
| Key Points | Importance | Result |
|---|---|---|
| Proper chilling | Improves flavor and texture | Rich and creamy ice cream |
| Tempering egg yolks | Creates creamy consistency | Smooth texture |
| Flavors melding | Development of rich taste | Creamy final product |
Freezing and Serving
For best consistency and taste, make sure the chocolate ice cream custard is thoroughly chilled before churning. Once the custard has been chilled in the refrigerator for at least 6 hours, it's time to start the churning process.
Churn the ice cream in an ice cream maker until it reaches a thick and frozen consistency, typically taking around 30-40 minutes.
After the churning is complete, transfer the thick and frozen chocolate ice cream into an airtight container. It's essential to freeze the ice cream for at least 6 hours to achieve ideal texture before serving.
When ready to serve, scoop the creamy chocolate ice cream onto cones, in a dish, or top it with your favorite toppings for added taste and texture.
Remember to properly store any leftover homemade chocolate ice cream in an airtight container in the freezer to keep it fresh for up to two weeks.
Enjoy your delicious homemade treat whenever you crave a cold and creamy dessert!
Chilling, Churning, and Freezing

To enhance the flavors and texture of your homemade chocolate ice cream, make sure the custard with vanilla is chilled for a minimum of 6 hours before churning.
Once the custard is properly chilled, it's time to churn the mixture in your ice cream maker for about 30-40 minutes until it reaches a thick and frozen consistency.
After churning, transfer the ice cream into an airtight container and place it in the freezer for at least 6 hours to set properly.
To secure your ice cream stays fresh and delicious, ensure to top the container with storage wrap before freezing. This extra step helps prevent freezer burn and maintains the quality of your homemade treat.
Serving Suggestions

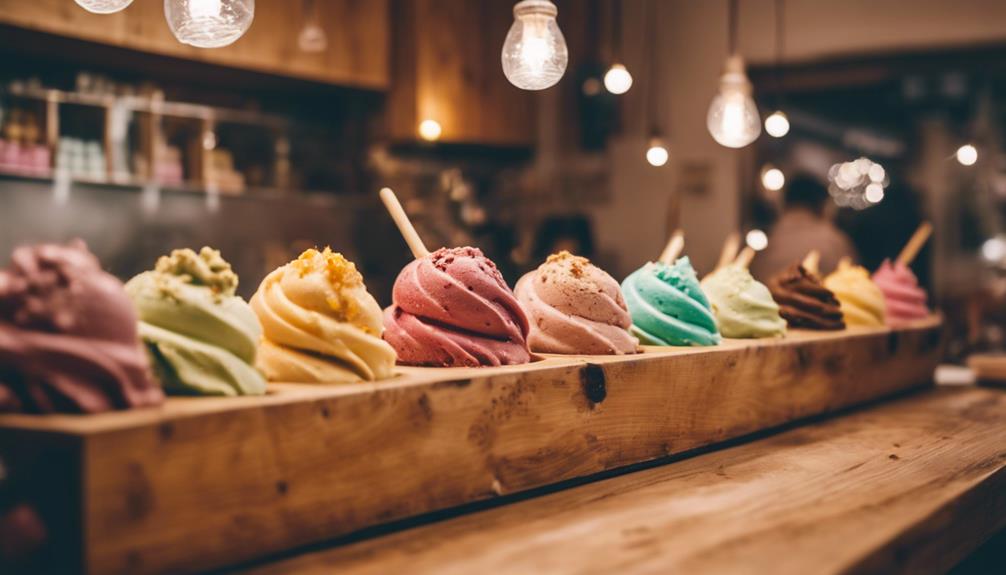
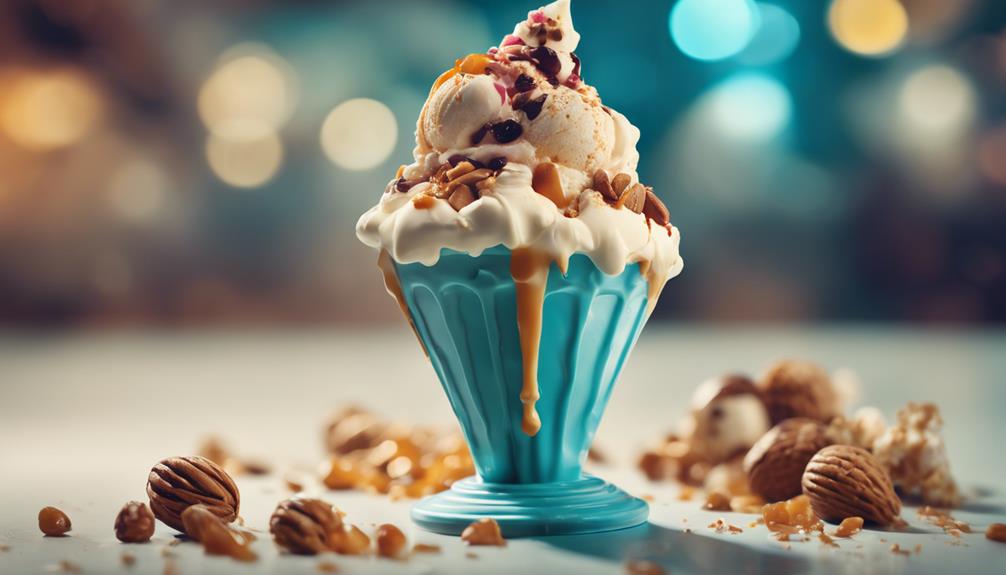
Enhancing your homemade chocolate ice cream with a variety of toppings and serving it in creative vessels can elevate your dessert experience to new levels of delight. Add a dollop of whipped cream on top, drizzle some decadent chocolate sauce, and sprinkle some nuts or colorful sprinkles for extra texture and flavor.
Fresh fruit like strawberries or raspberries can bring an invigorating contrast to the rich chocolate taste.
For a more indulgent treat, create a sundae with layers of chocolate ice cream, a generous swirl of fudge, and your favorite toppings piled high. Pair your ice cream with warm brownies, cookies, or crisp waffles for a delightful dessert combination that satisfies all cravings.
Experiment with serving your chocolate ice cream in unique vessels like mason jars, waffle bowls, or even edible cookie cups for a fun and whimsical presentation that will impress your guests.
How Long Chocolate Ice Cream Lasts

When storing your homemade chocolate ice cream, remember it can last up to two weeks in the freezer if kept in an airtight container.
To prevent freezer burn, always cover the ice cream container with storage wrap before freezing.
Make sure to seal the container tightly to maintain the ice cream's texture and flavor for an extended period.
Storage Duration Guidelines
For optimal freshness, store your homemade chocolate ice cream in an airtight container in the freezer for up to two weeks. Proper storage is crucial to preserving the quality and flavor of your delightful treat. By sealing the container securely, you can prevent ice crystals from forming and maintain the creamy texture of the ice cream.
To help you gauge how long your chocolate ice cream will last in the freezer, refer to the table below:
| Storage Duration | Guidelines |
|---|---|
| Up to two weeks | Place in hermetically sealed container in the freezer |
| Prevent ice crystals | Secure the container tightly to uphold texture |
| Quality maintenance | Proper storage guarantees fresh and tasty ice cream |
Adhering to these storage guidelines will safeguard that your homemade chocolate ice cream remains at its peak for the recommended two-week period. Indulge in your velvety and decadent dessert worry-free, knowing that its flavor remains uncompromised!
Preventing Freezer Burn
To uphold the quality and freshness of your homemade chocolate ice cream in the freezer, make sure it's stored in an airtight container to prevent freezer burn.
When you store your ice cream in an airtight container, you create a barrier that helps protect it from developing freezer burn. Freezer burn can impact the texture and flavor of your delicious treat, so it's important to take this precaution.
By ensuring your homemade chocolate ice cream is properly sealed in an airtight container, you maintain its rich and creamy texture while preserving its decadent chocolate flavor.
Freezer burn occurs when ice crystals form on the surface of the ice cream, leading to a deterioration in taste and quality. By storing your homemade chocolate ice cream in an airtight container and sealing it correctly, you can extend its shelf life in the freezer for up to two weeks without compromising its deliciousness.
Proper Container Sealing
Properly sealing your homemade chocolate ice cream in an airtight container is essential for maintaining its freshness and quality in the freezer.
When considering how long your chocolate ice cream will last, here are some vital points to keep in mind:
- Duration in Freezer: Chocolate ice cream can last up to two weeks in the freezer when stored in an airtight container.
- Preventing Freezer Burn: To prevent freezer burn, make sure to top the ice cream container with storage wrap before sealing it tightly.
- Preserving Texture and Flavor: Properly sealed containers help maintain the ice cream's texture and flavor, ensuring that each scoop tastes as delicious as the first one.
Community Tips and Praise

Receiving rave reviews from users, this chocolate ice cream recipe is hailed as the easiest, richest, and creamiest homemade treat. Community members can't get enough of the creamy texture and rich chocolate flavor this homemade ice cream offers.
With simple ingredients and easy-to-follow steps, many users agree that it's the best chocolate ice cream they've ever made. Reviewers praise the deep chocolate taste and luxurious mouthfeel, describing it as the richest and smoothest homemade treat they've encountered.
One user shared that this chocolate ice cream recipe has become their go-to for creating a decadent and creamy dessert. The feedback consistently points out the perfect consistency and flavor of this homemade chocolate ice cream.
Community tips include suggestions on enhancing the recipe with mix-ins like chocolate chunks or nuts for added texture and flavor. Overall, users appreciate the simplicity of the recipe and the delicious results it delivers, making it a favorite among homemade ice cream enthusiasts.
Privacy Policy

You can manage your privacy choices within the privacy policy settings, which covers the measurement of advertising and content performance. When enjoying homemade chocolate ice cream, it's crucial to comprehend how your data is handled.
Here are some key points to keep in mind:
- Personalized Advertising: Data is processed to customize advertisements and content specifically to your preferences, enhancing your overall experience.
- Device Storage: Information may be stored on your devices to deliver targeted ads in accordance with the privacy policy guidelines.
- Partner Access: Trusted partners may access data to enhance services, ensuring that your interactions with the homemade chocolate ice cream recipe remain smooth and enjoyable.
Understanding and following the privacy policy guarantees that you can relish the rich, creamy goodness of homemade chocolate ice cream without any worries about your data privacy.
Recipe Variations

For a more indulgent chocolate ice cream experience, consider experimenting with various recipe variations to elevate the flavor and texture.
Add instant coffee or espresso powder to achieve a richer flavor profile in your homemade ice cream.
Get creative with toppings like caramel, nuts, marshmallows, or dried fruit to enhance both taste and texture.
Mix things up by using different types of milk such as almond or oat milk to create unique variations of your chocolate ice cream base.
Incorporate exciting mix-ins like chocolate chips, cookie crumbles, or fruit pieces for diverse flavor combinations in every scoop.
Elevate the complexity of your ice cream by adding ingredients like sea salt, chili powder, or mint extract to create truly distinct and delightful chocolate ice cream variations.
Frequently Asked Questions
What Is the Secret to Making Ice Cream Very Creamy?
To make ice cream very creamy, you must use a custard-based recipe with egg yolks for a rich texture. Incorporate full-fat dairy like heavy cream and chill the custard properly before churning. Tempering yolks and cooking to the right temperature are essential steps.
How Do You Keep Homemade Ice Cream Creamy?
To keep homemade ice cream creamy, chill the custard thoroughly before churning. Avoid over-churning, use full-fat dairy like heavy cream, and add a stabilizer like corn syrup or vodka. Store in an airtight container to prevent freezer burn.
What Makes Ice Cream Thick and Creamy?
To make ice cream thick and creamy, you need emulsifiers like egg yolks for texture, full-fat dairy for richness, proper chilling for consistency, cooking at 175°F for creaminess, and careful churning to prevent iciness. Follow these steps for dreamy homemade treats!
How Do You Increase Creaminess in Ice Cream?
To increase creaminess in ice cream, use high-fat dairy like heavy cream. Incorporate egg yolks for richness. Opt for a custard base. Properly churn the ice cream for a smoother texture. Adding melted chocolate enhances richness.
What makes Homemade Chocolate Ice Cream better than store-bought options?
Homemade chocolate ice cream offers a level of control and customization that great value ice cream choices from the store simply can’t match. With the ability to choose high-quality ingredients and tailor the sweetness and richness to your preference, homemade chocolate ice cream is undeniably superior.
Can I Use Hershey’s Banana Pudding Ice Cream in Homemade Chocolate Ice Cream Recipes?
Yes, you can absolutely use hershey’s banana pudding ice cream in homemade chocolate ice cream recipes. The creamy texture and delicious banana flavor of Hershey’s Banana Pudding Ice Cream can add a unique twist to your traditional chocolate ice cream recipe, giving it a delectable and unexpected flavor.
Conclusion
Indulge in the decadent delight of homemade chocolate ice cream, perfect for satisfying your sweet tooth cravings.
Treat yourself to a creamy and rich dessert that will have you coming back for more.
So go ahead, whip up a batch of this delicious treat and enjoy every spoonful of pure bliss.