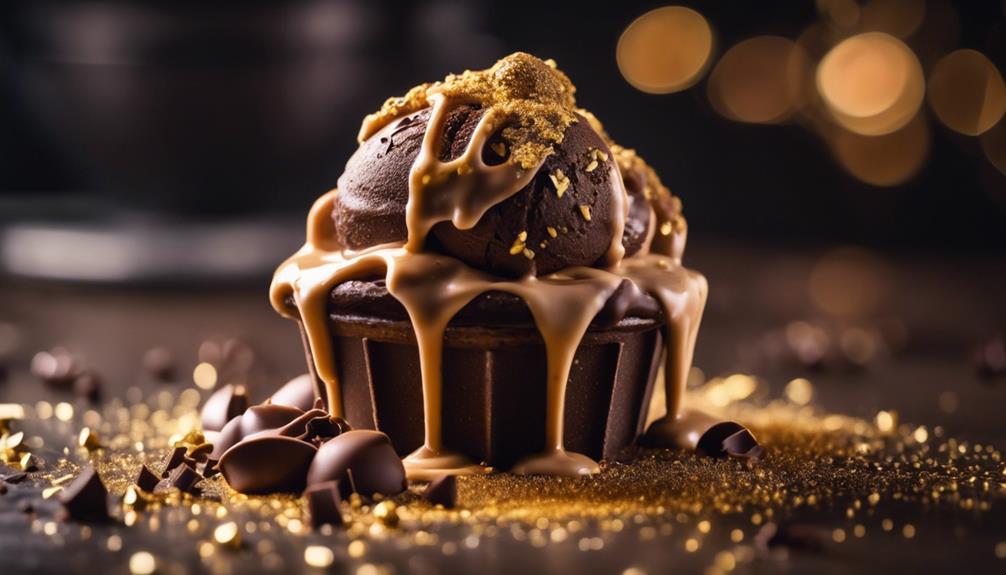
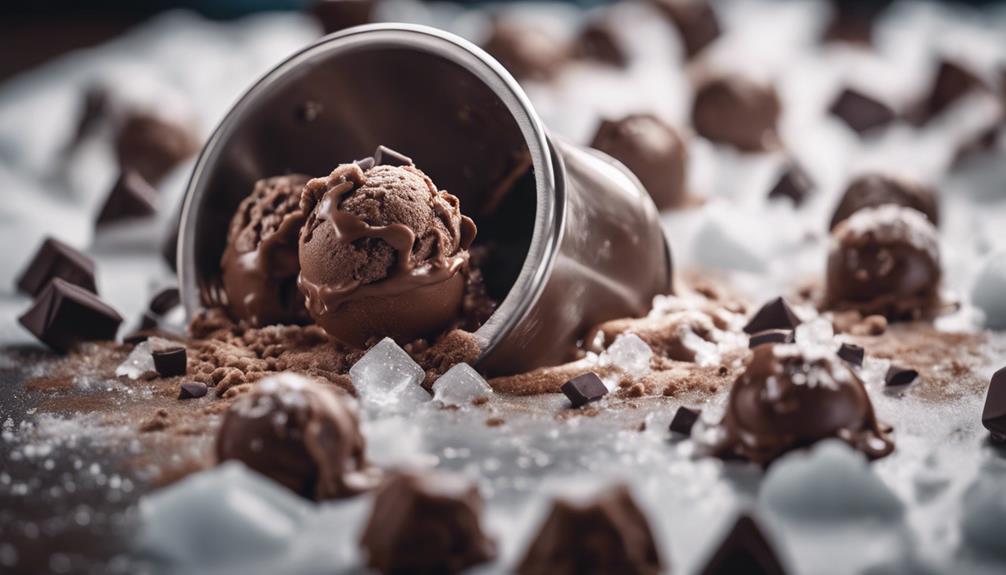
Get ready for the most indulgent and decadent chocolate ice cream experience of your life, with a smooth and rich flavor that will have you coming back for more. To begin, gather high-quality dark chocolate, heavy cream, sugar, milk, and vanilla extract. Start by combining cocoa powder, sugar, cream, and milk for a luxurious texture, then add chopped dark chocolate and strain the mixture for a velvety consistency. Now it’s time to temper egg yolks, combine with warm milk, and chill the mixture before churning into a deliciously creamy treat. And this is just the start of your chocolate journey…
Key Takeaways
- High-quality dark chocolate, heavy cream, sugar, milk, and vanilla extract are essential ingredients for a rich and show-stopping flavor.
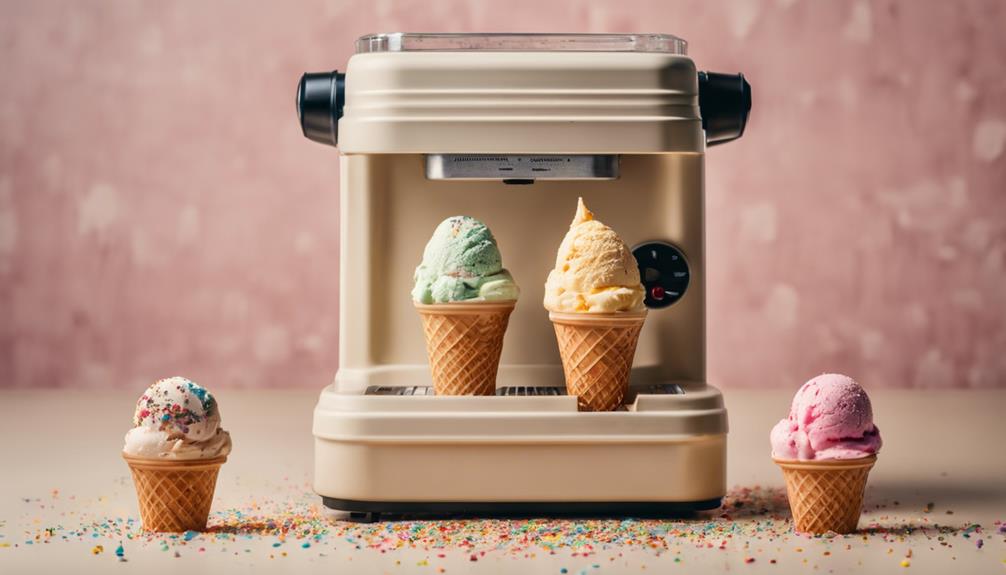
- Use an ice cream maker to churn the mixture into a creamy delight with an airy texture.
- Properly tempering egg yolks, maintaining a correct cream to milk ratio, straining custard, and cooling the base before churning ensures a smooth texture.
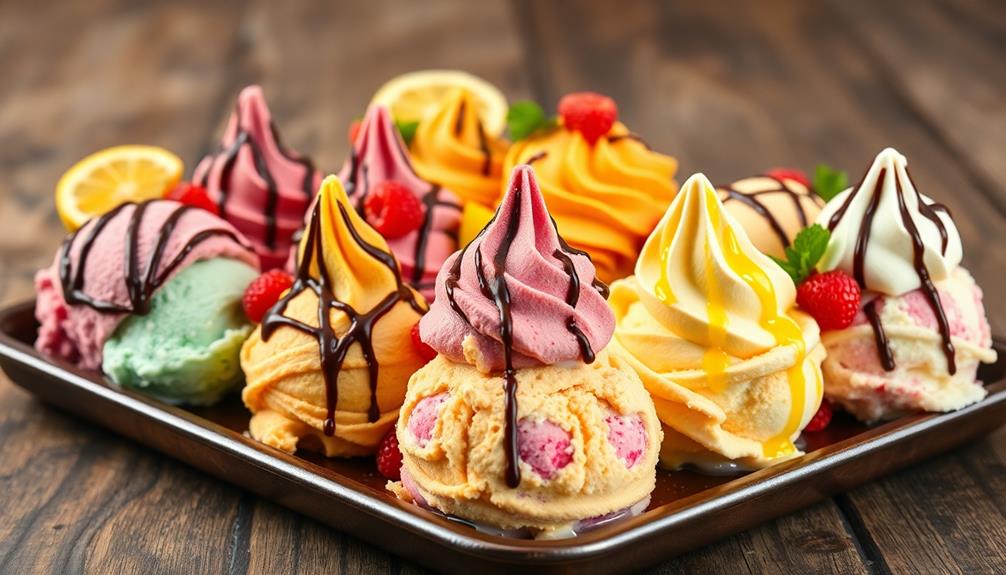
- Experiment with various toppings and mix-ins, such as nuts, caramel, fudge, or different chocolate types, for unique flavor profiles.
- Store ice cream in an airtight container and consume within 1-2 months for the best taste and texture.

Rainbow Sprinkles for Cake Decorating, 4.6Oz Pastel Jimmies and Pearls Sprinkles Mix for Donut Cookie Baking Brownies Cupcake Ice Cream Toppings
Vibrant Rainbow Sprinkle Mix: Add a burst of color to your baked goods with our delightful blend of...
As an affiliate, we earn on qualifying purchases.
Chocolate Ice Cream Essentials
To craft the perfect chocolate ice cream, you'll need a few essential ingredients and a solid understanding of their roles in achieving a rich, creamy, and balanced flavor profile.
For a truly decadent chocolate ice cream recipe, you can't skimp on the quality of your chocolate. Look for high-quality dark chocolate to add depth and complexity to your ice cream.
You'll also need heavy cream to create a luxurious and creamy texture. Don't forget to balance out the richness with sugar, milk, and a hint of vanilla extract. These ingredients work together in harmony to create a truly show-stopping chocolate ice cream.
When it comes to the best chocolate ice cream recipe, every ingredient counts. By using the right combination of rich, creamy, and sweet elements, you'll be well on your way to creating a truly unforgettable dessert.
With these essentials in place, you can experiment with different toppings and mix-ins to take your chocolate ice cream to the next level.

Rainbow Dot Sprinkles for Cake Decorating, 8Oz 4-Cell Edible Sugar Sprinkles Mix with Nonpareil, Jimmies, Star Shapes & Confetti Circles for Cookies Cake Ice Cream Cupcakes Brownie Baking Topping
Complete 4-in-1 Jar Rainbow Sprinkles Kit: This set includes four dedicated compartments with matching lids, each filled with...
As an affiliate, we earn on qualifying purchases.
Equipment and Tools Needed
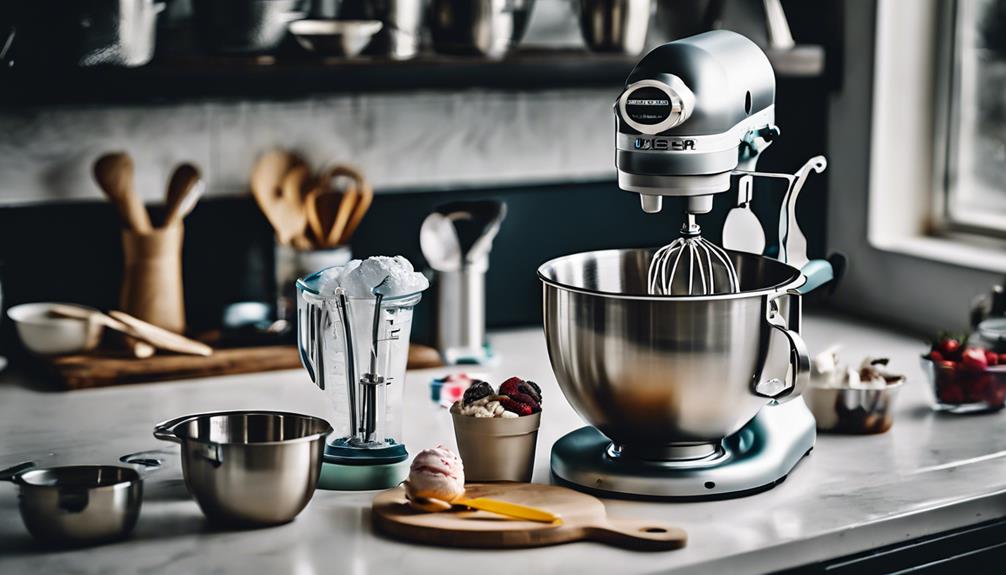
You'll need a few specialized tools to bring your chocolate ice cream recipe to life, including an ice cream maker, a saucepan, and a few other essentials.
A Cuisinart ice cream maker is a great investment for achieving that perfect creamy texture.
For heating and mixing your chocolate base, a saucepan is a must-have.
When it comes to ensuring a smooth and lump-free mixture, a fine mesh metal strainer is your best friend.
You'll also appreciate having a wire whisk on hand to combine ingredients and create a uniform consistency in your ice cream mixture.
Finally, a batter bowl with a lid is convenient for storing your chilled ice cream mixture before churning it in the ice cream maker.
With these tools in your arsenal, you'll be well-equipped to create the creamiest, most decadent chocolate ice cream of your dreams.

Watkins Rainbow Decorating Sprinkles, No Artificial Dyes, Kosher, 3.4 Ounce Jar, 1-Pack
Add a splash of color to cupcakes, cookies, cakes and more! Favorite of both adults and kids
As an affiliate, we earn on qualifying purchases.
Crafting the Perfect Chocolate Base
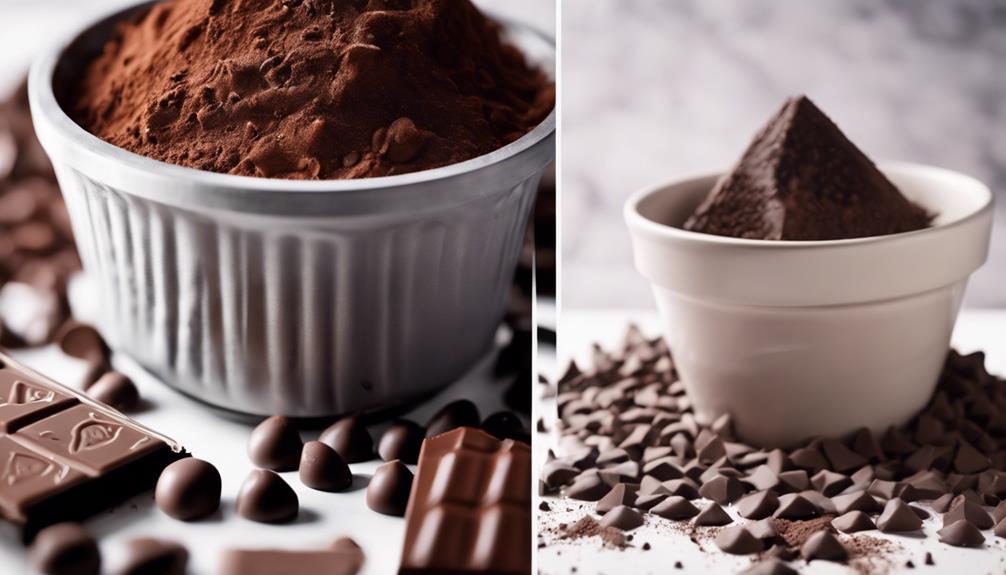
Crafting the perfect chocolate base involves combining rich, velvety ingredients in a harmonious balance that will elevate your ice cream to new heights. You'll start by mixing together cocoa powder, sugar, cream, and milk to create a rich and creamy texture.
But that's not all – incorporating chopped dark chocolate into the base adds depth of flavor and smoothness to the ice cream. To ensure a silky consistency, you'll need to strain the chocolate base mixture to remove any lumps or grittiness. This step is essential in creating a smooth, velvety ice cream.
As you combine the ingredients, you'll start to notice the aroma of chocolate filling the air, teasing your taste buds and building anticipation. With your chocolate base mixture complete, you're one step closer to creating the ultimate chocolate ice cream.

Rainbow Jimmies Sprinkles, Rainbow Sprinkles for Cake Decorating, Edible Sprinkle Mix for Baking, Ice Cream Toppings, Cupcakes, Cookies, Donuts
Vibrant Rainbow Sprinkles for Baking - Add a pop of color to your desserts with our rainbow jimmies!...
As an affiliate, we earn on qualifying purchases.
Tempering and Mixing the Custard
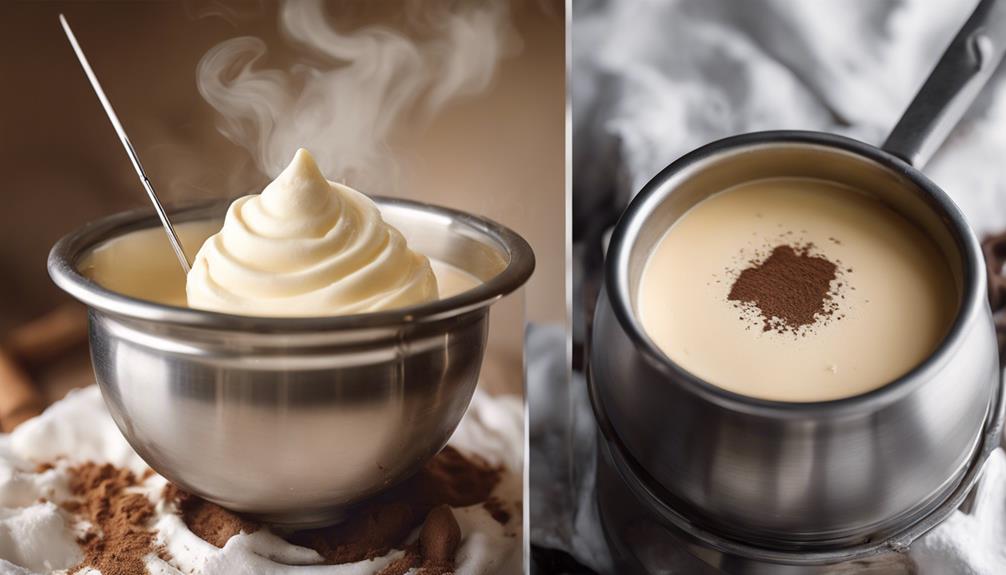
As you move on to tempering and mixing the custard, you'll need to focus on two critical steps: tempering egg yolks and mixing warm milk.
You'll slowly add hot liquid to the eggs to raise their temperature without scrambling them, and then combine the tempered eggs with warm milk, sugar, and salt.
Tempering Egg Yolks
To prevent curdling, slowly pour the hot chocolate mixture into the egg yolks, whisking constantly to temper them evenly. This vital step raises the egg yolks' temperature gradually, ensuring a smooth custard for your chocolate ice cream. As you whisk, you're preventing scrambled eggs from forming in your creamy treat. Proper tempering is key to creating a stable emulsion in your ice cream base, which is essential for a rich and creamy texture.
When tempering egg yolks, you're not just mixing hot and cold ingredients; you're creating a harmonious blend that will give your custard ice a luxurious feel. By incorporating the hot chocolate mixture slowly, you're allowing the egg yolks to absorb the heat and flavors evenly. This results in a custard that's not only smooth but also packed with intense chocolate flavor.
Mixing Warm Milk
Now that you've successfully tempered your egg yolks, you'll combine them with warm milk, sugar, and salt to create a rich and creamy custard base. This is where the magic happens, and your ice cream starts to take shape.
As you slowly mix the warm milk into the tempered egg yolks, you'll notice the mixture thickening and emulsifying. This is important, as it guarantees that your ice cream will have a smooth, creamy texture.
Chilling and Churning the Mixture
How long do you need to chill the mixture to achieve a creamy, dreamy chocolate ice cream? The answer is at least 6 hours or preferably overnight. Chilling the mixture is essential for developing flavors and achieving a creamy texture. During this time, the flavors meld together, and the mixture becomes smooth and even. Proper chilling also allows the ice cream to freeze evenly and prevents ice crystals from forming.
Once you've chilled the mixture, it's ready for churning in the ice cream maker. This is where the magic happens, and your mixture transforms into a creamy, chocolatey delight. Churning incorporates air into the mixture, giving it a light and airy texture that's simply irresistible.
As you churn, you'll start to see the mixture thicken and take shape. Before you know it, you'll be scooping out a delicious, creamy chocolate ice cream that's sure to please even the most discerning palate. So be patient, let the mixture chill, and then get ready to churn your way to the best chocolate ice cream ever!
Storage and Serving Suggestions

Now that you've churned your chocolate ice cream to perfection, it's time to think about how you'll store and serve it.
You'll want to keep it fresh and creamy, so you'll need to store it properly in a freezer-friendly container.
Freezer Storage Tips
When storing your freshly made chocolate ice cream, place it in an airtight container in the freezer to maintain its freshness and prevent unwanted ice crystals from forming. This is vital for preserving the rich, velvety texture and deep flavor of your homemade chocolate ice cream. Make sure to use freezer-safe ice cream containers that are specifically designed for freezer storage. This will help to maintain the flavor and texture of your ice cream.
For best taste and consistency, it's ideal to consume your stored chocolate ice cream within 1-2 months. After that, the quality may start to decline, and the ice cream may lose its creamy texture.
When you're ready to serve leftovers, allow the ice cream to soften slightly at room temperature. This will help to restore its creamy texture and make it easier to scoop.
Airtight Container Essentials
By selecting the right airtight vessel, you'll be able to safeguard the quality of your homemade chocolate ice cream and keep it fresh for a longer period. This is important because an airtight container prevents freezer burn, maintains the creamy texture, and preserves the rich flavor of your chocolate ice cream.
Here are some essential tips to keep in mind when choosing an airtight vessel for your homemade chocolate ice cream:
- Choose vessels made of glass or plastic with tight-fitting lids to seal in the freshness.
- Ensure the vessel is properly sealed to prevent the ice cream from absorbing odors and flavors from the freezer.
- Select a vessel that's the right size for the amount of ice cream you're storing to minimize air exposure.
- When serving, scoop the desired amount and promptly return the rest to the freezer to maintain its quality.
Serving Suggestions Galore
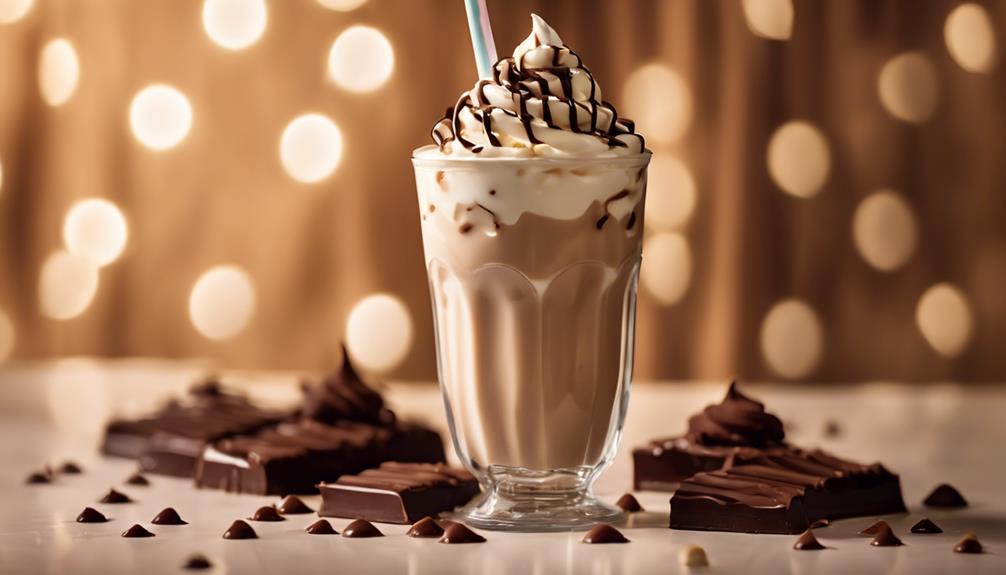
You've perfected your homemade chocolate ice cream, and now it's time to get creative with serving suggestions that will elevate this treat to a whole new level. Imagine serving your rich, creamy chocolate ice cream in cones, dishes, or as part of delicious sundaes with various toppings. You can also create tempting ice cream sandwiches, milkshakes, or use it in ice cream cakes for a decadent treat.
Here are some serving suggestions to get you started:
| Serving Idea | Description |
|---|---|
| Classic Cones | Serve your chocolate ice cream in crisp, crunchy cones for a nostalgic treat. |
| Decadent Sundae | Top your chocolate ice cream with whipped cream, chocolate chips, and a cherry for an indulgent treat. |
| Ice Cream Sandwiches | Use your homemade chocolate ice cream and place it between two cookies or wafers for a cool twist on a classic sandwich. |
| Milkshake Madness | Blend your chocolate ice cream with milk and top with whipped cream and chocolate sprinkles for a luxurious drink. |
Remember to store your leftover ice cream in airtight containers in the freezer for up to 2 months for best freshness. Before serving, allow the ice cream to soften slightly for easier scooping and a creamy texture. Enjoy your delicious homemade chocolate ice cream!
Tips for Achieving Smooth Texture

Five key factors come together to secure a velvety smooth texture in your homemade chocolate ice cream. To achieve this, you'll want to pay close attention to the details. Here's what you need to know:
- Properly tempering egg yolks helps create a smooth and creamy texture in your chocolate ice cream.
- Using the right cream to milk ratio contributes to a rich and velvety mouthfeel.
- Straining the custard mixture before churning removes any lumps or solid particles for a silky finish.
- Cooling the ice cream base completely before churning secures a smooth consistency during the freezing process.
- Following precise heating and cooling instructions helps prevent graininess and ice crystals, resulting in a luxurious texture.
Variations and Add-Ins Galore
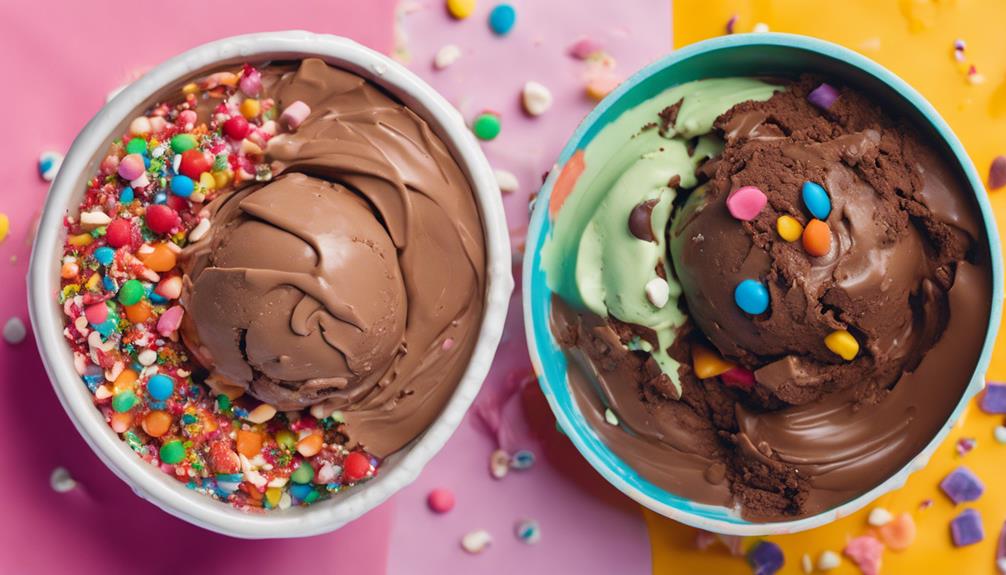
With your smooth, velvety chocolate ice cream base in hand, it's time to get creative and add some exciting mix-ins to take your dessert to the next level.
As a chocolate lover, you'll love experimenting with different combinations to create your ultimate treat. Add chopped nuts for a crunchy texture and extra flavor dimension – walnuts or hazelnuts pair perfectly with chocolate.
Alternatively, swirl in caramel or fudge sauce to create pockets of sweetness throughout the ice cream. If you want to stay true to your chocolate obsession, mix in chocolate chips or chunks for bursts of rich, chocolaty goodness.
You can also experiment with different types of chocolate, such as milk, dark, or white, for unique flavor profiles. And for a grown-up twist, incorporate a splash of liqueur like Kahlua or Irish cream.
The possibilities are endless, so don't be afraid to get creative and make this recipe your own!
Frequently Asked Questions
How to Make Chocolate Ice Cream in Disney Dream Valley?
You're wondering how to make chocolate ice cream like Disney Dream Valley's? Start by combining rich cocoa powder, high-quality dark chocolate, and creamy ingredients, then churn until smooth and enjoy in a waffle cone or cup!
What Is Chocolate Lovers Ice Cream?
Don't you crave a rich, decadent dessert that screams chocolate? That's what you get with chocolate lover's ice cream, a treat featuring intense dark chocolate flavor, often mixed with treats like chips, nuts, or fudge.
What Is Death by Chocolate Ice Cream?
You're wondering what Death by Chocolate Ice Cream is? It's a rich, decadent dessert that combines intense chocolate flavors with a creamy base, featuring double doses of chocolate and mix-ins like fudge swirls or brownie pieces.
What Is Choco Ice Cream Made Of?
You're wondering what choco ice cream is made of? Typically, it's a mix of cocoa powder, sugar, heavy cream, milk, and vanilla extract, with optional add-ins like dark chocolate chips, nuts, or caramel to enhance the flavor and texture.
Can I Use Chocolate in My Homemade Ice Cream Recipe?
Yes, you can definitely use chocolate in your best homemade ice cream recipe. Adding chocolate to your homemade ice cream can give it a rich and creamy flavor that is sure to satisfy any chocolate lover’s cravings. Whether you use chocolate chips, cocoa powder, or a fudge swirl, chocolate is a delicious addition to any homemade ice cream.
Conclusion
As you savor the last bite of your velvety, rich, and indulgent chocolate ice cream, remember that the key to this choco-lover's dream lies in the patience and precision you brought to the process.
With each deliberate stir and gentle fold, you coaxed the flavors into harmony, crafting a symphony of sweetness that will leave taste buds singing.
Your hard work has paid off – every spoonful a proof of the magic that happens when passion meets precision.