
Make your own delicious vanilla ice cream at home with your KitchenAid Ice Cream Maker! Chill your ingredients, churn for 25-30 minutes, and then indulge in the creamy goodness. Experiment with different extracts and sugar levels for a unique twist. The KitchenAid attachment makes the process easier, ensuring a smooth texture. Give the no-egg recipe a try for a traditional treat. And be sure to read up on storage and freezing tips for optimal results. Explore the endless possibilities of homemade vanilla ice cream; add in fruits, nuts, or chocolate for a delightful experience!
Key Takeaways
- Chill ingredients for 2 hours for flavor development.
- Experiment with extracts and sweetness levels for customization.
- Freeze bowl for 15 hours before churning for optimal results.
- Add a pinch of salt to enhance sweetness.
- Use airtight containers to prevent ice crystals during storage.

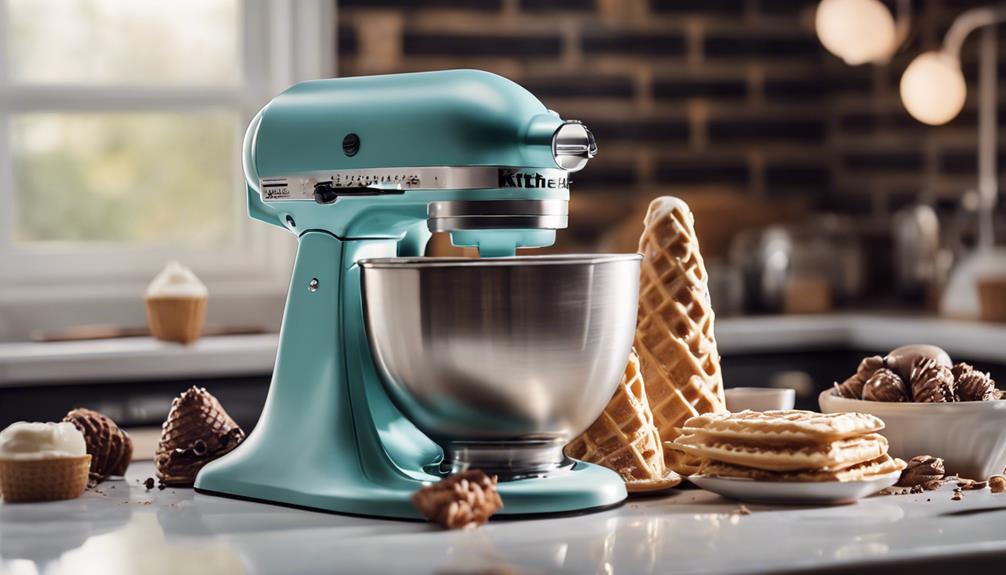
KitchenAid Ice Cream Maker Attachment for Stand Mixer, 2 Quart, KSMICM, White
- Ice Cream Capacity: 2-quart batch size
- Homemade Ice Cream: Make thick, creamy ice cream at home
- Compatibility: Fits most KitchenAid tilt-head mixers
As an affiliate, we earn on qualifying purchases.
As an affiliate, we earn on qualifying purchases.
Easy Homemade Vanilla Ice Cream Recipe

Creating a luscious batch of homemade vanilla ice cream with your KitchenAid Ice Cream Maker is a breeze with this eggless recipe. All you need is heavy cream, whole milk, sugar, pure vanilla extract, and a pinch of salt. The simplicity of this recipe makes it a go-to dessert option for any occasion.
The combination of heavy cream and whole milk in this KitchenAid vanilla ice cream recipe guarantees a rich and creamy texture that's sure to please your taste buds. The pure vanilla extract adds a fragrant and flavorful touch to the ice cream, elevating its taste to a whole new level.
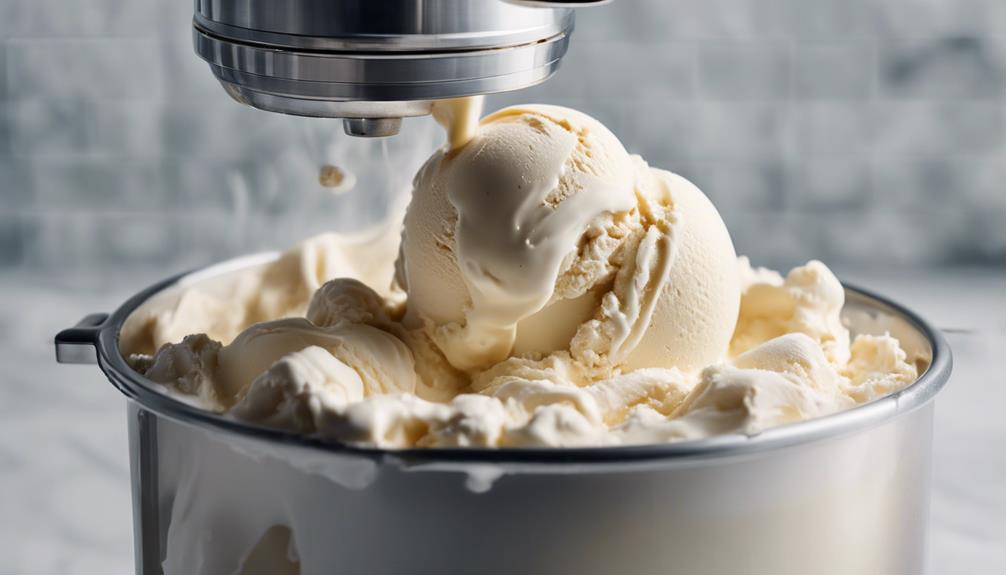
Once you have mixed all the ingredients together, let your KitchenAid Ice Cream Maker work its magic to churn the mixture into a velvety smooth treat.
Whether enjoyed on its own or paired with your favorite dessert, this homemade vanilla ice cream is certain to be a crowd-pleaser.
Tools and Ingredients Needed

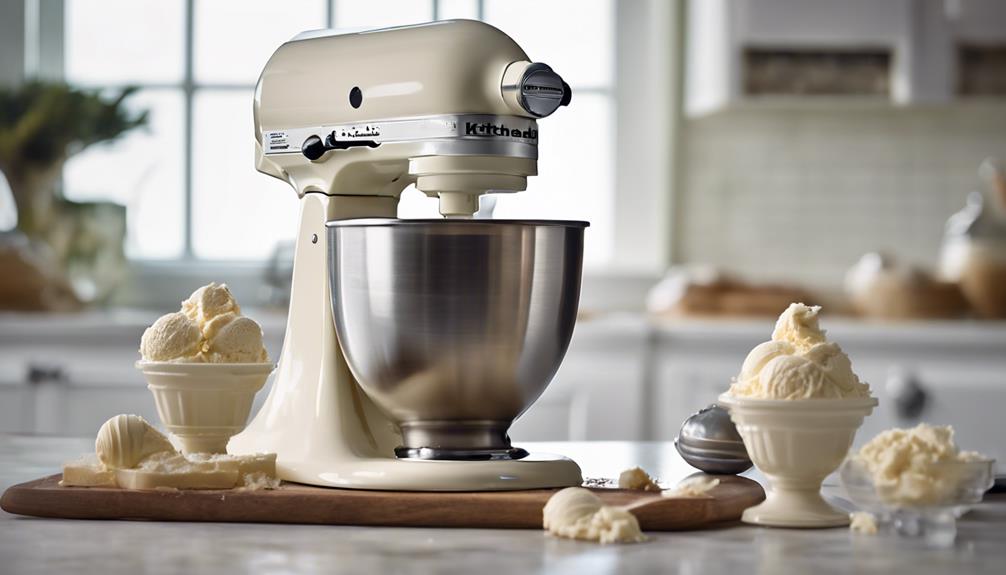
To prepare the KitchenAid Ice Cream Maker recipe, gather essential tools such as the KitchenAid Mixer, Ice Cream Attachment, Mixing Bowl, and Wire Whisk, along with the necessary ingredients. Here's what you'll need:
- Heavy Cream: Provides richness and creaminess to the ice cream.
- Whole Milk: Adds a smooth texture to the ice cream base.
- Sugar: Sweetens the mixture and helps with the ice cream's consistency.
- Vanilla Extract: Infuses the ice cream with a classic vanilla flavor.
Ensure your KitchenAid freezer bowl has been frozen for at least 15 hours before starting.
The KitchenAid Mixer with the Ice Cream Attachment is specifically designed for this recipe, ensuring top-notch performance.
Tips for Perfect Vanilla Ice Cream

To achieve perfect vanilla ice cream, make sure that you churn the mixture for the recommended time to achieve the desired consistency.
Proper ingredient preparation, such as using high-quality vanilla extract and adjusting sweetness levels, will also contribute to the deliciousness of your homemade treat.
Pay attention to these tips to elevate your vanilla ice cream game.
Churning Time
Achieving the perfect texture for your homemade vanilla ice cream with the KitchenAid Ice Cream Maker involves churning for approximately 25-30 minutes to reach a soft-serve consistency.
After this churning time, follow these tips for the ideal vanilla ice cream:
- For a firmer texture, transfer the soft-serve ice cream to a separate container and freeze for an additional 2-4 hours.
- Make sure you use freezer-safe containers to store the churned ice cream properly.
- The recipe yields a little over a quart of delicious homemade vanilla ice cream.
Following the churning time and freezing instructions secures the perfect consistency and texture of the vanilla ice cream.
Ingredient Preparation
For the ideal vanilla ice cream with the KitchenAid Ice Cream Maker, make sure all your ingredients are chilled before mixing. Start by using high-quality vanilla extract to achieve a rich and intense flavor in your homemade treat.
Chilling the mixture of heavy whipping cream and milk in the refrigerator for at least 2 hours is essential as it helps develop the flavors. Don't forget to add a pinch of salt to enhance the sweetness and overall taste of your vanilla ice cream.
Proper ingredient preparation is key to achieving the perfect texture and flavor. By ensuring that your heavy whipping cream and other ingredients are cold, you set yourself up for success.
The right proportions of heavy cream and milk will result in a creamy and smooth consistency that will impress your taste buds. So, take the time to chill, measure accurately, and enjoy the delicious outcome of your well-prepared vanilla ice cream.
Recipe Preparation and Variations

You're about to learn about the churning process details, ways to enhance flavors, and tips on storage and serving.
These points will help you master the art of making delicious homemade ice cream with your KitchenAid Ice Cream Maker.
Get ready to elevate your ice cream game with these essential insights!
Churning Process Details
To enhance the flavor and texture of your homemade vanilla ice cream, consider experimenting with different extracts or adjusting the sweetness level before churning.
When it comes to the churning process, here are some important details to keep in mind:
- Chilling Mixture: Make sure to chill the ice cream base in the refrigerator for at least 2 hours before churning to achieve a smoother consistency.
- Churning Process: Churn the mixture in your KitchenAid Ice Cream Maker for about 20-30 minutes until it reaches a creamy texture.
- Homemade Ice Cream: Adjusting the sweetness level or trying out various extracts can help you create unique flavor variations for your homemade ice cream.
- Freezing the Ice Cream: After churning, transfer the ice cream to a container and freeze it for a few hours until it firms up.
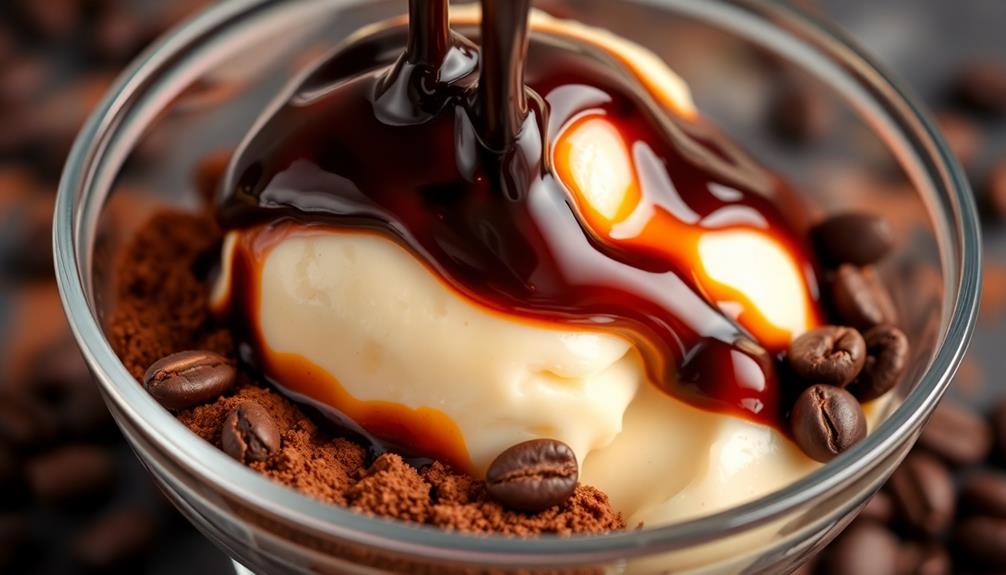
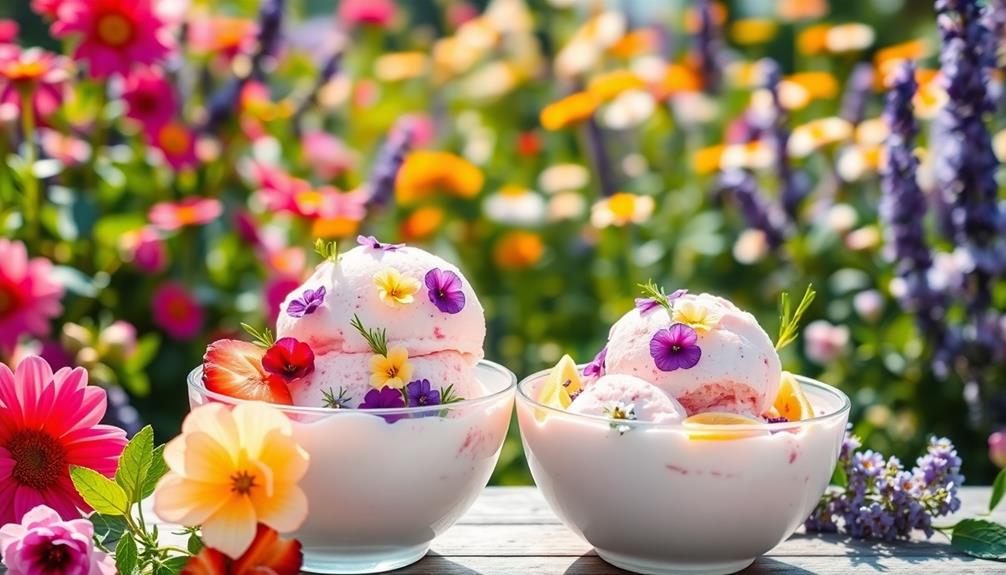
Flavor Enhancement Ideas
Enhancing your vanilla ice cream recipe can be achieved by incorporating homemade vanilla extract or exploring premium store-bought options for a richer flavor profile. To take your vanilla ice cream to the next level, consider experimenting with various flavor variations such as chocolate almond, fruit-infused, or unique extracts. Add a personal touch by incorporating toppings like hot fudge, nuts, or fruit compote to enhance both the taste and presentation of your ice cream. For a more intense vanilla flavor, try using vanilla bean paste instead of extract. You can also introduce mix-ins like cookie dough, brownie bites, or fresh fruit to add an exciting texture to your ice cream. Additionally, customize the sweetness level of your ice cream by adjusting the amount of sugar used in the recipe to match your preferences.
| Flavor Enhancements | Description |
|---|---|
| Vanilla extract | Enhances the base vanilla flavor |
| Flavor variations | Experiment with unique flavor combinations |
| Toppings | Elevate taste and presentation with a variety of toppings |
Storage and Serving
For best storage and serving of your homemade vanilla ice cream, make sure to transfer it to a freezer-safe container and cover it with plastic wrap to prevent ice crystals.
Here are some tips to enhance your ice cream experience:
- Freezing Consistency: Allow the ice cream to freeze for at least 2-4 hours for a harder consistency before serving.
- Serving Suggestions: Enjoy your vanilla ice cream in bowls or cones, topped with fresh fruit, chocolate sauce, or sprinkles for added flavor and texture.
- Recipe Variations: Get creative by experimenting with mix-ins like chocolate chips, nuts, or fruit to personalize your ice cream flavors.
- Leftover Maintenance: Store any leftover homemade ice cream in the freezer for up to 2-3 weeks, ensuring it's tightly sealed to maintain freshness and prevent freezer burn.
KitchenAid Ice Cream Maker Attachment
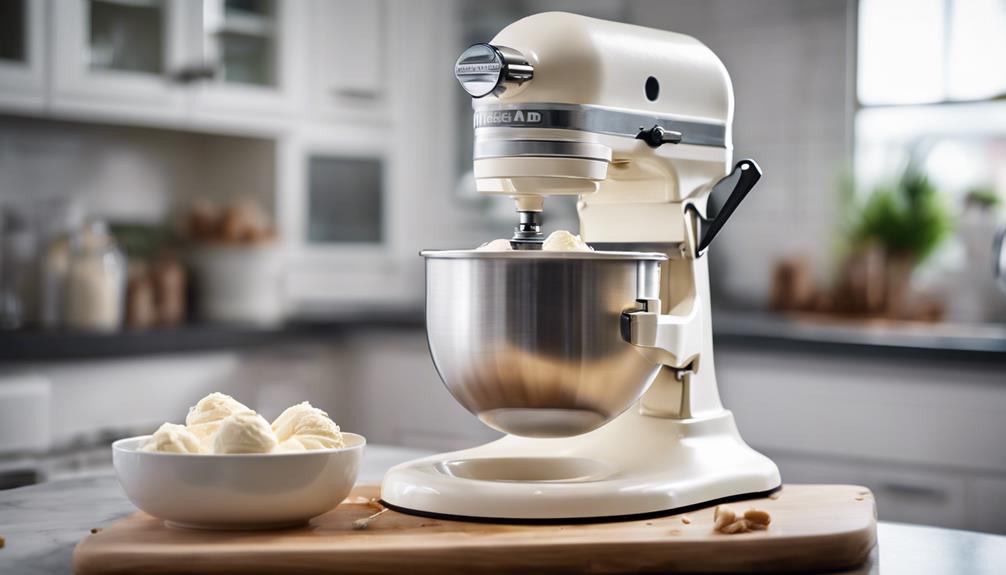
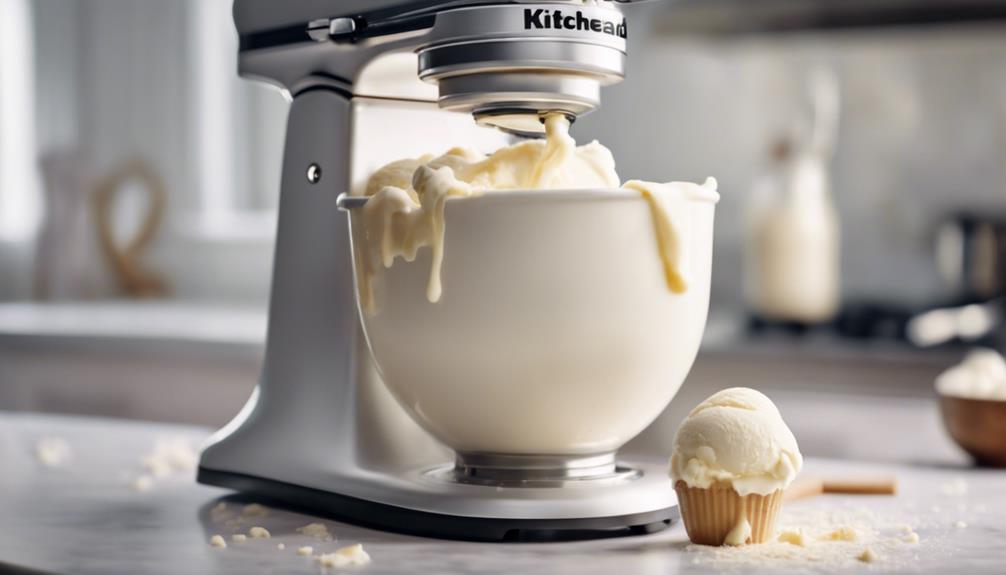
The KitchenAid Ice Cream Maker attachment offers a convenient way to create creamy homemade ice cream using your KitchenAid mixer. This attachment, designed to work with KitchenAid Stand Mixer Ice, includes a freeze bowl, special paddle, and drive assembly for making delicious ice cream at home.
To maintain optimal ice cream consistency, it's essential to freeze the bowl for at least 15 hours before using it. The KitchenAid Ice Cream Maker simplifies the churning process, eliminating the need for manual stirring and resulting in smooth and rich ice cream.
Directions for Churning Ice Cream
Now it's time to churn your ice cream! Follow the guidelines for churning time to achieve that perfect soft-serve consistency.
After churning, consider freezing the ice cream for a firmer texture and remember to use freezer-safe containers for storage.
Churning Time Guidelines
Begin churning your ice cream in the KitchenAid Ice Cream Maker Attachment, aiming for a soft-serve consistency in about 25-30 minutes. During this process, the ice cream will transform into a creamy treat ready to enjoy.
Here are some guidelines to help you achieve the perfect texture:
- Aim for a soft-serve consistency within the first 25-30 minutes of churning.
- For a firmer texture, transfer the churned ice cream to a separate container and freeze it for 2-4 hours.
- Remember to use freeze-safe containers when storing your freshly churned ice cream.
The churning process in the KitchenAid Ice Cream Maker Attachment guarantees a smooth and creamy consistency that will delight your taste buds.
Freezing Recommendations
Make sure the freeze bowl is thoroughly frozen for a minimum of 15 hours before beginning the churning process for your ice cream in the KitchenAid Ice Cream Maker Attachment. This step is essential for the proper freezing of the mixture during churning.
Once the freeze bowl is adequately frozen, assemble the attachment to your KitchenAid mixer and start churning according to the manufacturer's instructions. The churned ice cream will reach a soft-serve consistency in about 25 minutes.
If you prefer a firmer texture, transfer the churned ice cream into a freezer-safe container and freeze for an additional 2-4 hours. This extra freezing time helps achieve a scoopable consistency similar to store-bought ice cream.
Remember to always keep the freeze bowl in the freezer until needed so that it's ready whenever you feel like making a batch of delicious homemade ice cream.
Storage Tips
Once you have churned your ice cream to the desired consistency, it's important to transfer it to a freezer-safe container for best storage.
When storing your homemade ice cream, follow these essential tips:
- Freeze the Churned Ice Cream: For a firmer texture, freeze the churned ice cream for an additional 2-4 hours before serving.
- Use an Airtight Container: Ensure the container used for freezing the ice cream is hermetically sealed to prevent ice crystals from forming and maintain the freshness of your dessert.
- Label the Container: Don't forget to label the container with the date and flavor of the ice cream. This will help you easily identify it in the freezer and avoid any mix-ups.
- Store Properly: Homemade ice cream can typically be stored in the freezer for up to 2-3 months for maximum freshness and taste. Make sure to store it in the coldest part of your freezer for the best results.
Churning Time and Freezing Instructions

During the churning process in the KitchenAid Ice Cream Maker, allow the mixture to reach a soft-serve consistency which typically takes about 25-30 minutes.
Once the ice cream reaches this stage, transfer it to a freezer-safe container and freeze for an additional 2-4 hours for a firmer texture.
Freezing the ice cream post-churning is essential as it helps the dessert set and develop a scoopable texture, ensuring a delightful homemade vanilla ice cream experience.
Remember to use freezer-safe containers for best results to maintain the ice cream's quality.
No Egg Vanilla Ice Cream Recipe
For a simple and egg-free treat using your KitchenAid Ice Cream Maker, gather heavy cream, whole milk, sugar, vanilla extract, and salt to create a delightful No Egg Vanilla Ice Cream Recipe. This quick and easy recipe yields a rich and creamy vanilla ice cream without the need for eggs.
Here's how to make it:
- Combine Ingredients: Mix heavy cream, whole milk, sugar, vanilla extract, and a pinch of salt in a bowl until the sugar dissolves.
- Chill the Mixture: Refrigerate the mixture for at least 2 hours to make sure it's properly chilled before churning.
- Churn in the KitchenAid: Pour the chilled mixture into your KitchenAid Ice Cream Maker and churn following the manufacturer's instructions.
- Freeze and Enjoy: Transfer the churned ice cream to a container, freeze for a few hours until firm, and then scoop out a delicious serving of homemade vanilla ice cream.
With this straightforward recipe, you can savor a luscious treat without the need for eggs, perfect for those seeking a trouble-free dessert option.
Versatility of Homemade Vanilla Ice Cream
Discover the endless possibilities of incorporating delicious vanilla ice cream into a variety of desserts and flavor combinations. Making your own ice cream is the best way to unleash your creativity and indulge in unique flavor combinations.
Homemade vanilla ice cream allows you to experiment with different mix-ins, from fresh fruits and nuts to decadent chocolate chunks or swirls of caramel. With homemade vanilla ice cream, you have the freedom to tailor your dessert to suit your preferences perfectly.
Whether you prefer a classic scoop of vanilla alongside a warm slice of apple pie or an invigorating ice cream sandwich, the options are limitless. The versatility of homemade vanilla ice cream guarantees that you can enjoy it on its own as a delightful treat or elevate it by pairing it with various desserts.
Community Feedback and Reviews
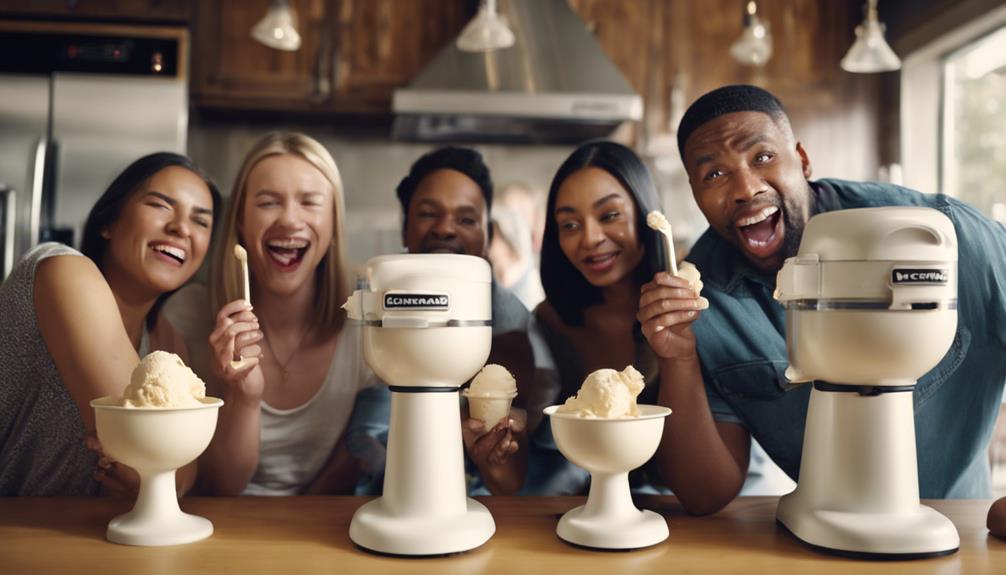
Check out what users are saying about the KitchenAid Ice Cream Maker recipe and their experiences with making and customizing different flavors. Community feedback on the homemade vanilla ice cream has been overwhelmingly positive, with many highlighting the simplicity and great taste of the recipe.
Users appreciate the versatility of the base recipe, sharing their experiences making a variety of flavors and pairing them with different desserts. Some community members have suggested sugar-free or alternative ingredient options to cater to dietary preferences.
Feedback also includes ideas for incorporating mix-ins like chocolate chips, nuts, or fruit to create unique flavor combinations. The customizable nature of the recipe has been a hit among users, with many expressing their joy in creating their own delicious homemade ice cream flavors.
Frequently Asked Questions
What Speed Should I Put My Kitchenaid Ice Cream On?
You should put your KitchenAid ice cream maker on Speed 1 for best results. Churning at a lower speed prevents excess air, creating a smoother texture. Following this suggestion guarantees your homemade vanilla ice cream turns out perfectly rich and creamy.
How Long Do You Churn Ice Cream in a Kitchenaid?
So, you wanna whip up some creamy goodness in your KitchenAid, huh? Well, typically, you churn ice cream for about 20-30 minutes. Adjust for desired texture. Longer churn = silkier ice cream. Enjoy your sweet treat!
Which Kitchenaid Attachment Is Best for Creaming?
For creaming, the best KitchenAid attachment is the paddle attachment. It's ideal for incorporating ingredients evenly and achieving a smooth, creamy texture. Swap in the paddle attachment for effortless creaming and enjoy delicious results.
How Long Do I Need to Freeze My Kitchenaid Ice Cream Maker?
To make creamy ice cream, freeze your KitchenAid Ice Cream Maker bowl for at least 15 hours. For the best results, chill it for 24 hours. Remember, a properly frozen bowl is the secret to perfect scoops!
Conclusion
So there you have it – the best vanilla ice cream recipe for your KitchenAid ice cream maker! Remember, the proof is in the pudding, or in this case, the ice cream. If you’re looking for a rich and creamy vanilla ice cream that will impress your friends and family, this recipe is the perfect choice. And with the convenience of using your KitchenAid ice cream maker, you can easily whip up a batch whenever the craving strikes. No need to rely on store-bought options when you have one of the best homemade ice cream machines right in your own kitchen.
So go ahead, whip up a batch of this creamy treat and taste the difference homemade makes.
Happy churning!