
Get ready to enjoy the richest homemade ice cream of your life! You will need an ice cream maker, rock salt, ice, dairy products, eggs, and vanilla for a traditional flavor. Simply chill the canister, combine your ingredients, and churn for 30 minutes to an hour. Freeze your completed ice cream in the freezer for the ideal texture. For an extra touch, learn how to enhance your churning and freezing technique, experiment with different recipe variations, and perfect the art of temperature management. Now, let’s start churning and uncover the strategies for creating the ultimate homemade ice cream!
Key Takeaways
- Essential items for homemade ice cream include an ice cream maker, dairy products, eggs, and vanilla for a classic flavor.
- A 4-quart electric ice cream maker is a popular size for home use, requiring a frozen canister and rock salt for best results.
- A simple vanilla ice cream recipe requires whole milk, granulated sugar, heavy cream, and vanilla extract with no cooking required.
- Churning creates a smooth, creamy texture by incorporating air, and proper churning time prevents ice crystals for a smooth texture.
- Pre-freezing the ice cream maker's bowl for 12 hours ensures ideal temperature, preventing uneven freezing and unpleasant texture.
Essential Items for Homemade Ice Cream
To get started with making homemade ice cream, you'll need a few essential items that will help you achieve the perfect creamy texture and flavor. First and foremost, you'll need an ice cream maker, which will churn and freeze your mixture to perfection.
Next, you'll require rock salt and ice (or snow) to facilitate the freezing process. Don't forget to stock up on dairy products, such as milk, cream, or yogurt, which will form the base of your ice cream. Eggs will add richness and vanilla will provide a classic flavor.
With these staples, you can experiment with different recipes and flavor combinations.
Electric Ice Cream Maker Basics
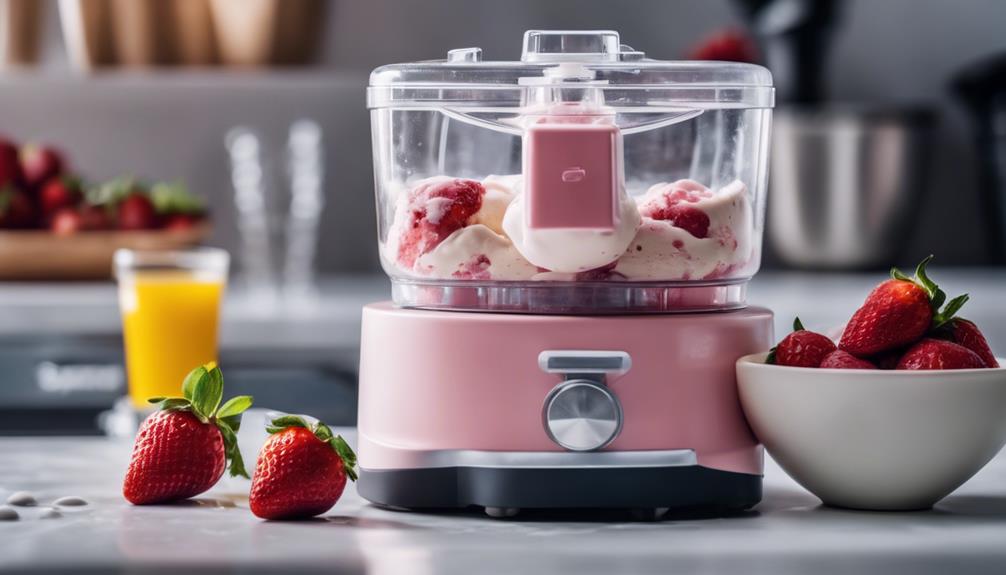
You'll find electric ice cream makers come in various sizes, with the 4-quart model being a popular choice for home use. When it comes to ice cream maker basics, understanding how to get the best results from your electric ice cream maker is crucial. To start, you'll need to freeze the canister, set up a churning station, and mix your ingredients.
Here's a quick rundown of what to expect:
| Step | Description |
|---|---|
| Preparation | Freeze the canister, set up a churning station, and mix ingredients |
| Churning | Churn the mixture in the electric ice cream maker for 30 minutes to 1 hour |
| Storage | Store the churned ice cream in a container in the freezer to maintain consistency |
| Performance | Requires rock salt, ice, and a freezing canister for best results |
Simple Vanilla Ice Cream Recipe
Now that you're familiar with the basics of your electric ice cream maker, it's time to get started with a simple recipe.
You'll love how easily you can whip up a classic vanilla ice cream with just a few ingredients, and you'll have the option to enhance the flavor with vanilla beans for a richer taste.
With no cooking required, you'll be enjoying your creamy treat in no time!
Quick Vanilla Mix
Mix together 1 1/2 cups of whole milk, 1 cup of granulated sugar, and 1 cup of heavy cream in a medium-sized bowl until the sugar is fully dissolved. This quick vanilla mix recipe requires only these four ingredients, making it a simple and convenient option for homemade ice cream. No custard base or cooking is needed, and you can achieve a classic vanilla flavor by using vanilla extract.
| Ingredient | Quantity |
|---|---|
| Whole Milk | 1 1/2 cups |
| Granulated Sugar | 1 cup |
| Heavy Cream | 1 cup |
| Vanilla Extract | 1 tsp |
Remember to freeze your ice cream maker's freezer bowl for at least 12 hours before churning. This will ensure that your mix churns into a smooth and creamy ice cream. Tips for best results include using whole milk and heavy cream, pre-freezing your equipment, and adding mix-ins to create unique flavor combinations. With this quick vanilla mix, you'll be enjoying delicious homemade ice cream in no time!
Vanilla Bean Option
Take your vanilla ice cream to the next level by incorporating real vanilla beans into the mix, amplifying the classic flavor and aroma. With the Vanilla Bean option, you'll experience a rich and creamy vanilla flavor that's bound to impress.
Here are the benefits of choosing the Vanilla Bean option:
- Authentic flavor: Using real vanilla beans guarantees a genuine, rich vanilla flavor that's difficult to replicate with extracts or imitation flavorings.
- Easy to make: This Simple Vanilla Ice Cream recipe requires only 4 basic ingredients, making it quick and simple to prepare.
- Enhance the flavor: Add a touch of vanilla bean paste to further enrich the vanilla flavor profile and create a truly unique taste experience.
- Rave reviews: The use of real vanilla beans has garnered positive feedback from those who've tried it, so you can rely on it as a winning combination.
No Cooking Required
By skipping the cooking process, you can quickly whip up this simple vanilla ice cream recipe with just four essential ingredients. With milk, granulated sugar, heavy cream, and vanilla extract, you'll have a delicious homemade ice cream in no time. You can even add vanilla bean paste for an extra boost of flavor without the need for a custard base. Feedback from those who've tried it has been overwhelmingly positive, raving about the classic vanilla flavor it imparts.
Following the step-by-step process with precise measurements is key to achieving a creamy and rich homemade vanilla ice cream. Since there's no cooking required, you can dive right into mixing the ingredients together. This no-cooking recipe is a game-changer for those short on time or not feeling confident in their cooking skills. The result is a smooth, creamy, and utterly delicious homemade vanilla ice cream that's sure to become a favorite.
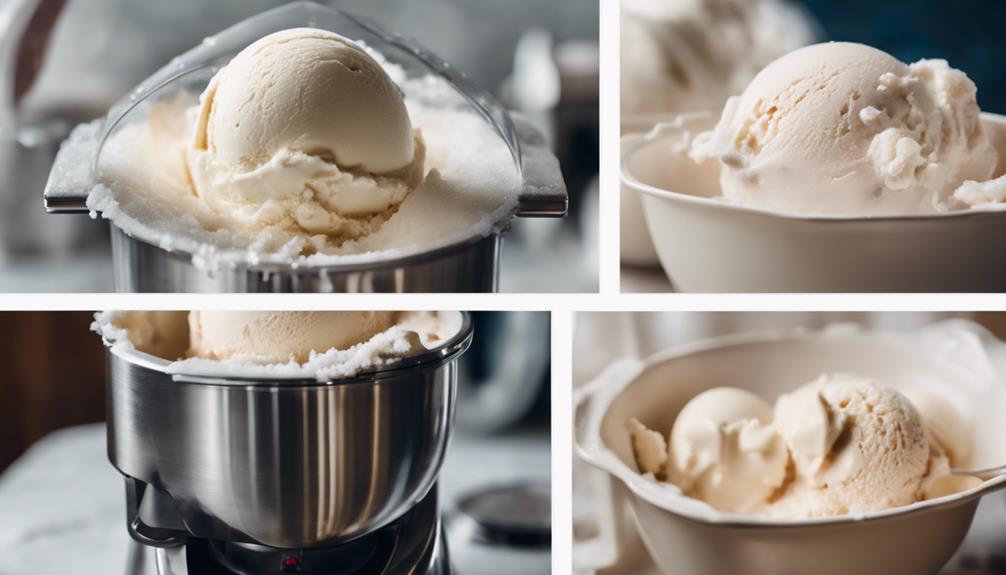
Churning and Freezing Process
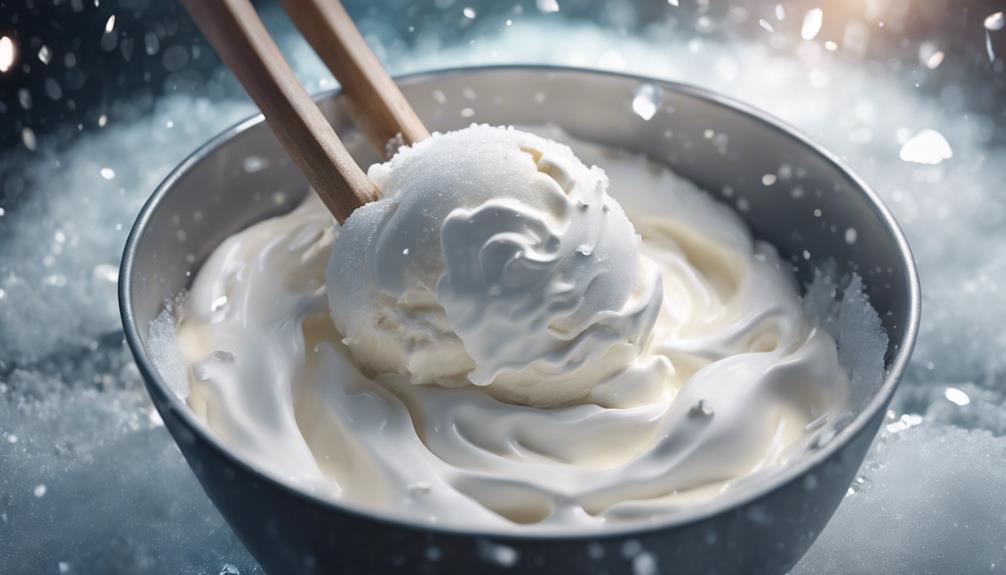
After pouring your prepared ice cream mixture into the machine, it's time to churn it according to the manufacturer's instructions. This churning process is pivotal in creating a creamy texture by incorporating air into the mixture.
As you churn, the machine will mix and aerate the mixture, which helps to develop the right consistency.
Here are some key takeaways to keep in mind during the churning and freezing process:
- Churning is essential: Churning helps to create a smooth, creamy texture by incorporating air into the mixture.
- Follow the manufacturer's instructions: Make sure to churn your mixture for the recommended time to achieve the right consistency.
- Freezing solidifies the mixture: After churning, freezing the mixture helps to solidify it and achieve the desired consistency.
- Proper churning time prevents ice crystals: Churning for the appropriate amount of time helps to prevent ice crystals from forming, resulting in a smooth, creamy texture.
Ice Cream Maker Features and Tips
With your ice cream mixture churned to perfection, you can now explore the various features and benefits of your ice cream maker, which can greatly enhance your homemade ice cream experience.
One of the most exciting aspects of modern ice cream makers is their versatility, offering settings for ice cream, sorbet, or gelato. This allows you to experiment with different recipes and cream textures, taking your dessert game to the next level.
Before you start churning, make sure to freeze the ice cream maker bowl for at least 12 hours to guarantee proper chilling. Once you're ready, the quick churning process – typically taking around 30 minutes – will have you enjoying your homemade treat in no time.
Afterward, cleanup is a breeze, as most ice cream makers are dishwasher safe. For added convenience, store your ice cream maker in the freezer, so it's ready to go whenever you crave a new batch of creamy goodness.
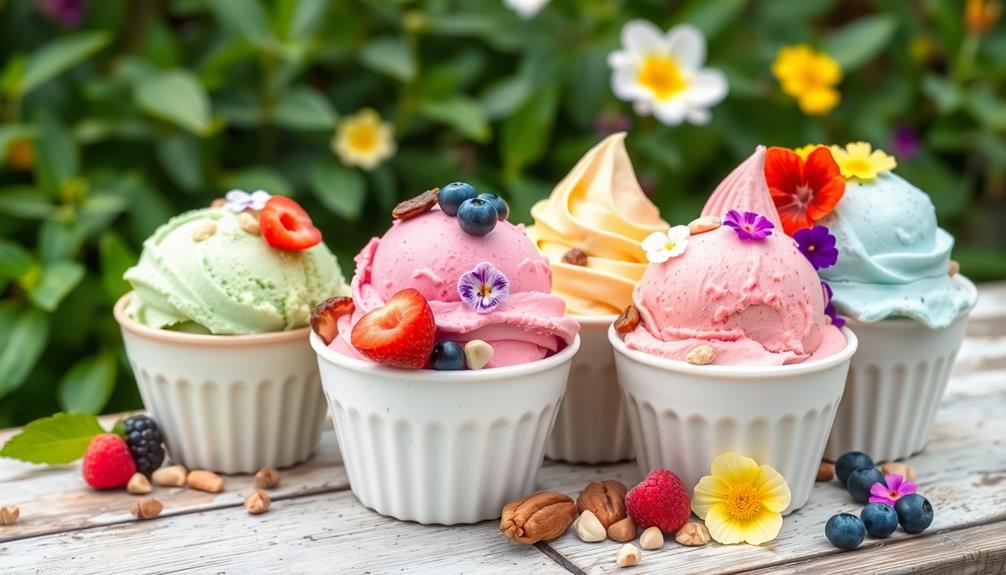
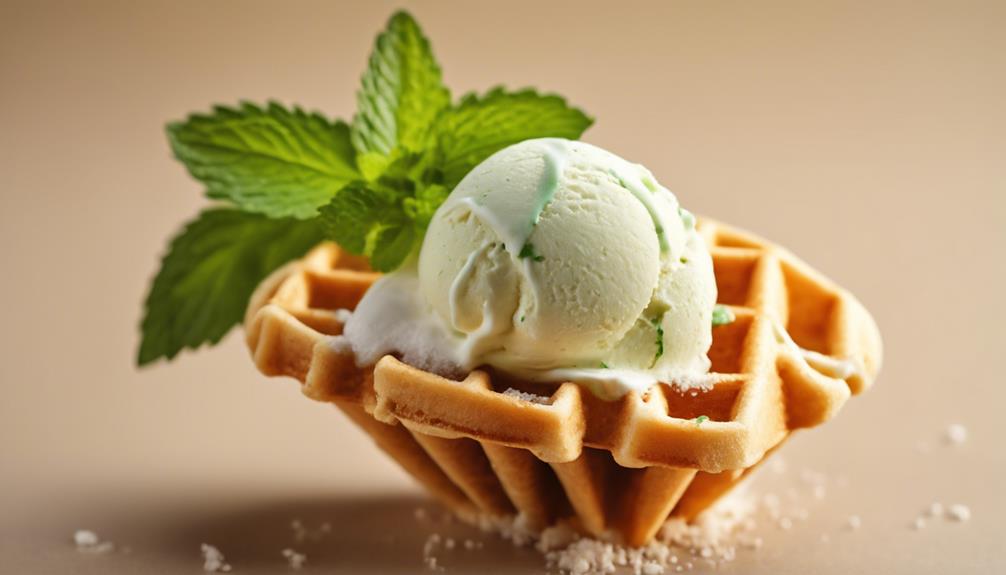
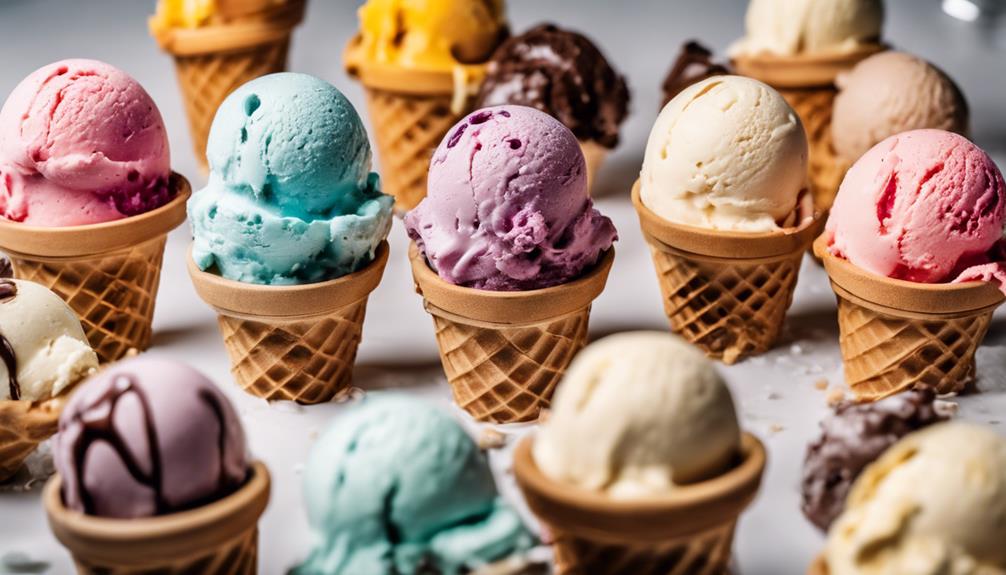
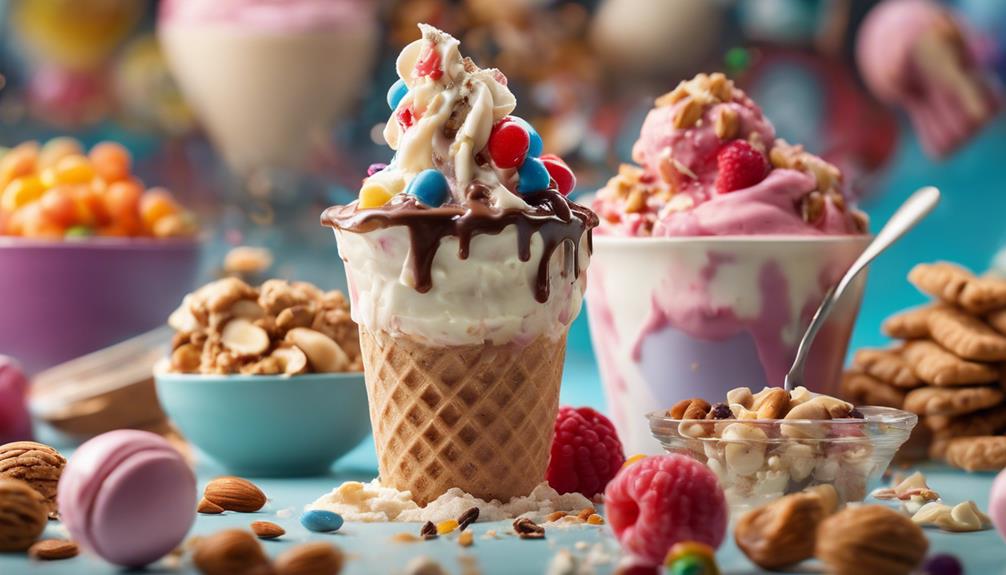
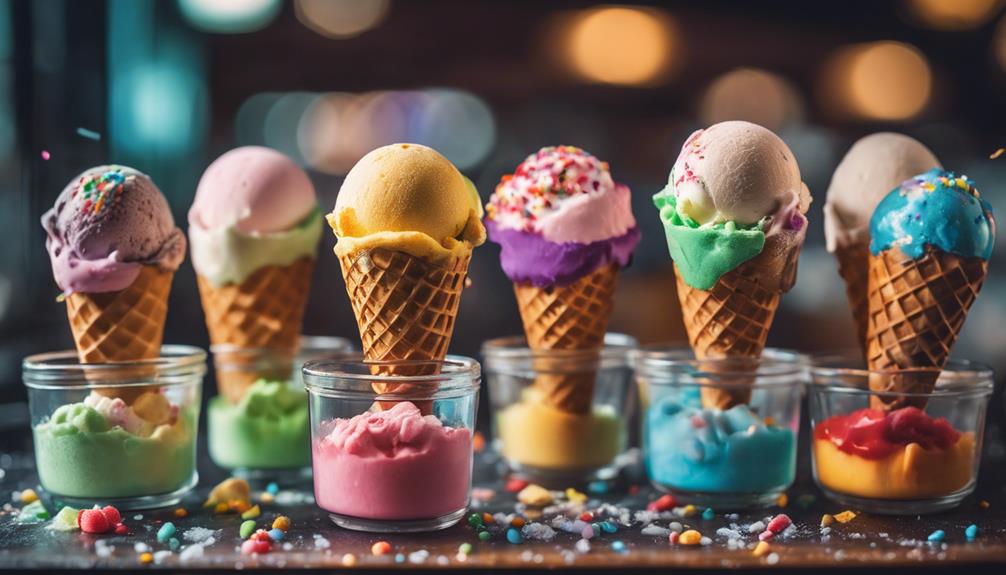
Customizing With Mix-Ins and Toppings
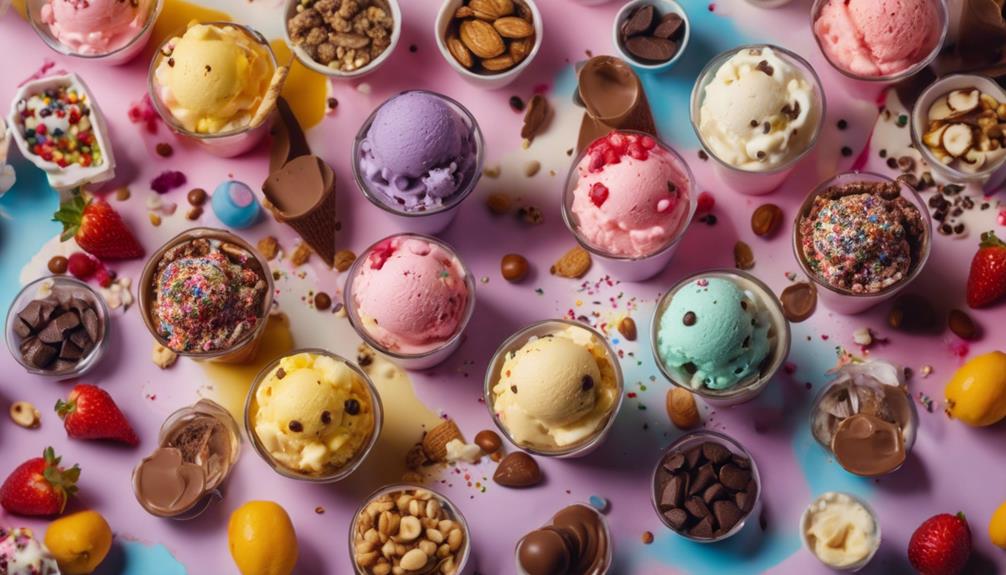
Now that you've got your ice cream base churned to perfection, it's time to get creative and take it to the next level by adding your favorite mix-ins and toppings. This is where you get to customize and personalize your ice cream to suit your taste preferences. You can experiment with different combinations of mix-ins to create unique and delicious flavors.
Here are some ideas to get you started:
- Crushed cookies and hot fudge: Add a crunchy texture and a sweet, chocolatey flavor to your ice cream.
- Fresh berries and whipped cream: Give your ice cream a fruity twist and a creamy topping.
- Chopped nuts and caramel sauce: Add a nutty flavor and a sweet, sticky sauce to your ice cream.
- Candy pieces and sprinkles: Make your ice cream a fun and playful treat.
Remember to add your mix-ins and toppings in the last 10-15 minutes of churning to make sure they're evenly distributed throughout the ice cream.
Freezing for Optimal Consistency
When it comes to making homemade ice cream with your ice cream maker, you'll want to guarantee you're freezing your canister for best consistency.
You're about to learn the importance of properly preparing your freezer bowl, why freezing time matters, and how temperature control plays a pivotal role in achieving the perfect scoop.
Freezer Bowl Preparation
You'll get the best results by freezing your ice cream maker's bowl for at least 12 hours before churning, as this important step ensures ideal consistency in your homemade ice cream. Properly freezing the bowl helps you achieve a creamy and smooth texture that's hard to resist.
Here's why it's essential to get it right:
- Optimal freezing time: Freezing the bowl for at least 12 hours ensures that it reaches the ideal temperature for churning, resulting in a smooth and creamy texture.
- Efficient churning: A well-frozen bowl helps your ice cream maker churn the mixture efficiently, saving you time and effort.
- Better consistency: By freezing the bowl correctly, you'll get a consistent texture throughout your homemade ice cream, with no icy bits or grainy texture.
- Follow manufacturer's instructions: Be sure to follow the manufacturer's guidelines for pre-freezing the bowl, as different models may have varying requirements.
Freezing Time Importance
Twelve hours of freezing time is the minimum needed to ensure your ice cream maker's bowl reaches the ideal temperature, allowing it to churn out a smooth and even consistency in your homemade ice cream.
You might be tempted to rush the process, but don't skip this essential step. Properly freezing your equipment ensures that the ice cream mixture freezes evenly, resulting in a silky texture that's hard to resist.
During the churning process, the frozen bowl helps the ice cream base solidify quicker, preventing ice crystals from forming and giving your ice cream an unpleasant texture.
Different ice cream maker types have specific freezing requirements, so be sure to check your manufacturer's instructions to make sure you're meeting the necessary freezing time. Following these guidelines will ensure that your ice cream turns out creamy and delicious.
Temperature Control Matters
By freezing your ice cream maker's canister for at least 12 hours, you're ensuring ideal temperature control, which is essential for churning out a smooth, creamy consistency in your homemade ice cream.
Temperature control matters when it comes to achieving the perfect texture and consistency in your homemade ice cream. Here's why:
- Proper temperature control prevents ice crystals from forming, resulting in a smooth, creamy texture.
- Chilled equipment helps maintain consistency, ensuring your ice cream turns out light and fluffy or thick and creamy, depending on your preference.
- Pre-freezing the canister allows for even freezing during the churning process, which helps to prevent ice crystals from forming.
- Maintaining the right temperature throughout the process is key to achieving the desired consistency in your homemade ice cream.
Choosing the Right Ice Cream Maker
When selecting an ice cream maker, consider your specific needs and preferences to guarantee you find the perfect machine for your frozen treats. Think about the capacity you need – do you want to make small batches or large quantities? A 2-quart or 4-quart model might be the right fit.
Next, consider the features you want. Do you want to make sorbet, gelato, or just ice cream? Look for an ice cream maker with multiple settings to diversify your homemade treats.
Also, check if the ice cream maker requires pre-freezing the inner bowl for best results. This can affect your planning and prep time. Evaluate the churning method, too – do you prefer the old-school ice and rock salt method or a modern freezer bowl design?
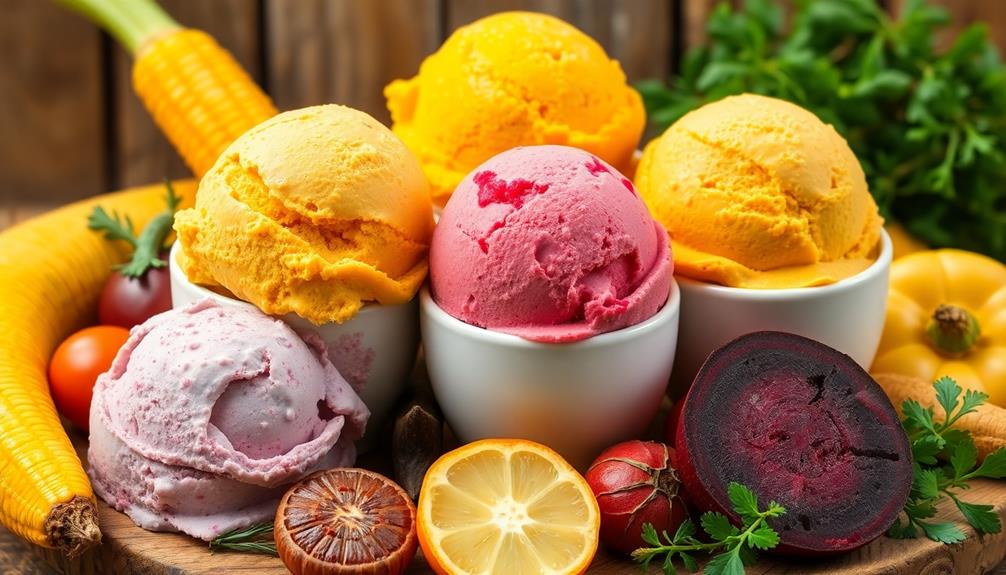
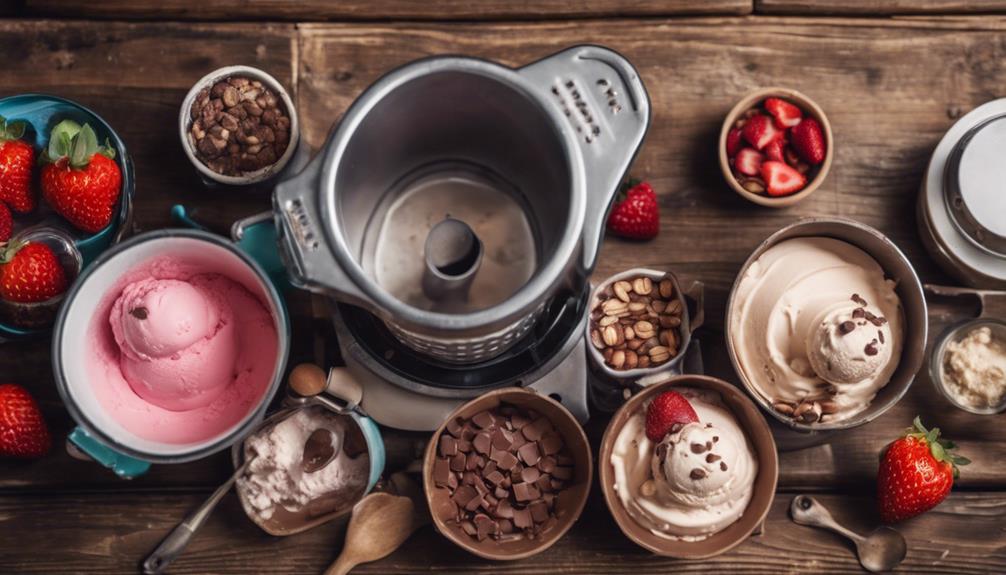
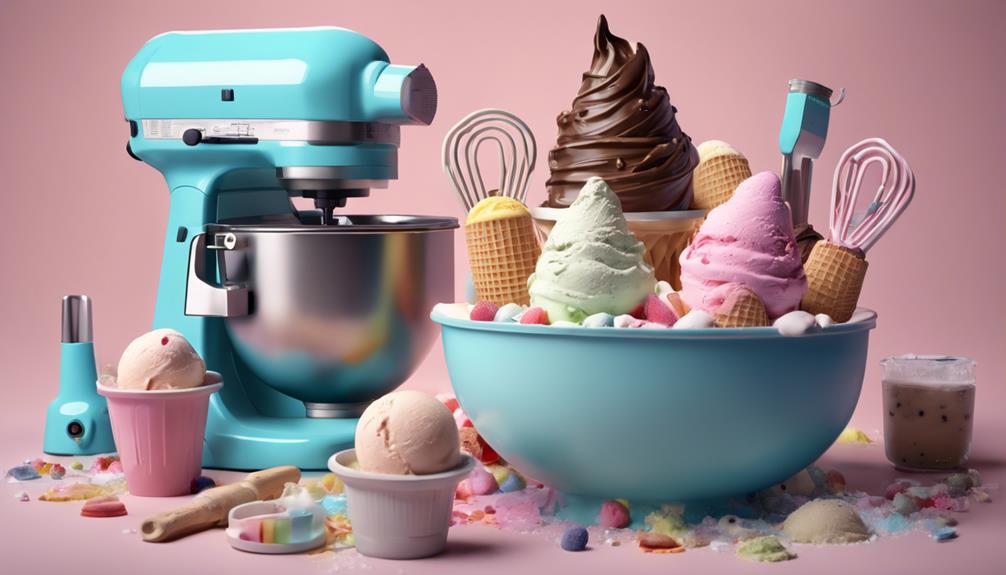
Recipe Variations and Substitutions
Now that you've mastered the basic recipe, it's time to get creative!
You can swap out flavors and add-ins to create unique ice cream flavors that suit your taste buds.
Flavor Swaps
You can open a world of flavors by substituting different extracts, mix-ins, sweeteners, and milks in your ice cream recipe. By making a few simple swaps, you can create unique and delicious flavor combinations that will impress anyone.
Here are some ideas to get you started:
- Extract Experimentation: Try substituting vanilla extract with almond or peppermint extract for an invigorating twist.
- Sweetener Switch-Up: Use alternative sweeteners like honey, maple syrup, or agave nectar instead of granulated sugar for a distinct flavor profile.
- Dairy-Free Delights: Explore dairy-free options by using coconut milk, almond milk, or cashew cream as substitutes for heavy cream and whole milk.
- Spice It Up: Enhance the flavor profile with spices like cinnamon, nutmeg, or cardamom to create a more complex and aromatic homemade ice cream.
Mix-In Options
With your flavor base established, it's time to get creative with mix-ins, which can elevate your homemade ice cream from great to amazing with their unique textures and flavors. You can experiment with different mix-ins like crushed cookies, fresh berries, chopped nuts, or candy to create unique flavor combinations that cater to your taste buds.
| Mix-In | Description |
|---|---|
| Crushed Cookies | Adds a crunchy texture and sweet flavor |
| Fresh Berries | Provides a fruity and invigorating twist |
| Chopped Nuts | Gives a nutty flavor and crunchy texture |
| Candy | Adds a sweet and playful surprise |
When adding mix-ins, make sure to do so during the last 10-15 minutes of churning to guarantee even distribution and enhance the texture of the ice cream. This way, you can customize your ice cream to fit your dietary restrictions or personal preferences. By mixing and matching different ingredients, you can create endless possibilities and make each batch of homemade ice cream a personalized treat. So, get creative and start churning out your unique flavors today!
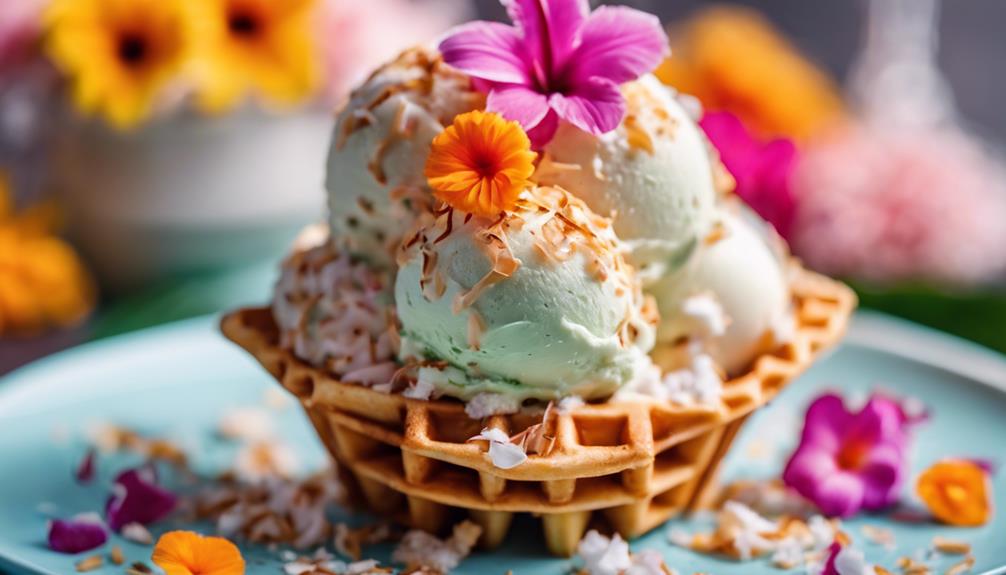
Storing and Serving Homemade Ice Cream
Place your newly churned homemade ice cream in an airtight container and store it in the freezer to maintain its creamy texture and prevent ice crystals from forming. This will sustain your homemade ice cream's freshness for a longer period.
When you're ready to serve, scoop your homemade ice cream into bowls or cones for a delightful treat. Here are some ideas to elevate your serving game to the next level:
- Get imaginative with toppings: Add sprinkles, chocolate sauce, whipped cream, or fresh fruit to give your homemade ice cream a personalized touch.
- Pair with warm desserts: Combine your homemade ice cream with warm brownies, pies, or cobblers for a luxurious experience.
- Enjoy with family and friends: Share your homemade ice cream with loved ones on special occasions or as a invigorating treat any time of the year.
- Experiment with different combinations: Try unique flavor pairings and toppings to create a one-of-a-kind homemade ice cream experience.
Frequently Asked Questions
How Long to Churn Ice Cream in an Ice Cream Maker?
When using an ice cream maker, you'll typically churn for 20 to 30 minutes, but it's important you check the consistency and follow the manufacturer's instructions to avoid over- or under-churning, okay?
What Are the Ratios for Homemade Ice Cream?
"Think of making homemade ice cream like building a house – the ratio of ingredients is your foundation. Typically, you'll use 2 cups heavy cream, 1 cup whole milk, and 3/4 cup sugar, but feel free to experiment and customize to your taste!"
Is It Better to Churn Ice Cream Fast or Slow?
When churning ice cream, you're faced with a dilemma: fast or slow? Fast churning yields a lighter texture, while slow churning develops flavors and incorporates mix-ins evenly, so it's up to you to decide what you prioritize!
How to Make Ice Cream Using an Ice Cream Machine?
Are you ready to reveal the secret to creamy, dreamy ice cream? To make ice cream using an ice cream machine, you'll freeze the canister, mix ingredients, and churn for 30 minutes to an hour, then freeze for a firmer texture.
Can I Use Different Flavors in the Best Homemade Ice Cream Recipe for Ice Cream Maker?
Yes, you can absolutely use different flavors in the best homemade vanilla ice cream recipes for an ice cream maker. Experimenting with different flavors like chocolate, strawberry, or even mint can create unique and delicious varieties of homemade ice cream to enjoy.
Conclusion
You've just churned out the creamiest, most delicious homemade ice cream ever! With your new electric ice cream maker and simple vanilla recipe, the possibilities are endless.
Did you know that the average American consumes around 23 pounds of ice cream per year? Now, you can enjoy your favorite frozen treat guilt-free, knowing exactly what goes into each batch.
Happy churning, and get ready to indulge in a cooler, creamier you!