Get ready to whip up a storm with your ice cream maker! First, ensure you have the necessary equipment, such as an electric ice cream maker and rock salt, to ensure a smooth and creamy texture. Set up your outdoor stirring station with a stable surface, power source, and organized ingredients. Then, mix your chilled ingredients and stir according to the machine’s instructions. With a two-quart ice cream maker, you can experiment with unique flavors like Summer Peach Ice Cream, Mint to Be Chip, and more. Now, let your creativity flow and uncover the secrets to crafting the perfect scoop!
Key Takeaways
- Invest in an Electric Ice Cream Maker and essential tools like rock salt and ice for a smooth ice cream making experience.
- Set up a churning station with a frozen canister, organized ingredients, and a power source for efficient churning.
- Combine chilled ingredients in the canister and churn following the machine's instructions for a creamy texture and consistent flavor.
- Experiment with unique flavor creations like Summer Peach Ice Cream, Mint to Be Chip, and Triple Chocolate Chip using a two-quart ice cream maker.
- Follow precise recipe measurements and add mix-ins like chocolate chips or nuts for extra flavor and texture in your homemade ice cream.

Amazon Basics Silicone Rectangular Baking Mat, Non-Stick, Reusable, Dishwasher Safe, Food Safe, Heat Resistant, 16.5" x 11.6", Beige/Gray, 2-Pack
- Package Includes: 2 reusable silicone baking mats
- Food Safety: Food-safe silicone material
- Non-Stick Surface: Releases food easily without oil
As an affiliate, we earn on qualifying purchases.
Ice Cream LOVE Story

Growing up, you were surrounded by the sweet, creamy essence of ice cream, a family tradition that was lovingly passed down from both parents. Special occasions were made even sweeter with the use of an old-fashioned churner to create homemade ice cream recipes, adding a nostalgic touch to family gatherings. The churning sound and anticipation of that first creamy bite are memories you'll always treasure.
As you grew older, the family upgraded to a 4-Quart Electric Ice Cream Maker, making it easier to create a variety of delicious flavors. This new addition didn't replace the old-fashioned charm, but rather complemented it. You can still experiment with new recipes while holding onto the traditional methods that brought so much joy.
Now, you can share this love for ice cream with your own family and friends. With recipes that cater to different ice cream maker sizes, you can pass down this beloved tradition to the next generation. Whether you're a fan of classic flavors or innovative twists, your electric ice cream maker is ready to churn out memories that'll last a lifetime.
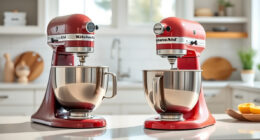
Essential Items for Success

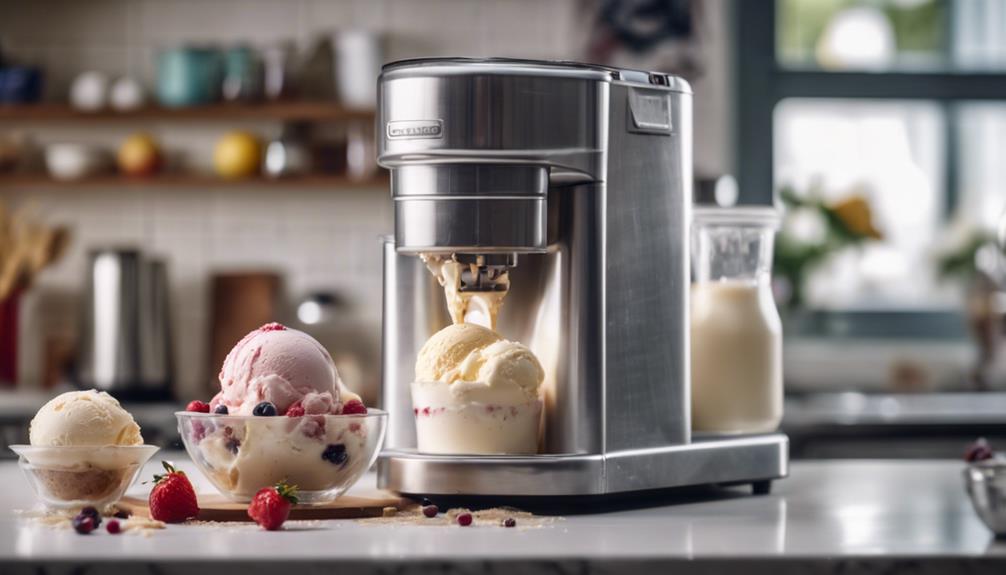
To ensure a successful ice cream making experience, you'll need to gather a few key items, including an Electric Ice Cream Maker, rock salt, and ice (or snow) for the freezing process. These must-haves will help you churn out delicious ice cream recipes with ease.
The Electric Ice Cream Maker is the star of the show, doing the hard work of mixing and freezing your ingredients to the perfect consistency. Rock salt is essential for creating the right temperature environment, allowing your mixture to freeze smoothly and evenly. And, of course, you'll need plenty of ice (or snow) on hand to keep things cool.
With these key elements in place, you'll be free to focus on the enjoyable part – experimenting with different ingredients and flavors to create unique ice cream recipes that showcase your creativity. By having the right tools and ingredients, you'll be well on your way to churning out scoop after scoop of creamy, dreamy goodness.
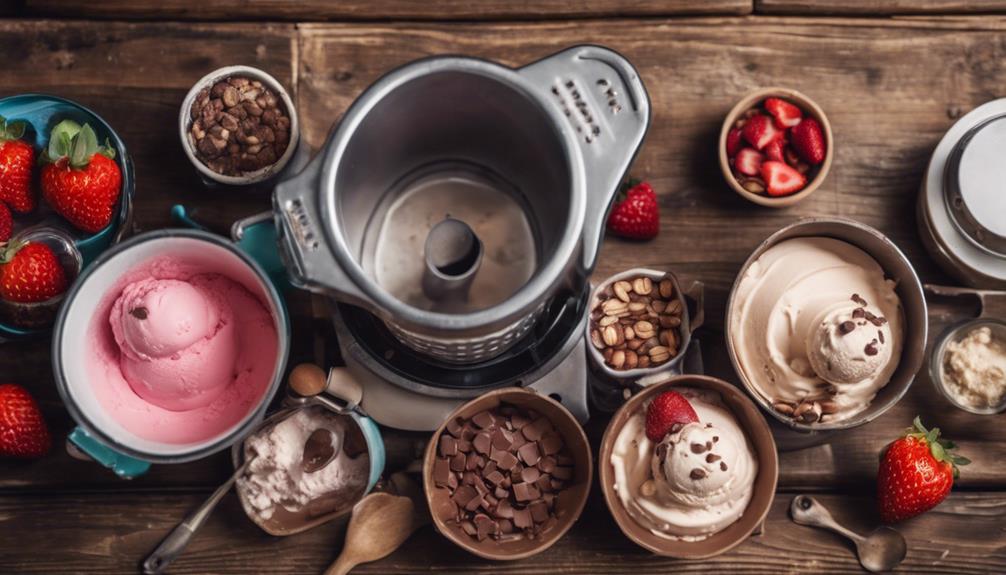
Two-Quart Ice Cream Recipes

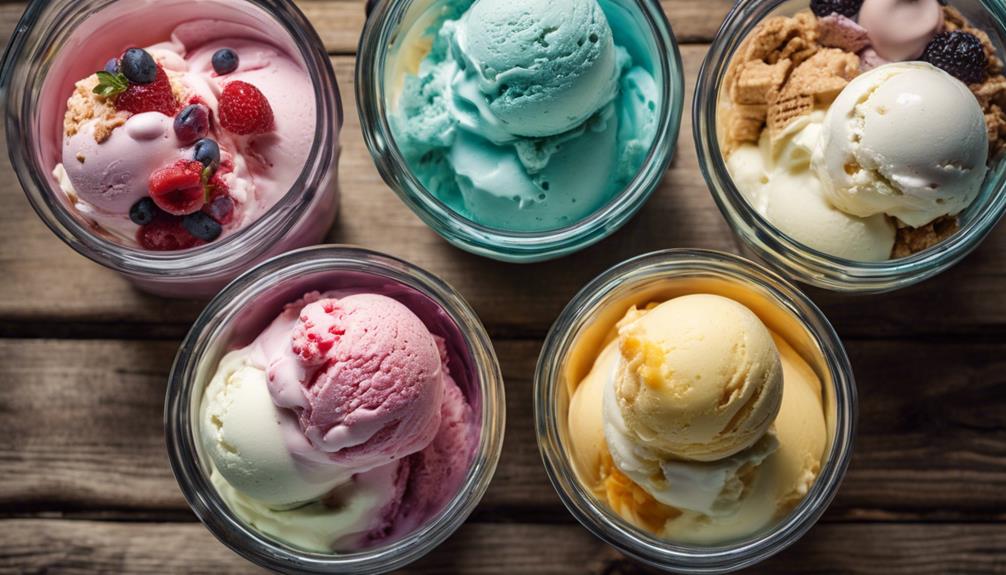
With your two-quart ice cream maker ready to go, you can immerse yourself in a world of flavors, from classic Vanilla Bean and Butter Pecan to unique twists like Peppermint Stick and Pumpkin. Whether you're in the mood for something fruity or chocolatey, there's a recipe out there for you.
Here are some ideas to get you started:
- Summer Peach Ice Cream: Combine sliced peaches with a hint of cinnamon and a touch of cream for a sweet and invigorating treat.
- Mint to Be Chip: Cut fresh mint leaves and mix them with chocolate chips for a cool and creamy dessert.
- Butter Pecan Delight: Add a crunch to your ice cream with chopped pecans and a drizzle of caramel sauce.
- Triple Chocolate Chip: Indulge in a rich and decadent treat with three types of chocolate chips – dark, milk, and white.
With these recipes and your two-quart ice cream maker, the possibilities are endless. So go ahead, churn up a storm, and enjoy the fruits of your labor!
Churning Station Setup Guide

Now that you're ready to start churning, it's crucial to set up your churning station correctly.
You'll need to prepare your ice cream maker's canister by freezing it beforehand, and then set up an outdoor churning area with the necessary requirements.
Freezing the Canister
You'll want to get a head start on the ice cream-making process by freezing the canister for at least 24 hours before churning, an important step in setting up your churning station. This will guarantee that your electric ice cream maker has a cold canister to work with, which is vital for making delicious homemade ice cream.
Here are some key reasons why freezing the canister is significant:
- Even freezing: A frozen canister helps freeze the ice cream mixture evenly, resulting in a smooth and creamy texture.
- Cold temperature: Placing the frozen canister into the ice cream maker helps maintain a cold temperature for churning the ingredients effectively.
- Ideal churning environment: Creating an ideal churning environment with the frozen canister is important for successfully making delicious homemade ice cream.
- Proper churning: A frozen canister allows the ice cream maker to churn the mixture properly, guaranteeing that your homemade ice cream turns out light, fluffy, and full of flavor.
Outdoor Churning Essentials
Set up your outdoor churning station by designating a stable surface for your ice cream maker, making sure a nearby power source, and organizing ingredients and utensils within easy reach. This will help prevent messes inside the house and provide better ventilation for a more enjoyable experience.
Here's a checklist to get you started:
| Category | Item | Tips |
|---|---|---|
| Surface | Table or counter | Choose a stable and level surface |
| Power | Extension cord | Ensure a nearby power source |
| Ingredients | Mix-ins and flavorings | Keep them organized and within reach |
| Utensils | Spatula and spoon | Have them ready for scraping and serving |
| Miscellaneous | Trash can and paper towels | Prepare for any messes or spills |
Mixing and Churning Process
Now that you've set up your churning station, it's time to focus on the mixing and churning process.
You'll want to make certain you're blending your ingredients properly and have the right essentials at your churning station to guarantee a smooth process.
Next, you'll need to freeze the mix and let the churning magic begin!
Ice Cream Blending Tips
Mix your ice cream ingredients thoroughly before pouring them into the canister to ensure a smooth and creamy texture. This guarantees that all the flavors and ingredients are well combined, resulting in a delicious and consistent taste throughout your ice cream.
When churning your mixture, make sure to follow the manufacturer's instructions and guidelines to achieve the perfect consistency.
Here are some additional tips to keep in mind:
- Churn properly: Churning the mixture properly in the ice cream maker helps integrate air and prevent ice crystals from forming, resulting in a creamy texture.
- Don't overfill: Avoid filling the canister excessively to allow room for expansion as the mixture churns and freezes.
- Check consistency: Regularly check the texture of the ice cream during churning to achieve the desired thickness and creaminess.
- Be patient: The churning process typically takes 30 minutes to one hour, depending on the recipe and ice cream maker model, so be patient and let the machine do its job.
Churning Station Essentials
To ensure a smooth and successful ice cream making process, you'll need to gather the right equipment and prepare a suitable space for churning, which we'll explore in more detail below.
Your churning station essentials should include an Electric Ice Cream Maker, rock salt, and ice or snow for the freezing process. It's recommended to set up your churning station outdoors to guarantee proper ventilation and space for the ice cream maker.
Once you've got your equipment in place, it's time to start the mixing and churning process. Begin by freezing the ice cream canister, then mix your ingredients – whether you're making a classic strawberry ice cream recipe or something more unique.
Pour the mixture into the canister and churn for approximately 30 minutes to one hour. The combination of ice and rock salt in the ice cream maker creates the best environment for freezing and churning the ingredients effectively.
Remember to maintain a consistent churning speed throughout the process to achieve the desired creamy texture in your homemade ice cream.
Freezing the Mix
With your churning station set up and equipment ready, you're about to begin on the most exciting part of the ice cream making process: freezing the mix. This is where the magic happens, and your ingredients transform into a creamy, dreamy treat.
To freeze the ice cream, you'll be using your electric ice cream maker. Churning the ice cream in this machine helps incorporate air and prevents ice crystals from forming, resulting in a smooth, even texture.
Here's what you can expect during the churning process:
- Combine your chilled ingredients in the canister and churn following the machine's instructions.
- The churning time will vary from 30 minutes to one hour, depending on the recipe and machine size.
- As the mixture churns, it will gradually freeze and thicken into a creamy texture.
- Proper churning guarantees a smooth consistency and even distribution of flavors in your homemade ice cream.
Remember to stay patient and let the machine do its job. Before you know it, you'll be scooping out a delicious batch of freshly churned ice cream!
Four-Quart Ice Cream Creations
You'll love whipping up a batch of four-quart ice cream recipes, perfect for satisfying the sweet tooth of a crowd or stocking your freezer with a favorite flavor.
These recipes cater to larger gatherings or big families, offering a rich and creamy texture that's hard to resist. Popular choices include Peanut Butter Ice Cream and Very Berry Strawberry Ice Cream, but you can also experiment with classic flavors like vanilla ice cream or decadent Chocolate Ice Cream.
When it comes to cream ingredients, you can't go wrong with high-quality cream, sugar, and a pinch of salt. The result is a smooth and indulgent treat that's sure to please.
If you're feeling adventurous, try mixing in nuts, candy pieces, or fruit to create unique flavor combinations. With four-quart recipes, the possibilities are endless, and you can indulge in a big batch of your favorite flavor.
Tips for Perfect Homemade Ice Cream

One vital step in achieving perfect homemade ice cream is preparing your equipment beforehand, as freezing the ice cream canister before churning helps maintain the ideal temperature for the ice cream mixture. This guarantees that your ice cream maker can work its magic efficiently.
To take your homemade ice cream to the next level, follow these additional tips:
- Set up a churning station outdoors to secure proper ventilation and space for your ice cream maker.
- Follow recipe measurements precisely, as this is essential for achieving the desired consistency and flavor.
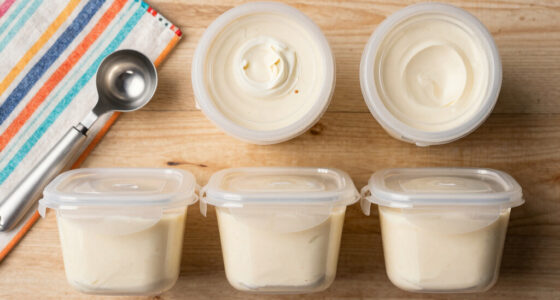
- Store freshly churned ice cream in a freezer-safe container to prevent it from melting and maintain its texture.
- Experiment with different mix-ins like chocolate chips or nuts to add extra flavor and texture to your homemade ice cream.
Frequently Asked Questions
How Long to Churn Ice Cream in an Ice Cream Maker?
When making ice cream, you'll typically need to churn it for 20-30 minutes to get that perfect creamy consistency. However, you should check the manufacturer's instructions and monitor the mixture to avoid over- or under-churning!
Is It Better to Churn Ice Cream Fast or Slow?
You're wondering if you should churn ice cream fast or slow – it depends on the texture you're after! Fast churning yields smaller crystals and a smooth texture, while slow churning incorporates more air for a lighter, fluffier treat.
How to Make the Best Quality Ice Cream?
To make the best quality ice cream, you're using high-quality ingredients, right? Fresh dairy, eggs, and real vanilla are a must for amazing flavor and texture.
How to Make Ice Cream Using an Ice Cream Machine?
You'll start by preparing your ingredients and freezing the canister, then mix and pour them in, churning for 30 minutes to an hour, and finally, transfer the creamy treat to a container and freeze to enjoy!
What are the best ice cream recipes for a homemade ice cream maker?
Looking for the best ice cream recipes with maker? Try classic flavors like vanilla or chocolate, or get creative with unique options like salted caramel or mint chocolate chip. Whichever recipe you choose, using a homemade ice cream maker will ensure a delicious and creamy treat for any occasion.
Conclusion
You've churned up a storm, and now your freezer is stocked with creamy, dreamy ice cream!
You've mastered the art of ice cream making, and your taste buds are doing the happy dance.
Just like a conductor leading an orchestra, you've harmoniously blended flavors and textures to create sweet symphonies.
Your ice cream maker has been your trusty sidekick, helping you create unforgettable treats.
Keep on churning, and remember, the possibilities are endless!