
Create your very own tasty ice cream by shaking a ziplock bag filled with milk, sugar, and vanilla extract. This easy and enjoyable DIY recipe doesn’t require any fancy machines. Let your creativity run wild with various flavors and mix-ins to customize to your liking. The shaking process will result in a smooth and creamy texture for your ice cream. Add your favorite toppings like fresh fruit or nuts for that extra special touch. Are you ready to make your own delicious frozen treat? Give it a shot and savor the sweet results!
Key Takeaways
- Simple DIY method for making ice cream without an ice cream maker.
- Engaging family activity promoting creativity and teamwork.
- Shake to incorporate air for creamy, smooth texture.
- Customize flavors with mix-ins like fruit or cookies.
- Top with sprinkles, nuts, or fruit for added flavor and texture.

The Amorino Guide to Gelato: Learn to Make Traditional Italian Desserts―75 Recipes for Gelato and Sorbets
As an affiliate, we earn on qualifying purchases.
Recipe Overview
To make ice cream in a bag, you'll follow a simple recipe that requires no ice cream maker. This fun project can be completed in just 5 minutes, making it a great activity for kids.
The basic ingredients needed for this vanilla ice cream recipe are milk, sugar, vanilla extract, ice, and salt.
Start by combining milk, sugar, and vanilla extract in a small plastic bag. Seal the bag tightly to avoid any leaks.
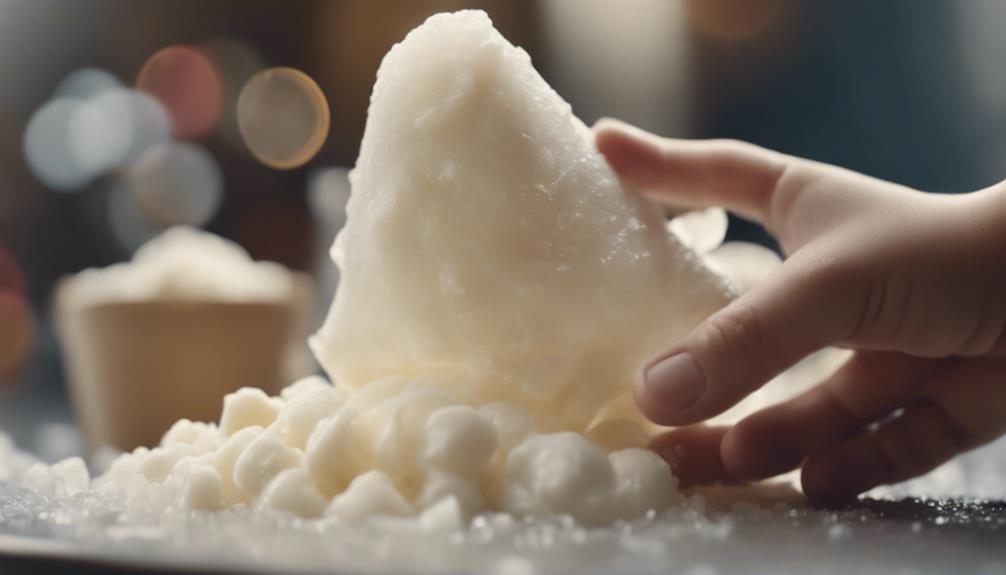
Fill a larger plastic bag with ice and add salt to help lower the temperature. Place the smaller bag with the ice cream mixture into the larger bag of ice. Seal the larger bag securely.
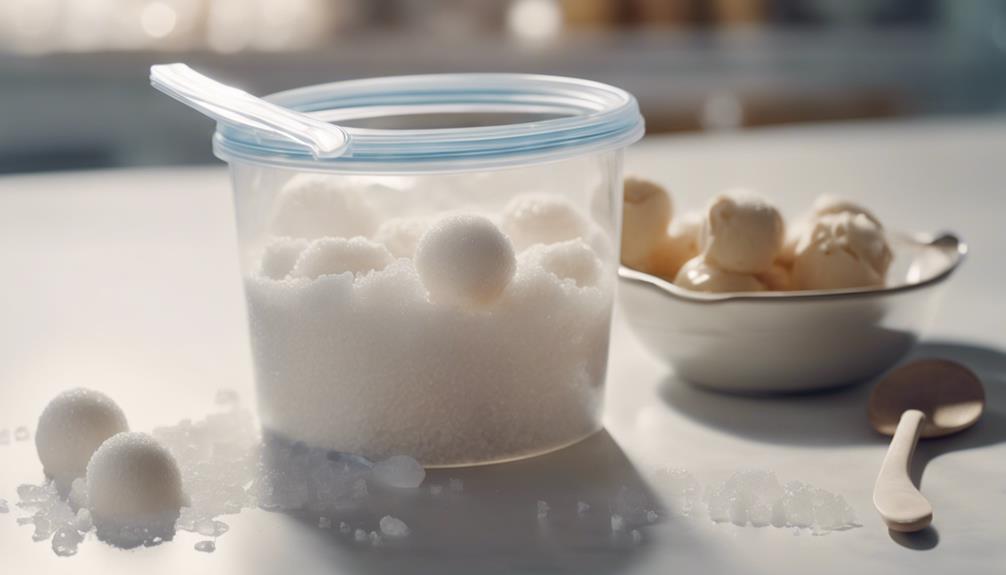
Now comes the fun part! Shake the bag vigorously for about 5-10 minutes. The shaking motion will help freeze the ice cream mixture, creating a creamy texture.
Once the mixture has solidified, take out the smaller bag, scoop out the homemade ice cream, and enjoy your delicious treat! You can also add toppings or sauces to your scoops ice cream for an extra burst of flavor. Don’t forget to share with your friends and family, as this homemade ice cream is sure to be a hit with everyone! Whether you enjoy it in a cone or a bowl, this creamy and delicious dessert is the perfect way to cool off on a warm day.
![The Perfect Scoop, Revised and Updated: 200 Recipes for Ice Creams, Sorbets, Gelatos, Granitas, and Sweet Accompaniments[A Cookbook]](https://m.media-amazon.com/images/I/41ypbZfII5L._SL500_.jpg)
The Perfect Scoop, Revised and Updated: 200 Recipes for Ice Creams, Sorbets, Gelatos, Granitas, and Sweet Accompaniments[A Cookbook]
As an affiliate, we earn on qualifying purchases.
Ingredients and Equipment
For making ice cream in a bag, gather half-and-half, sugar, vanilla extract, ice, salt, two plastic bags of different sizes, and your shaking muscles. The ingredients typically include half-and-half, sugar, vanilla extract, ice, and salt.
You'll need two different sized plastic bags, one for the ice cream mixture and one for the ice and salt. This method is a quick and easy way to make homemade ice cream without an ice cream maker.
- Homemade Ice Cream without an Ice Cream Maker: This DIY method allows you to enjoy delicious ice cream without the need for a specialized appliance.
- Interactive Activity for Families: Making ice cream in a bag is a fun and engaging activity, perfect for involving kids and family members.
- Incorporating Air for Creamy Texture: The shaking process not only mixes the ingredients but also helps aerate the mixture, resulting in a creamy texture for the ice cream.

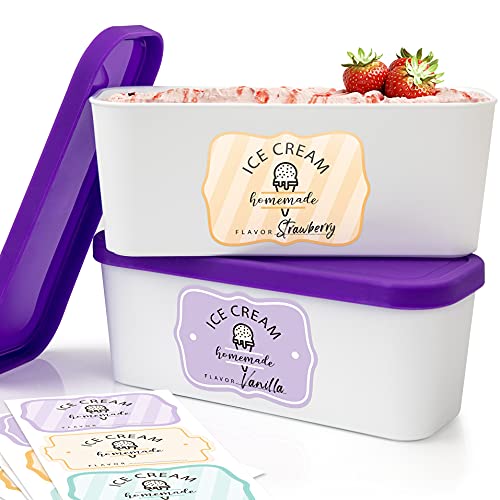
ZICOTO Set of 3 Reusable Ice Cream Containers 1 Quarts ea. - Perfect for Homemade Sorbet, Frozen Yogurt Or Gelato - Stackable Storage Pint Containers, Stickers And Lids Stores Easily In Freezer
Indulge In Homemade Delights: Savor the joy of crafting frozen delights at home and the heavenly pleasure of...
As an affiliate, we earn on qualifying purchases.
Step-by-Step Instructions

You've gathered your ingredients and equipment, now it's time to follow the simple step-by-step instructions to make your ice cream in a bag. First, mix together milk, sugar, and vanilla in a small resealable plastic bag. Then, fill a larger resealable plastic bag with ice and rock salt. Place the small bag inside the larger bag and shake vigorously for about 5-8 minutes until the ice cream mixture thickens. And there you have it – a delicious chocolate ice cream recipe that’s easy to make and fun for the whole family!
Grab your half-and-half, sugar, and vanilla for a delicious treat that you can whip up in no time.
Don't forget to check out the handy nutritional information to keep track of your homemade dessert!
Equipment Needed
Gather two gallon-size Ziploc bags, ice, rock salt, half-and-half, sugar, and vanilla extract to prepare for making ice cream in a bag. To get started, make sure you have the following equipment ready: – a large bowl, a small bowl, and a whisk. Once you have everything you need, fill one gallon-size Ziploc bag halfway with ice and add 1/2 cup of rock salt. In the small bowl, mix together 1 cup of half-and-half, 2 tablespoons of sugar, and 1 teaspoon of vanilla extract. Pour the mixture into the second gallon-size Ziploc bag, seal it tightly, and place it inside the bag of ice. Seal the outer bag tightly and shake vigorously for about 5 minutes, or until the ice cream has thickened. This method is a fun and easy way to make homemade ice cream, and it’s perfect for transporting ice cream with dry ice for picnics or other outdoor events.
- Ice and Rock Salt: These are essential for creating a freezing mixture that will help turn your ingredients into delicious ice cream.
- Smaller Bag Inside: You'll need a smaller resealable plastic bag to hold the ice cream mixture.
- Vanilla Extract: Use this to add flavor to your homemade ice cream.
This method offers a creative alternative to using a fancy ice cream maker. By utilizing simple items like Ziploc bags, ice, and rock salt, you can whip up a delightful treat with as much air as possible, resulting in a creamy and smooth texture.
Get ready to enjoy a fun and interactive way to make ice cream at home!
Simple Instructions
To make ice cream in a bag, follow these simple step-by-step instructions. Start by pouring milk, sugar, and vanilla extract into a small bag. Seal the bag tightly, ensuring it's well closed.
Fill a larger Ziploc bag halfway with ice and add salt. Place the small bag with the ice cream mixture into the larger bag with the ice and seal it securely.
Now comes the fun part – shaking the bag! Shake the bags vigorously for about 5-10 minutes until the ice cream mixture thickens and becomes creamy. Make sure to wear gloves or use a towel to avoid freezing your hands.
Once the ice cream reaches your desired consistency, carefully remove the small bag from the ice-filled bag. Open the small bag, add your favorite mix-ins like chocolate chips, and give it a gentle stir.
Your homemade ice cream is ready to enjoy! It's a delightful and interactive activity that allows you to customize your frozen treat to your liking.
Nutritional Information
Discover the nutritional breakdown of this DIY ice cream recipe with approximately 132.38kcal per serving, including 18.37g of carbohydrates, 3.84g of protein, and 3.97g of fat.
This delightful treat also contains only 52.94mg of sodium in each serving. If you're watching your intake, here's what you need to know:
- Serving Size: Each recipe makes one serving.
- Calories: Approximately 132.38kcal per serving.
- Macronutrients:
- Carbohydrates: 18.37g
- Protein: 3.84g
- Fat: 3.97g
This ice cream in a bag recipe isn't only a quick and fun treat to make but also provides a good balance of macronutrients per serving.
In addition to its nutritional value, it's also a low-sodium option, making it a suitable choice for those watching their sodium intake.
With a short preparation time of only 5 minutes, you can enjoy this homemade ice cream in no time.
Set of 2 Reusable Ice Cream Tub Containers 1.6 Quart Ea. - Perfect for Homemade Sorbet, Frozen Yogurt Or Gelato - Stackable Storage Containers, Stickers And Lids Stores Easily In Freezer
Perfect For Homemade Ice Cream & More: The ice cream tub set of 2 is a great way...
As an affiliate, we earn on qualifying purchases.
Ice Cream Variations

Let's talk about the exciting world of ice cream variations!
From classic flavors like mint chocolate chip to innovative options like vegan coconut banana, there are endless possibilities to explore.
Get ready to experiment with different toppings and mix-ins to create your own delicious and unique frozen treats.
Flavorful Ice Cream Options
Exploring a variety of flavorful ice cream options opens up a world of delicious possibilities for your taste buds. When it comes to creating your favorite ice cream, there are endless ways to customize and experiment:
- Flavor Your Ice Cream: Try different flavors like strawberry, chocolate, lemon, peach, or cookie dough to tantalize your taste buds.
- Dairy Alternatives: Opt for dairy alternatives like coconut milk to enjoy a non-dairy option that's just as creamy and delicious.
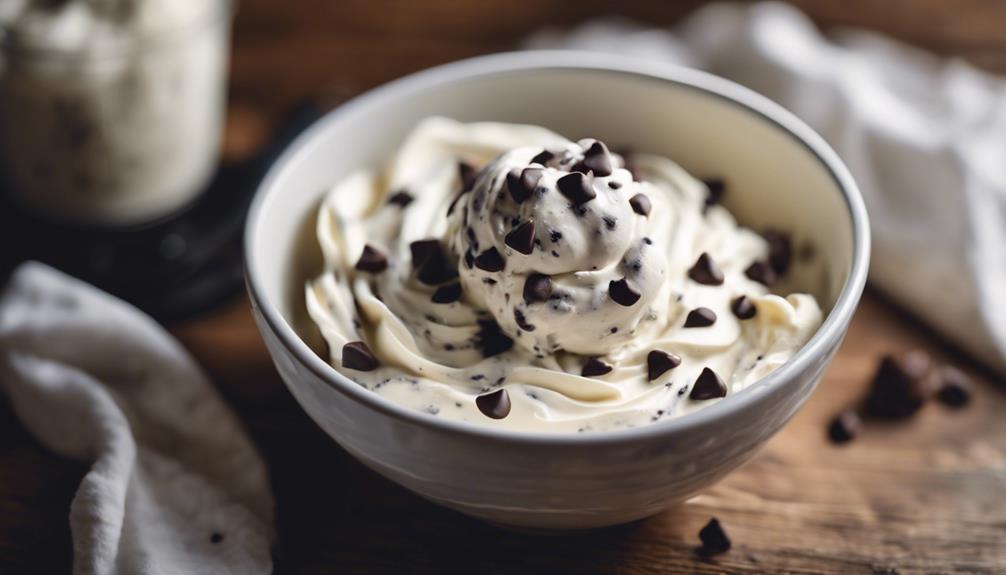
- Mix-Ins: Enhance your homemade ice cream with mix-ins such as Oreo cookies, nuts, strawberries, or chocolate chips for added texture and flavor.
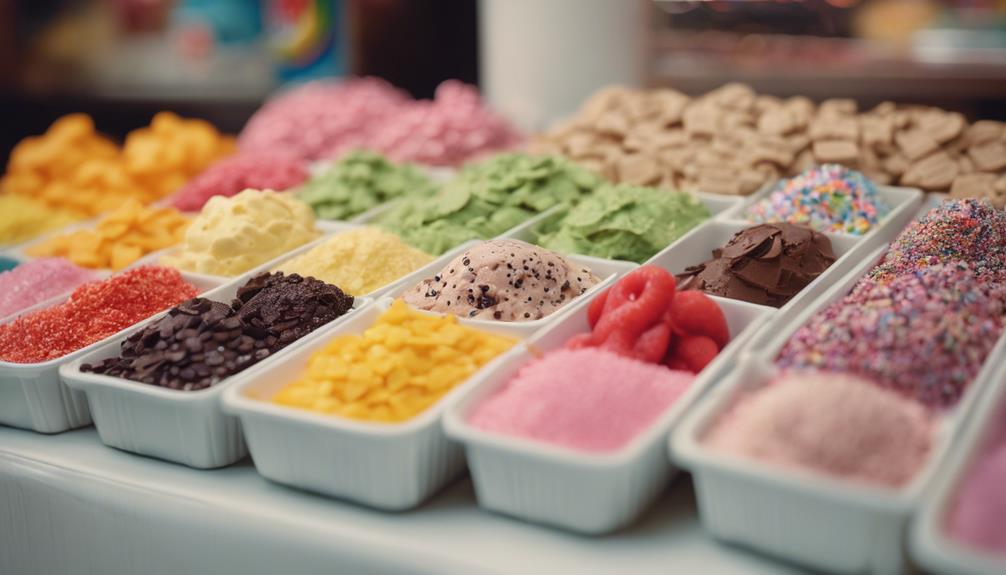
Creative Topping Ideas
Enhance your ice cream experience with an array of creative toppings to elevate the flavors and textures of your favorite frozen treat. Get creative with toppings like chopped Oreos, fresh fruit, colorful sprinkles, crunchy nuts, or chewy gummy candy to add a burst of flavor and fun to your ice cream. Experiment with different combinations to discover your perfect mix of sweet and crunchy toppings that complement the creamy base.
For a unique twist, try out variations like Mason Jar Ice Cream, where you can layer your favorite toppings between scoops of ice cream in a cute mason jar. Immerse yourself in the nostalgia of Dunkaroos No-Churn Ice Cream, combining the classic cookie flavor with creamy goodness.
If you're looking for a lighter option, opt for an invigorating Sorbet topped with a medley of fresh fruit for a burst of natural sweetness.
Customize your ice cream bowl with a variety of toppings to suit your cravings and mood, making each serving a delightful and personalized treat. Enjoy the process of experimenting with different flavors and textures to create a truly indulgent ice cream experience.
Nutrition Information
Regularly ponder the nutrition information of homemade ice cream in a bag to make informed dietary choices. When indulging in this sweet treat, here's what you should know about a single serving:
- Calories: A serving of homemade ice cream in a bag contains approximately 462 calories.
- Carbohydrates, Protein, and Fat: Each serving has 16g of carbohydrates, 2g of protein, and 44g of fat.
- Sodium Content: The sodium content per serving is around 9494mg.
Being aware of the nutritional content of your homemade ice cream can help you balance your overall diet. While this dessert is delicious and fun to make, consuming it in moderation is key to a healthy lifestyle.
Remember to ponder the serving size and the impact it may have on your daily intake of saturated fat, granulated sugar, and other nutrients. By staying informed, you can enjoy your ice cream guilt-free and keep your health goals on track.
Reader Engagement

Engage with fellow readers by sharing your ingredient substitutions, method variations, and recipe improvement suggestions in the comments below. Reader engagement is essential in creating a dynamic community of ice cream enthusiasts.
Share your success stories of making this delightful treat with students and kids, along with fun variations that brought a smile to everyone's face.
Don't forget to discuss nutrition information per serving, including calorie count and macronutrient breakdown, to help others make informed choices.
Your feedback on ingredient substitutions, like using different types of salt or adding mix-ins such as nuts and marshmallows, can inspire others to get creative in the kitchen.
Encourage each other through comments and star ratings, and feel free to offer tips on maximizing flavor with unique toppings.
Together, we can continuously improve this recipe and make it a crowd favorite!
Serving Suggestions
When serving ice cream in a bag, consider complementing it with a variety of toppings to enhance the overall experience for your guests. Adding toppings can elevate the flavors and textures, creating a more interactive and fun activity for everyone involved.
Here are three serving suggestions to make your homemade ice cream even more delightful:
- Sprinkles and Chocolate Chips: Sprinkles add a pop of color and crunch, while chocolate chips bring a rich and indulgent element to your ice cream.
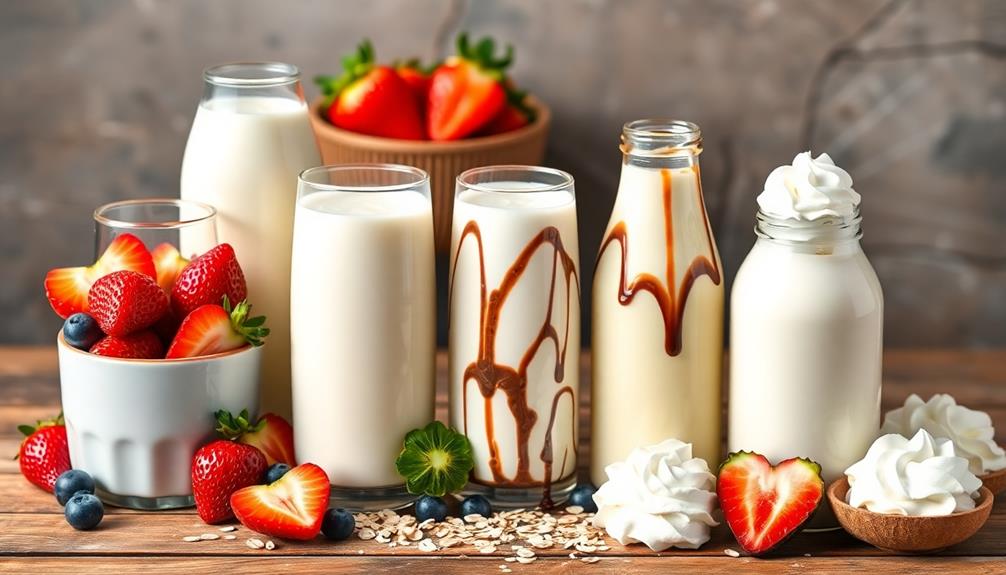
- Fresh Fruit: Sliced strawberries, blueberries, or bananas can provide a revitalizing contrast to the creamy ice cream, making it a perfect choice for outdoor activities or family gatherings.
- Whipped Cream and Caramel Sauce: A dollop of whipped cream and a drizzle of caramel sauce can take your DIY ice cream to the next level, creating a decadent treat that will be a hit with everyone.
These serving suggestions won't only enhance the taste of your ice cream but also make it a memorable and enjoyable experience for all your guests.
Frequently Asked Questions
How to Make Ice Cream in a Bag in 5 Minutes?
To make ice cream in a bag in 5 minutes, pour milk, sugar, and vanilla in a small bag. Seal it, then place in a larger bag with ice and salt. Shake for 5 mins until creamy. Enjoy your homemade treat!
How to Make Ice Cream in 2 Minutes?
Grab your ingredients like a flurry of snowflakes. Pour, shake, and freeze in a whirlwind. In just 2 minutes, you'll have a frosty delight ready to scoop up. Enjoy homemade ice cream in a jiffy!
How to Make Ice Cream at Home in 10 Minutes?
To make ice cream at home in 10 minutes, you'll mix simple ingredients in a bag, shake vigorously for a creamy texture. No fancy equipment needed, just your hands and a few pantry staples. Enjoy your homemade treat!
How to Make Ice Cream in a Bag With Dry Ice?
When making ice cream in a bag with dry ice, remember to handle it carefully due to its extreme cold. You can purchase dry ice from local stores or online for a quick and fun freezing experience.
Conclusion
Now that you've made your own delicious ice cream in a bag, go ahead and treat yourself to a sweet, chilly delight! Remember, the best things in life are often the simplest.
So savor every scoop of this homemade treat and create lasting memories with your family and friends. Life is like ice cream – enjoy it before it melts away.