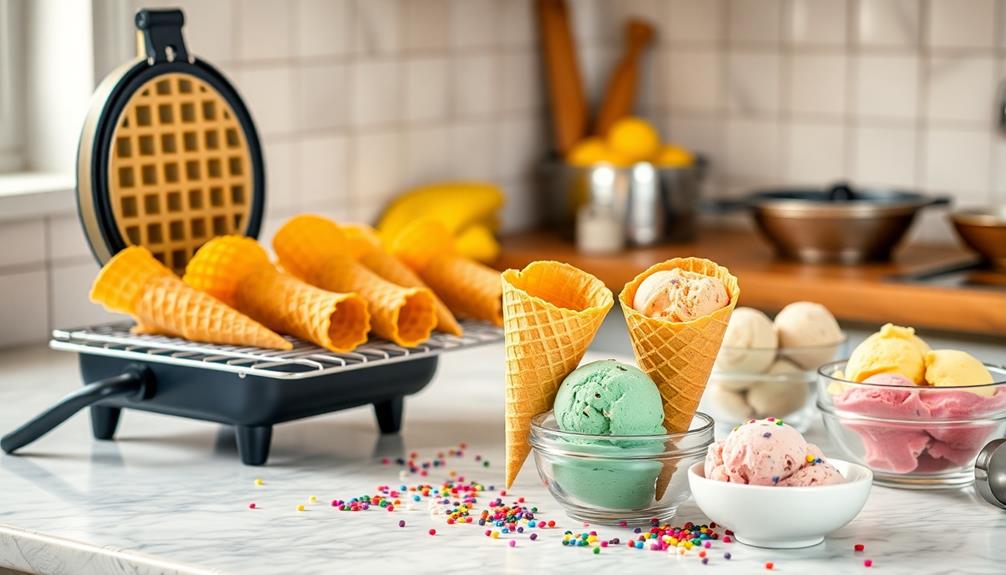

You can easily make waffle cones at home with simple ingredients. Start by beating 2 egg whites with ½ cup sugar and 1 teaspoon vanilla until frothy. Gradually mix in ⅓ cup all-purpose flour, a pinch of salt, and 2 tablespoons melted butter. Let the batter rest for about 10 minutes. Preheat your waffle cone maker and brush it with oil. Pour in 2 tablespoons of batter and cook for about 1 minute and 30 seconds. Roll the warm cone around a mold to shape it, and cool it seam side down. There's plenty more to explore as you create these treats!
Key Takeaways
- Beat together egg whites, granulated sugar, and vanilla extract, then mix in flour, salt, and melted butter to create the batter.
- Preheat waffle cone maker, brush with oil, and use about 2 tablespoons of batter per cone.
- Cook the batter for 1 minute and 30 seconds until golden brown, then roll the warm waffle around a cone mold.
- Allow shaped cones to cool seam side down for 2-3 minutes to maintain their structure and crispness.
- Store cones in an airtight container at room temperature for up to four days, or freeze for longer storage.

The Amorino Guide to Gelato: Learn to Make Traditional Italian Desserts―75 Recipes for Gelato and Sorbets
As an affiliate, we earn on qualifying purchases.
Ingredients for Waffle Cones
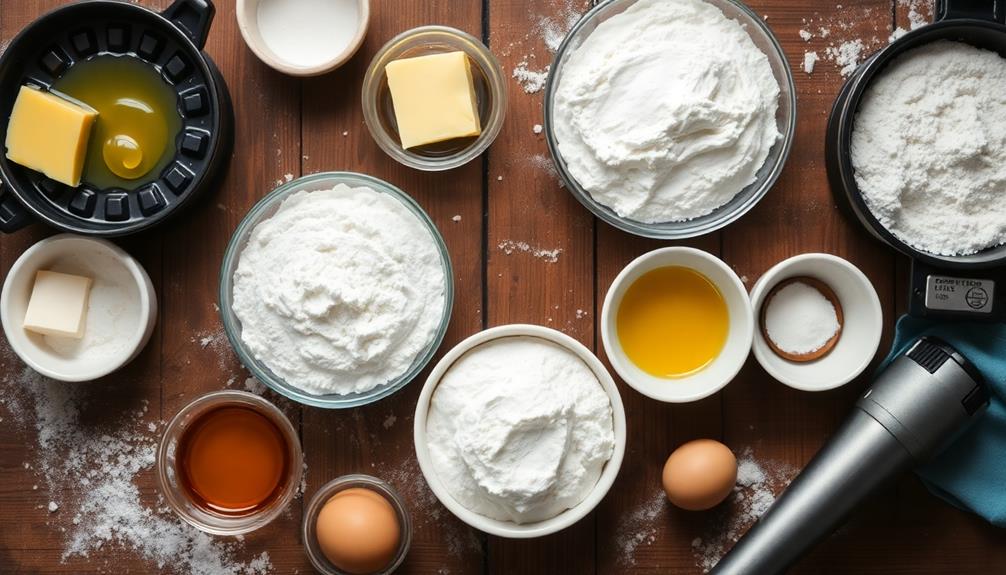
When making waffle cones, you'll want to gather a few essential ingredients to guarantee they turn out perfectly. The base of your homemade waffle cone batter includes egg whites, granulated sugar, vanilla extract, all-purpose flour, melted unsalted butter, and a pinch of salt.
These ingredients work together to create that delightful texture and flavor you expect from a great waffle cone.
To add a special twist, consider mixing in chocolate chips. They not only boost the flavor but also help seal the cone against melting ice cream, ensuring your treat holds up longer.
Remember, the quality of your ingredients directly impacts the final result—so opt for fresh, high-quality components whenever possible.
You can also experiment with various extracts or flavorings to create unique waffle cones that reflect your taste preferences or dietary needs. This flexibility allows you to customize your cones, making them even more enjoyable.
Typically, this recipe yields about eight homemade waffle cones, giving you plenty to serve alongside your favorite ice cream flavors.
![The Perfect Scoop, Revised and Updated: 200 Recipes for Ice Creams, Sorbets, Gelatos, Granitas, and Sweet Accompaniments[A Cookbook]](https://m.media-amazon.com/images/I/41ypbZfII5L._SL500_.jpg)
The Perfect Scoop, Revised and Updated: 200 Recipes for Ice Creams, Sorbets, Gelatos, Granitas, and Sweet Accompaniments[A Cookbook]
As an affiliate, we earn on qualifying purchases.
Making the Batter
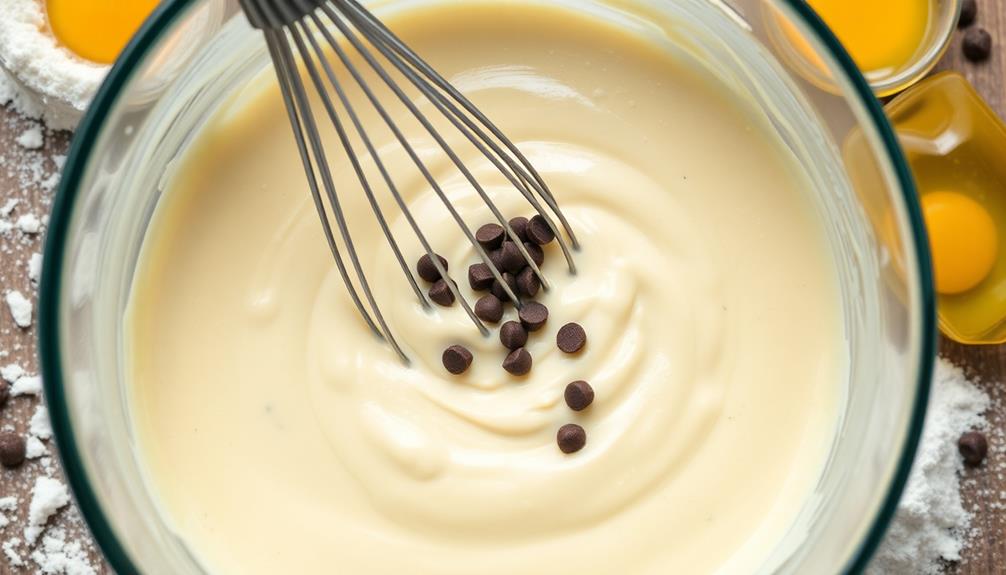
To create a smooth and delicious waffle cone batter, start by beating together 2 egg whites, 1/2 cup granulated sugar, and 1 teaspoon vanilla extract in a medium bowl until the mixture is well combined and slightly frothy. This will form the base of your batter. Gradually add in 1/3 cup all-purpose flour, mixing continuously until the batter is smooth and uniform.
Next, incorporate a pinch of salt and 2 tablespoons of melted unsalted butter into the batter. This step is essential, as the butter adds richness and helps with the texture of your cones. Make sure all ingredients are thoroughly combined for the best results.
Once your batter is ready, allow it to rest for about 10 minutes. This resting period is important because it improves the texture and consistency, making it easier to achieve perfect cone formation when you cook your batter.
If you want to get creative, consider mixing in optional ingredients like chocolate chips or ground cinnamon for an extra flavor boost. Now you're set to move on to the next step in making your waffle cones!

Cuisinart Ice Cream Cookbook for Beginners: Create Perfect Frozen Treats with Cuisinart Ice Cream Recipes | Enjoy Classic Ice Creams, Fruity Sorbets, Rich Gelatos, Creamy Frozen Yogurts & More
As an affiliate, we earn on qualifying purchases.
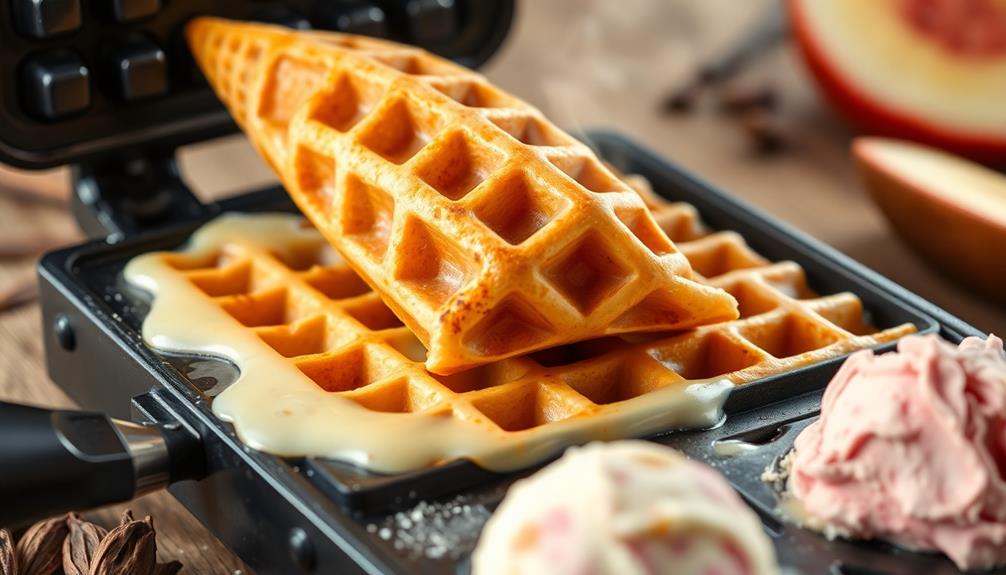
Cooking the Waffle Cones
To cook your waffle cones perfectly, you'll need to master timing and temperature control.
Start by preheating your waffle cone maker and applying a bit of oil to prevent sticking.
Once you pour in the batter, shaping the cone quickly is key to achieving that ideal crispiness.
Essential Cooking Techniques
Preheating your waffle cone maker is essential for achieving that perfect crispy texture. Start by setting your maker to #4 and let it heat for 5 minutes. Once it's ready, brush both sides with vegetable oil to prevent sticking. For your homemade waffle cone recipe, use about 2 tablespoons of batter, placing it onto the center of the waffle maker.
Here's a quick overview of the essential cooking techniques:
| Step | Action | Duration |
|---|---|---|
| Preheat the maker | Set to #4 | 5 minutes |
| Add batter | Pour 2 tablespoons | – |
| Cooking time | Cook until golden brown | 1 minute 30 seconds |
As soon as the waffle cone turns golden brown, remove it and immediately roll it around a cone mold while it's still warm. This shapes the cone and seals the bottom to prevent leaks. Let the cone cool completely, seam side down, for a few minutes. This technique will guarantee you get that perfect crisp texture for your delicious waffle cones!
Timing and Temperature Control
Getting the timing and temperature just right is vital for making perfect waffle cones. Start by preheating your waffle cone maker for about 5 minutes on setting #4. This guarantees an even cooking temperature before you add the batter.
Use approximately 2 to 3 tablespoons of batter per cone, placing it in the center of the machine for ideal spreading and thickness.
Now, it's time to cook the waffle. Aim for a cooking time of about 1 minute and 30 seconds to 2 minutes. Keep an eye on the color; you want a beautiful golden brown hue to indicate that the cone is fully cooked without burning.
Adjust the cooking times based on your specific waffle cone maker, as different models may have slight variations in heat and timing for perfect results.
Once cooked, allow the waffle to cool seam side down for about 2-3 minutes. This step is vital for maintaining its structural integrity, making sure your cones don't collapse before you fill them.
With careful timing and temperature control, you'll create delightful waffle cones every time!
Shaping and Cooling Methods
Once you've cooked the waffle, it's essential to shape it quickly while it's still warm, as this prevents brittleness. Remove the waffle from the maker after about 1 minute and 30 seconds, then immediately roll it around a cone mold. Pinch the tip tightly to seal it, guaranteeing that ice cream won't leak out later.
Hold the formed cone in place for 2-3 minutes to allow it to cool and retain its shape effectively. This step is significant for maintaining the structure of your waffle cones.
Once cooled, place the cones seam side down on a cooling rack. This position helps preserve their crispness and prevents any unwanted bending.
Be cautious not to stack the cones while they cool, as they can become misshapen or soggy if they come into contact with one another.
Proper shaping and cooling are key to creating perfect waffle cones that are both sturdy and delicious. With these methods, you'll guarantee that each cone is ready to hold your favorite ice cream without any fuss. Enjoy your homemade waffle cones!

The Complete Cuisinart Homemade Frozen Yogurt, Sorbet, Gelato, Ice Cream Maker Book: 100 Decadent and Fun Recipes for your 2-Quart ICE-30BC
As an affiliate, we earn on qualifying purchases.
Shaping the Cones
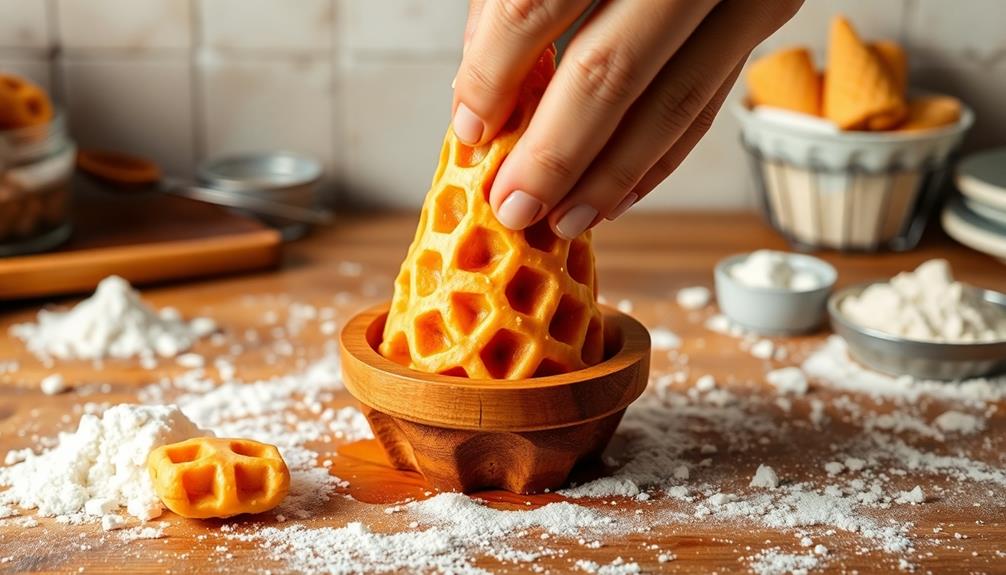
To shape your waffle cones, roll the warm waffle around a cone mold immediately after cooking. This step is vital for achieving the desired shape and stability. Confirm the seam is on the inside to maintain a secure seal, which prevents any leakage of ice cream later.
As you roll, pinch the tip of the cone to create a pointed shape that holds the filling well. After shaping, allow the cone to cool for 2-3 minutes while still on the mold. This cooling period helps the cone maintain its structure and crispness.
It's important to handle the hot waffle safely, so use a kitchen towel or gloves to minimize the risk of burns during this process. For added stability, verify the cone is tightly rolled and evenly shaped.
A well-shaped cone can support the weight of ice cream without collapsing, providing a delightful experience as you enjoy your homemade treat. By following these steps carefully, you'll create beautifully shaped waffle cones that are ready to be filled with your favorite flavors!
Storage Tips
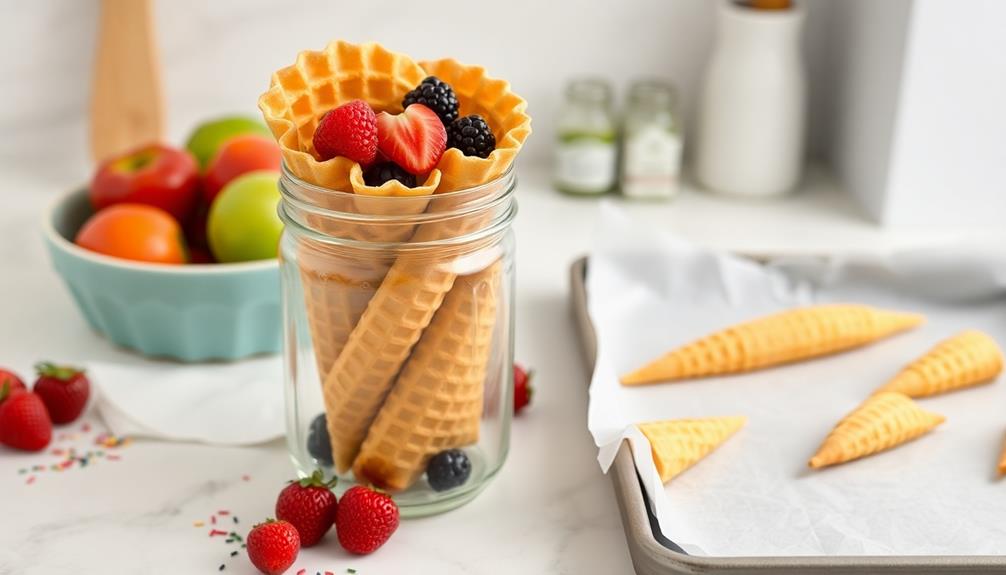
To keep your homemade waffle cones fresh and crispy, store them in an airtight container at room temperature for up to four days.
Avoid warm or humid places to prevent sogginess.
If you need to stack them, use parchment paper between layers to protect against crushing.
Optimal Storage Conditions
Keeping your homemade waffle cones fresh is all about proper storage. To maintain their crisp texture and prevent moisture absorption, store your cones in an airtight container at room temperature.
Avoid stacking the cones directly on top of each other; instead, place parchment paper between layers to prevent breakage and maintain their shape.
It's essential to keep the cones away from warm environments and humidity, as these conditions can lead to sogginess and reduce their shelf life. If you've properly cooled your cones, they can last up to a week when stored correctly.
However, for the best taste and crunchiness, you should consume them within a few days.
If you need to store them for a longer duration, consider freezing the cones. Wrap them tightly in plastic wrap or aluminum foil and place them in a freezer-safe bag.
When frozen properly, they can remain fresh for up to 2-3 months. Remember, ideal storage conditions are key to enjoying your homemade waffle cones at their best!
Preventing Softness Techniques
Proper storage is just the beginning when it comes to keeping your waffle cones crispy. To truly prevent softness, you need to follow some essential storage techniques.
Start by placing your homemade waffle cones in an airtight container at room temperature. This helps prevent moisture, which can lead to sogginess.
Here are some tips to maintain the crispness and texture of your cones:
- Avoid stacking: Don't stack cones directly on top of each other. Use parchment paper between layers to keep them from sticking together.
- Keep away from heat and humidity: Store your cones in a cool, dry place, away from heat sources and humidity that can quickly ruin their crunch.
- Re-crisp if necessary: If you notice any signs of softness, re-crisp your cones in a preheated oven at around 200°F for a few minutes before serving.
Ice Cream Pairings

When it comes to enjoying homemade waffle cones, selecting the right ice cream can elevate your treat to new heights. Best Ever Chocolate Ice Cream pairs beautifully with waffle cones, enhancing their crispy texture and rich flavor.
If you're after a revitalizing contrast, try Blueberry Ice Cream; its fruity burst complements the sweetness of the cone perfectly. It's important to remember that moderation is key when indulging in ice cream, as excessive consumption can lead to health issues like weight gain or diabetes, especially with high-sugar options like ice cream and health considerations.
For a summer twist, Peach Ice Cream adds a light and delightful flavor that harmonizes with the waffle cone's crispiness. Meanwhile, Strawberry Ice Cream enhances the cone's sweetness, creating a visually appealing and delicious combination.
You'll find that these flavors not only taste great but also make your ice cream cones look stunning.
Don't forget about classic Vanilla Bean Ice Cream, either! This timeless option allows the flavors of both the ice cream and the waffle cone to shine, making it a favorite for many.
Experiment with these pairings to discover your ultimate ice cream cone combination. With the right ice cream, your homemade waffle cones can transform into an irresistible treat that's perfect for any occasion!
Variations and Creative Ideas

Release your creativity in the kitchen by exploring exciting variations of waffle cones! Making waffle cones at home opens up a world of delicious possibilities.
For a rich chocolate twist, simply substitute some all-purpose flour with dark cocoa powder to create a delicious chocolate waffle cone. You can also enhance the flavor by adding ground cinnamon to the batter, giving it a warm, aromatic touch that pairs beautifully with any ice cream.
If you're looking for smaller portions, try making mini waffle cones using about three tablespoons of batter. They're perfect for kids or as a fun treat.
Here are some unique ideas to elevate your waffle cone experience:
- Dip the edges of your cones in melted chocolate for added flavor and a decorative touch.
- Roll your cones with filling ideas like Nutella and banana for a unique dessert experience.
- Use your cones as a base for waffle bowls topped with assorted toppings.
These variations not only make your waffle cones special but also inspire creativity with every scoop! Enjoy experimenting with these ideas for a delightful treat.
Frequently Asked Questions
How Do They Make Waffle Cones?
To make waffle cones, you mix egg whites, sugar, and flour, then cook the batter in a specialized maker. Once golden brown, you roll it into shape, allowing it to cool for structure.
What Can You Use if You Don't Have a Waffle Cone Maker?
If you don't have a waffle cone maker, don't sweat it! A stovetop waffle iron, non-stick skillet, or even a muffin tin can help you whip up some delightful cones or bowls for your treats.
How Do You Roll Homemade Waffle Cones?
To roll homemade waffle cones, carefully remove the warm waffle, then wrap it around a cone mold. Pinch the tip securely and let it cool in that shape to maintain its structure. Enjoy your creation!
Why Are My Homemade Waffle Cones Soggy?
Your homemade waffle cones might be soggy due to undercooking, high humidity, improper storage, or a too-wet batter. Guarantee you cook them until golden, store them properly, and maintain a balanced batter consistency.
Conclusion
Now that you know how to make delicious waffle cones at home, it's time to enjoy your sweet creations! Remember, "the proof of the pudding is in the eating." So, fill those cones with your favorite ice cream and savor every bite. Whether you keep it classic or get creative with flavors, you'll impress your friends and family. Happy cone-making, and don't forget to share your tasty treats! Enjoy every crunchy, creamy moment!