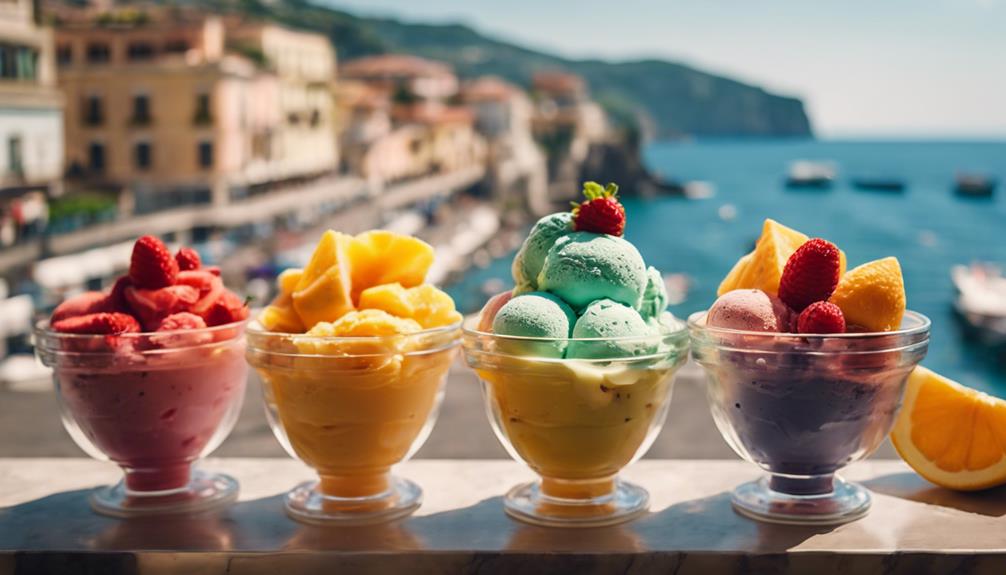
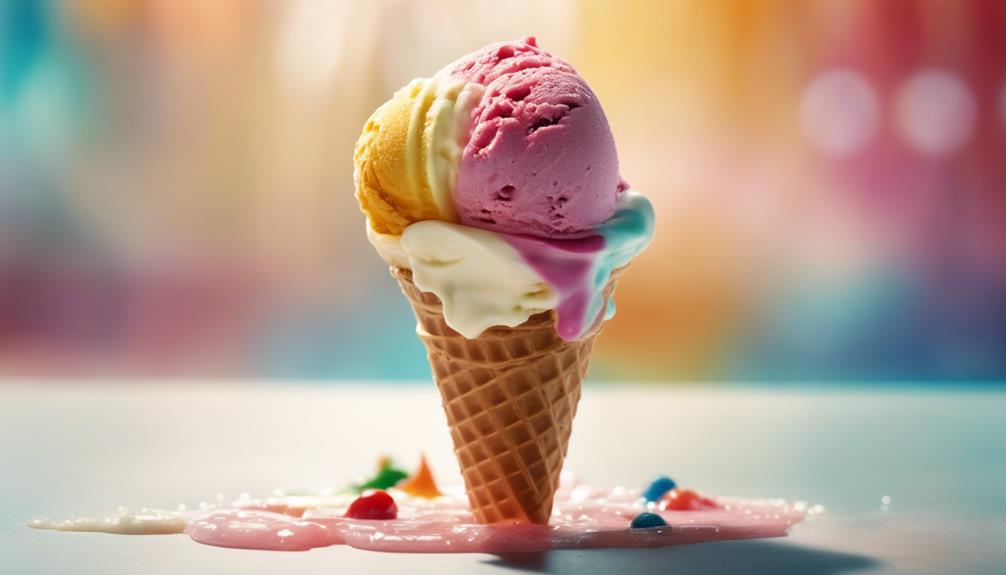
Create cute ice cream drawings effortlessly! Begin with a rounded dome shape for the ice cream and incorporate a stick to achieve a popsicle appearance. Ensure the stick is in the center and give it a friendly smile for character. Experiment with eye details to convey expressions. Consider using heart shapes to convey feelings of love. Enhance your artwork by adding drizzles with curved lines for dimension. Lastly, sprinkle decorations to enhance your artwork. Enjoy creating these delightful desserts!
Key Takeaways
- Start with a dome shape sketch for the ice cream.
- Add a stick for popsicle formation.
- Draw realistic eyes and a sweet smile for character.
- Incorporate heart shapes for whimsical design.
- Use drizzling and sprinkle techniques for decoration.

Amazon Basics Silicone Rectangular Baking Mat, Non-Stick, Reusable, Dishwasher Safe, Food Safe, Heat Resistant, 16.5" x 11.6", Beige/Gray, 2-Pack
- Package Includes: 2 reusable silicone baking mats
- Food Safety: Food-safe silicone material
- Non-Stick Surface: Releases food easily without oil
As an affiliate, we earn on qualifying purchases.
Dome Shape Sketch

To start drawing ice cream, sketch a large curved form at the top to outline the dome of the ice cream. This dome shape is essential as it establishes the base for your sweet illustration. Make sure the curve is smooth and rounded to capture the authentic look of ice cream.
Using gentle pencil strokes, carefully outline the dome shape, ensuring it's slightly flattened at the top to imitate the classic scoop appearance. By concentrating on getting this dome shape just right, you set the foundation for the remainder of your ice cream drawing.
Pay attention to the intricacies and proportions as you work on this initial sketch, as they'll significantly impact the overall appearance of your ice cream illustration. Remember, practice makes perfect, so don't hesitate to adjust and refine your dome shape until you're content with it.
Popsicle Formation

To form a popsicle, start by drawing a large curve for the shape and then bring it down smoothly.
Next, add a stick with two straight lines connected at the bottom.
These simple steps will help you create the basic popsicle structure before adding more detailed features.
Shape of Popsicle
Start by sketching a large curve at the top to establish the dome shape of the popsicle. Next, bring the curve down smoothly and symmetrically to create the basic popsicle shape. It's vital to make sure that the sides are even and well-balanced to maintain a pleasing appearance.
Adding a stick is essential; draw two straight lines connected with a curve at the bottom of the popsicle to complete its look.
The shape of the popsicle sets the foundation for the rest of your illustration. Make sure the curves are gentle and the lines are clean, giving your popsicle a realistic and appealing appearance. A well-formed popsicle will serve as the focal point of your drawing, capturing the essence of this delightful treat.
Adding Stick Detail
Consider improving the authenticity of your popsicle illustration by carefully incorporating the stick detail, made up of two straight lines connected by a curved line at the base. When adding the stick to your popsicle drawing, make certain to keep the lines straight and the curve smooth for a polished look. Here's a simple guide to help you with this step:
| Step | Instructions | Example |
|---|---|---|
| 1 | Draw two vertical straight lines. |  |
| 2 | Connect the bottom of the lines with a curved line. |  |
| 3 | Verify the stick is centered and proportionate. |  |
| 4 | Finalize by adding any additional details. |  |
Now that you have the stick detail in place, go ahead and complete your popsicle illustration with confidence. Adding this small element will make a significant difference in the overall appearance of your drawing.
Stick Addition

When adding a stick to your ice cream drawing, remember to keep it centered and proportional for a realistic touch.
Connect two straight lines with a curved base to form the stick.
This step completes the traditional look of a classic popsicle treat.
Stick Structure
Add the stick to your ice cream drawing by creating two straight lines connected with a curve at the base. Confirm that the stick is centered under the ice cream cone to maintain balance and proportion.
Here are some tips to help you perfect the stick structure:
- Proportion Matters: Make certain the stick is the appropriate size in relation to the ice cream cone; too big or too small can throw off the illustration.
- Secure Attachment: Draw the stick firmly attached to the base of the ice cream cone for stability and realism.
- Complementary Design: The stick should flow naturally with the overall shape and design of the ice cream, enhancing the visual appeal of your drawing.
Attaching Stick
To attach the rod to your ice cream drawing, draw two straight lines extending from the base of the popsicle and connect them with a curved line to form the rod. Make sure the rod is centered and proportionate to the popsicle for a balanced look. Adding texture like wood grain or a glossy finish can enhance realism. Adjust the rod's length and thickness to match the popsicle's size and shape for a cohesive appearance.
| Rod Attachment Tips |
|---|
| Draw two straight lines from the popsicle's base. |
| Connect lines with a curved line to create the rod. |
| Keep rod centered and proportional for balance. |
| Add texture or details like wood grain for realism. |
| Adjust rod length and thickness based on popsicle size. |
Eye Drawing Technique

For creating realistic and expressive eyes in your ice cream drawings, start by using two circles of different sizes to form the basic structure. This technique will give your ice cream character a cute and lively appearance.
To further enhance the eyes, consider the following tips:
- Add highlights inside the eyes: Incorporate smaller circles or ovals to make the eyes look shiny and full of life.
- Experiment with pupil sizes and positions: Different sizes and placements of pupils can convey various emotions or expressions in your drawing.
- Include eyelashes or eyelids: Adding these details can give your ice cream character unique features and personality.
Sweet Smile Detailing

Enhancing your ice cream drawing with a sweet smile detailing can infuse personality and warmth into the character, elevating its charm and appeal. A simple curved line placed strategically under the eyes of your ice cream illustration can create an adorable smile, making the popsicle look friendly and inviting. By incorporating a sweet smile, you can enhance the emotional appeal of your ice cream drawing, making it more relatable and endearing to your audience.
The addition of a smile can complement the overall cuteness of the popsicle design, adding a touch of playfulness to the character. This sweet detailing not only brings character to your illustration but also helps to establish a connection with the viewer through its friendly and approachable demeanor.
Experiment with different smile variations to find the perfect expression that suits your ice cream drawing's personality and style.
Blush Application

Adding blush to the cheeks of your ice cream character brings a touch of color and liveliness to the illustration. It's a simple yet effective way to enhance the cuteness and charm of your drawing.
Here's how you can make your ice cream character blush come to life:
- Choose the Right Tone: Opt for pink or peach blush tones to complement the sweetness of your ice cream character. These colors will help create a warm and inviting look.
- Adjust Intensity: Depending on the desired effect, you can apply the blush lightly for a subtle hint of color or more heavily for a rosy-cheeked appearance. Experiment with different intensities to find the perfect balance.
- Placement Matters: The placement of the blush on the cheeks can convey different emotions. For a softer look, apply the blush higher on the cheeks. If you want a more pronounced blush, focus the color on the apples of the cheeks.
Heart Shape Inclusion

To add an extra dose of cuteness and charm to your ice cream illustration, consider incorporating a heart shape into the design near the top of the popsicle. This simple addition can elevate the visual appeal of your drawing and make it more engaging.
By adding a heart shape, you can personalize the illustration and create a sweet touch that resonates with viewers.
When drawing the heart shape, you can choose to color it in a contrasting hue to make it stand out and add charm to the overall design. The heart shape near the top of the popsicle can evoke feelings of love and happiness, making your artwork more endearing and appealing to the eye.
This uncomplicated addition can make a significant difference in the overall look and feel of your ice cream illustration, adding a touch of whimsy and sweetness.
Drizzling Technique

Try incorporating the drizzling technique in your ice cream drawing to bring a realistic touch of liquid or sauce flowing over the popsicle. Drizzling adds depth and movement to your illustration, making it more appealing to the eye.
Here are some tips to master the art of drizzling on your ice cream popsicle:
- Random Curved Lines: Create a natural look by drawing curved lines in a random pattern to simulate the flow of melted ice cream or syrup on the popsicle.
- Vary Length and Thickness: Experiment with different lengths and thickness of the drizzles to give your drawing a dynamic and realistic appearance.
- Unique Styles and Patterns: Explore various drizzling styles and patterns to add a creative twist to your ice cream illustration. You can try zig-zag lines, loops, or even swirls to make your popsicle stand out.
Sprinkle Decoration

Incorporate a delightful touch to your ice cream illustration by adorning it with vibrant and varied sprinkles.
Sprinkles, those small decorative confectionery pieces, come in a plethora of shapes, colors, and sizes, ranging from round to long and from rainbow to chocolate.
Typically made of sugar, corn syrup, vegetable oil, natural and artificial flavors, and food coloring, sprinkles serve as the perfect embellishment for ice cream, enhancing both its visual appeal and taste.
By drizzling or scattering sprinkles in creative patterns, you can craft unique and eye-catching designs on your illustrated ice cream.
Whether you opt for a classic sprinkle blend or experiment with different combinations, sprinkles offer a fun and customizable way to elevate your dessert drawing.
Frequently Asked Questions
How to Make a Drawing of Ice Cream?
To draw ice cream, start with a curved dome shape for the scoop. Add a stick using two lines connected by a curve. Create eyes with circles and highlights. Drizzle with curves and sprinkle in different directions for fun.
How Do You Draw a Cute Popsicle Easy?
Creating a cute popsicle is a breeze! Start with a gentle curve for the dome, draw the stick, add adorable eyes and a sweet smile. Finish with drizzles and sprinkles for a fun touch. You'll nail it!
How to Draw a Scoop of Ice Cream?
To draw a scoop of ice cream, start with a rounded shape. Add texture with curved lines or swirls. Include a cone or cup below. Shade for a 3D look. Finish with sprinkles, a cherry, or syrup.
How to Draw Simple Drawings?
To draw simple drawings, start with basic shapes and lines. Focus on the overall composition and use minimal details. Outline lightly in pencil before adding final touches. Practice regularly to improve and create more intricate designs.
Can I Use My Drawing of Ice Cream to Decorate My Homemade Ice Cream in a Bag?
Absolutely! Using your drawing of ice cream to decorate your homemade ice cream in a bag is a fun and creative way to personalize your treat. It adds a special touch to your homemade ice cream recipe in bag and makes the experience even more enjoyable.
Can I Use the Same Steps to Draw Ice Cream for My Dog’s Treats?
Yes, you can use the same steps to draw ice cream for your dog’s treats in the UK. Just be sure to use ingredients that are safe for dogs, such as yogurt, banana, and peanut butter, and avoid any harmful additives. Your dog will love the homemade dog ice cream treats UK!
Conclusion
Now that you've mastered the art of drawing ice cream, let your creativity flow like sprinkles on a sundae. Remember, every stroke and detail adds sweetness to your illustration.
So grab your pencil, add some heart-shaped toppings, and let your ice cream creation shine like a summer day.
Keep practicing and soon you'll be scooping up masterpieces with ease!