Create the most delicious ice cream by shaking up a mixture of half and half, sugar, and vanilla in a sealed bag. Place that bag into a larger bag filled with ice and rock salt, then shake for 5-10 minutes until it becomes creamy. Enjoy your frozen dessert with warm cookies or drizzle it with chocolate sauce for a sweeter taste. You can also mix in ingredients like chocolate chips or sprinkles for a fun variation. Want to experiment with more tasty and unique combinations? Keep going!
Key Takeaways
- Customize flavors with unique ingredients like plant-based creamer or flavored extracts.
- Incorporate fun mix-ins such as colorful sprinkles or chocolate chips for added excitement.
- Experiment with different levels of sweetness to suit individual preferences.
- Encourage group participation in shaking bags for a collaborative ice cream-making experience.
- Pair homemade ice cream with warm cookies, fresh fruit, or indulgent sauces for a delightful treat.

FOHERE Waffle Cone Maker Machine and Ice Cream Bowl Maker with Temperature Control, Double Side Nonstick Waffle Bowl Maker with Cone Roller, 7.5” Thin Waffle Maker for Home Kitchen (Black)
EFFICIENT BAKING -- This double-sided waffle cone maker features fast and uniform heating, allowing you to make crisp...
As an affiliate, we earn on qualifying purchases.
Ingredients and Equipment Needed
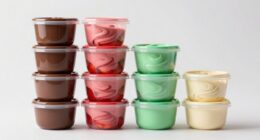
You'll need some essential ingredients and equipment to make ice cream in a bag, including a coffee can, plastic bags, ice, rock salt, half and half, sugar, and vanilla extract. These ingredients will come together to create a unique and delicious ice cream recipe. For a vegan twist, consider substituting the half and half with a plant-based coffee creamer.
The plastic bag will serve as an essential container for mixing and shaking the ingredients. Meanwhile, the rock salt will help lower the freezing point of the ice, allowing the mixture to harden into a creamy treat.
Half and half adds a rich and creamy texture, while sugar provides sweetness and vanilla extract adds flavor.
With these ingredients and equipment in hand, you'll be well on your way to creating a fun and tasty ice cream in a bag. This unique dessert is perfect for groups of any size, and its versatility makes it a great addition to any gathering or event.

Waffle Cone Maker - Electric Nonstick Waffle Iron with Shaper Cone Included - Small Kitchen Appliances (White)
WAFFLE IRON - This waffle machine allows you to enjoy delicious crispy, crunchy, golden-brown waffle cones, lace cookies,...
As an affiliate, we earn on qualifying purchases.
Making Ice Cream in a Bag

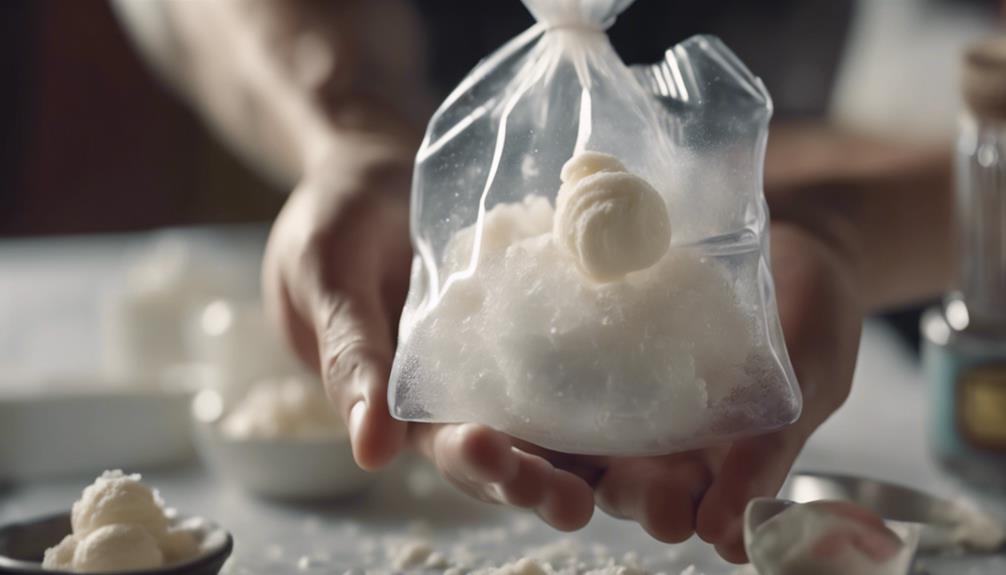
Combine the half and half, sugar, and vanilla extract in a sandwich-sized bag to create the ice cream mixture, sealing it tightly to prevent leakage.
Now, you're ready to make homemade ice cream!
Next, fill a gallon-sized bag with ice and rock salt to create a freezing environment. Place the smaller bag of ice cream ingredients into the larger bag with ice and salt. This is where the magic happens – the mixture will start to freeze and transform into cream in a bag.
Shake the bags vigorously for 5-10 minutes until the mixture turns into a creamy, dreamy ice cream. You'll know it's ready when it's thick and smooth.
As you're making ice cream, be sure to shake, shake, shake! The more you shake, the faster it'll freeze.
After 5-10 minutes, you'll have a delicious, freshly made batch of homemade ice cream. Congratulations, you've successfully made ice cream in a bag!
Now, go ahead and enjoy your tasty treat straight from the bag or transfer it to a bowl for serving.

Baker's Friend Waffle Cone Maker Machine with Browning Control, 7.5” Ice Cream Cone Maker, Cone Roller & Bowl Press Included,Thin Waffle Maker Crispy, Nonstick Waffle Bowl Maker,Graphite
[UNIQUE DESIGN]: This all-in-one set comes with two attachments—the waffle bowl attachment and the cone roller attachment—allowing you...
As an affiliate, we earn on qualifying purchases.
Serving Suggestions and Ideas

Now that you've made your ice cream in a bag, it's time to contemplate how to serve it!
You can get creative with dessert pairing ideas, like matching your freshly made ice cream with warm cookies or brownies.
You'll also want to ponder fun group activities and tasty combo suggestions to make the experience even more enjoyable.
Dessert Pairing Ideas
Ice cream in a bag is the perfect complement to warm, comforting desserts like apple cobbler or brownies, providing a cool and creamy contrast to their rich, satisfying flavors. You can also serve it alongside fresh fruit salads for a revitalizing contrast. This fun-to-make treat is perfect for hot summer days when you need a cool escape.
When it comes to dessert pairing ideas, the possibilities are endless. Consider topping your ice cream in a bag with chocolate sauce, caramel, or whipped cream for added indulgence. You can also get creative with colorful sprinkles and toppings for a festive touch. The versatility of ice cream in a bag makes it suitable for serving at kids' parties or adult gatherings.
Whether you're looking for a unique dessert to impress your guests or a fun activity to enjoy with friends and family, ice cream in a bag is the perfect solution. So go ahead, get creative, and enjoy your ice cream in a bag with your favorite desserts!
Fun Group Activities
When you're planning a fun gathering, consider making ice cream in a bag a central activity that brings everyone together, fostering teamwork and creativity as you shake, rattle, and roll your way to a delicious treat. This group activity is perfect for kids' parties, school events, or team-building exercises, as it encourages collaboration and engagement.
Everyone can participate in making their own ice cream in a bag, which adds an element of excitement and ownership to the experience. As you work together to mix and shake the ingredients, you'll build bonds and create memories with your friends and family. The process is just as enjoyable as the end result, and you'll have a blast watching your ice cream come to life.
Serve your creations with a variety of toppings, such as sprinkles, fruit, or cookies, and let everyone customize their own treat. With ice cream in a bag, you'll have a fun and interactive group activity that's sure to be a hit with anyone. So why not give it a try and make your next gathering a sweet and unforgettable experience?
Tasty Combo Suggestions
You can elevate the ice cream in a bag experience by pairing it with some sweet and savory treats, creating a match made in heaven. Imagine enjoying your freshly made ice cream with a warm, gooey brownie or a slice of apple cobbler – it's a perfect combination!
You can also get creative with your toppings, adding chocolate chips or shaved chocolate to give your ice cream a rich, decadent flavor. If you want to keep things simple, you can't go wrong with a sprinkle of colorful sprinkles on top.
What's great about ice cream in a bag is that it's a versatile treat suitable for any group size, from a solo snack to a party dessert. You can make it an activity for kids, letting them help with the ice cream mixture and choosing their own toppings.
And the best part? You don't need to rely on store-bought ice cream – with this recipe, you can create your own unique flavors and combinations. So go ahead, get creative, and enjoy the fun and interactive experience of making and eating ice cream in a bag!

KEINVE Waffle Cone Maker, 750W Thin Waffle Maker (Ice Cream Cone) with Shaper Roller, 7.08" Nonstick Plate
Make Perfect Waffle Cones at Home: Skip the store-bought ones—create crispy, golden waffle cones in minutes from your...
As an affiliate, we earn on qualifying purchases.
Variations and Benefits of Ice Cream

As you explore the world of ice cream in a bag, you'll discover a range of flavorful experimentation options that let you customize your treats to your heart's content.
You'll also find that making ice cream in a bag promotes teamwork and learning, creating a fun and engaging activity for kids and adults alike.
Flavorful Experimentation Options
Experimenting with unique flavor combinations and mix-ins is where the magic happens in homemade ice cream in a bag. You get to be the master of your own flavor destiny, and the possibilities are endless! Try combining different ice cream flavors like chocolate, strawberry, or mint to create a one-of-a-kind taste experience.
Here are some ways you can take your ice cream to the next level:
- Get creative with mix-ins: Add sprinkles, crushed cookies, nuts, marshmallows, or fresh fruit to give your ice cream a fun texture and flavor boost.
- Customize your sweetness level: Adjust the amount of sugar or use alternative sweeteners to find the perfect balance of sweetness for your taste buds.
- Experiment with new flavors: Try unique flavor combinations like matcha, lavender, or peanut butter banana to create a truly unique ice cream experience.
- Make it a team effort: Invite friends or family to join in on the fun and let everyone create their own custom flavor. This is where the teamwork and creativity come in, making the experience even more enjoyable!
Promotes Teamwork and Learning
Making ice cream in a bag is more than just a tasty treat – it's an interactive experience that fosters teamwork, creativity, and learning. As you work together with friends and family to shake, mix, and freeze your concoction, you'll develop essential teamwork skills like communication and collaboration. This fun activity also doubles as a science project, teaching you about the chemistry behind freezing ice cream using salt and ice.
| Benefits | Description |
|---|---|
| Teamwork | Develop communication and collaboration skills as you work together to shake and mix your ice cream. |
| Learning | Discover the science behind freezing ice cream using salt and ice. |
| Customizable | Experiment with different flavors, mix-ins, and toppings to create a unique ice cream experience. |
| Interactive | Engage in a fun and hands-on culinary experience that's perfect for kids and adults alike. |
As you experiment with different flavors and mix-ins, you'll also tap into your creative side, making this experience truly customizable to your tastes. With every shake and stir, you'll be learning, creating, and having a blast with your friends and family.
Behind the Science of Ice Cream
You're about to uncover the fascinating science behind turning cream into a delicious, creamy treat, and it all starts with the magic of temperature and heat transfer.
When making ice cream in a bag, understanding the principles of thermodynamics and heat transfer is key to achieving that perfect scoop.
Here's a closer look at the science behind this sweet process:
- Salt and Freezing Point: Salt is used to lower the freezing point of ice, allowing it to absorb more heat from the cream mixture, aiding in the freezing process.
- Shaking Motion: The shaking motion helps distribute the cold temperature evenly throughout the mixture, resulting in a smooth and creamy texture in the ice cream.
- Heat Transfer: Heat transfer occurs as the ice absorbs heat from the cream mixture, leading to the freezing of the liquid mixture into ice cream.
- Hands-On Science: Making ice cream in a bag not only creates a delicious treat but also serves as a fun and educational experiment, showcasing the principles of thermodynamics and heat transfer in action.
Tips and Tricks for Best Results
For best results when making ice cream in a bag, consider using smaller bags for easier handling and sealing during the shaking process. Smaller bags not only make it simpler to shake and manipulate the ingredients but also help prevent leakage or tearing, ensuring a mess-free experience.
Remember to rotate the bag while shaking to distribute the cold evenly and prevent your fingers from getting too cold from the ice.
To achieve a quicker freeze and a firmer ice cream consistency, shake the bags longer than the suggested time. This extra effort will yield a smoother and more satisfying end result.
Additionally, don't hesitate to get creative and experiment with different flavors and mix-ins to personalize your ice cream. Whether it's fruits, candies, nuts, or extracts, mixing things up can lead to delightful flavor combinations.
For those looking for a dairy-free option, substitute heavy cream with coconut milk or cream for a vegan-friendly alternative. This swap maintains the creamy texture while catering to dietary preferences.
Storage and Leftover Management
Consider the best storage option for your leftover ice cream to maintain its freshness and convenience. When storing your homemade ice cream, here are a few tips to keep in mind:
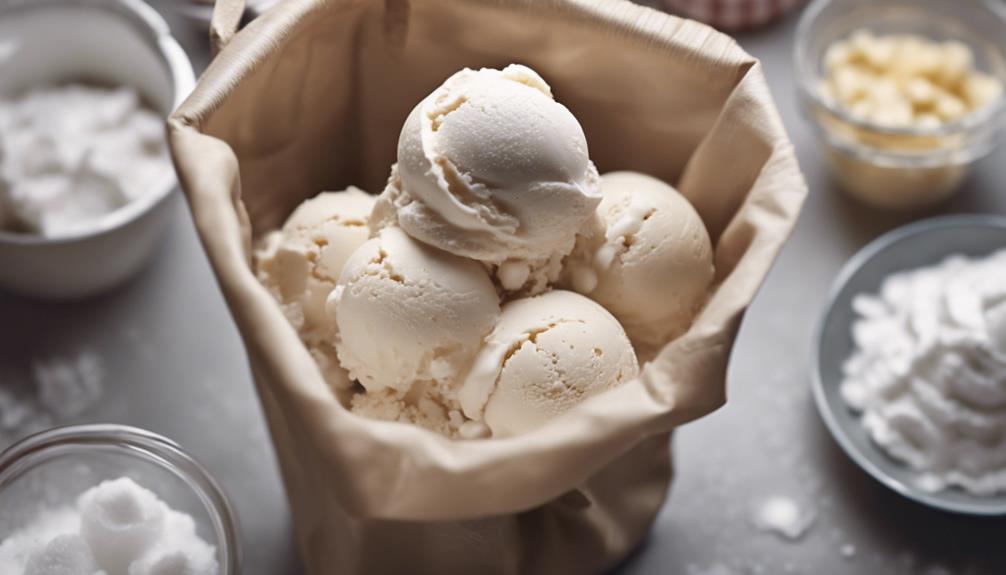
- Resealable plastic bag: Storing leftover ice cream in the original plastic bag it was made in allows for easy portion control and quick access whenever you crave a frozen treat.
- Transfer to a container: For longer storage or if you prefer a more organized approach, transferring the ice cream to a resealable container can be a good option.
- Portion control: By storing the ice cream in a bag, you can easily control the portions you take out for serving, preventing unnecessary waste.
- Proper sealing: Guarantee the bag is properly sealed to maintain freshness and prevent freezer burn, preserving the delicious flavors of your homemade ice cream for later enjoyment.
These storage options provide flexibility and convenience, making it easier to enjoy your delicious homemade ice cream whenever you desire.
Customizing Your Ice Cream Recipe
Get creative with your ice cream recipe by experimenting with different flavors and mix-ins to tailor your frozen treat to your liking. When making your ice cream in a bag, consider adding ingredients like crushed cookies, nuts, sprinkles, or fruit to introduce new textures and flavors.
You can also try varying the sweetness level by adjusting the amount of sugar used in the recipe to suit your taste preferences. For a unique twist, incorporate flavored extracts such as almond or coconut into your mixture using the ice cream maker.
Additionally, don't forget to personalize your ice cream experience by choosing from a variety of toppings like hot fudge, caramel sauce, whipped cream, or crushed candies. By customizing your ice cream with these options, you can create a delicious and one-of-a-kind frozen dessert that's sure to satisfy your cravings.
Fun and Educational Experience

Engage in a fun and educational experience by making ice cream in a bag, which provides hands-on learning opportunities for both kids and adults. Here's how this activity can be a delightful and informative experience:
- Interactive Learning: Making ice cream in a bag involves a shaking process that teaches about heat transfer and the science behind freezing cream with ice and salt.
- Customizable Flavors: Participants can customize their flavors and mix-ins, promoting teamwork and creativity while exploring different taste combinations.
- Educational Experience: This activity can be used in educational settings to demonstrate basic principles of chemistry and thermodynamics in a fun and engaging way.
- Valuable Lessons: Ice cream in a bag not only provides a delicious treat but also offers a valuable learning experience, combining the joy of creating a tasty dessert with the benefits of hands-on, playful learning.
Frequently Asked Questions
How to Make Ice Cream in a Bag in 5 Minutes?
To make ice cream in a bag in 5 minutes, combine half and half, sugar, and vanilla in a sandwich bag. Place it inside another bag filled with ice and salt. Shake vigorously for 5 minutes until it turns into ice cream. Enjoy!
Should You Put Ice Cream in a Bag in the Freezer?
You should put ice cream in a bag in the freezer. It helps the ice cream harden, reach a traditional consistency, and maintain its texture. Store the bag in the freezer for 1-2 hours for a firmer outcome. Enjoy your homemade treat!
Can I Use Regular Salt for Ice Cream in a Bag?
You shouldn't use regular salt for ice cream in a bag. Opt for rock salt to lower the freezing point and create a creamy texture. Using regular salt might not give you the desired consistency. Stick to rock salt for best results.
Does Ice Cream in a Bag Work?
Yes, ice cream in a bag works like a chilly dance party! The salt and ice combo brings the cool factor, while shaking spreads the frosty fun evenly. So, grab those bags and shake up some creamy goodness!
Can the Ice Cream in a Bag Recipe also be made in an Ice Cream Maker?
Yes, the Ice Cream in a Bag recipe can also be made in an Ice Cream Maker. This is one of the best ice cream recipes for your homemade treats. Whether you want to shake up some delicious ice cream in a bag or whip it up in an ice cream maker, the result will be equally satisfying.
Conclusion
So next time you're craving a sweet treat, why not whip up some ice cream in a bag?
It's a fun and easy way to satisfy your dessert cravings without any fuss.
Plus, you'll have a blast shaking and mixing up your own delicious creation.
So grab your ingredients, get shaking, and enjoy the fruits of your labor in a delightful frozen treat!