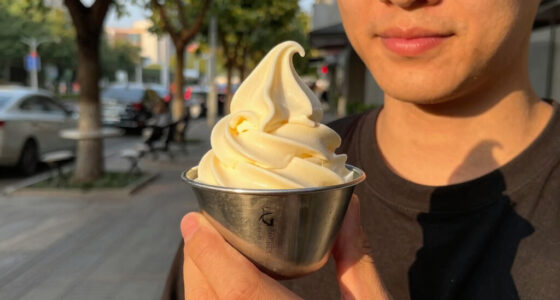
Photographing ice cream for social media is all about preparation and creativity. Start by pre-scooping your ice cream and keeping it chilled to prevent melting during the shoot. Choose a clean background and shoot in a cool environment to maintain the perfect texture. Experiment with natural lighting, especially during golden hour, and try different angles to highlight those vibrant colors. Use props like spoons and fresh fruits to enhance your shots, and don't shy away from capturing the melting process for a fun touch. Keep these tips in mind, and you'll uncover even more techniques to elevate your ice cream photography! If you’re looking for even more variety in your ice cream photography, consider exploring some of the great vegan ice cream options available. These dairy-free alternatives come in a wide range of flavors and colors, making them perfect for creating eye-catching photos. Experiment with different toppings and presentation styles to showcase the deliciousness of vegan ice cream in your social media posts.
Key Takeaways
- Use natural lighting during golden hour and avoid harsh overhead lights to create appealing shadows and highlights on the ice cream.
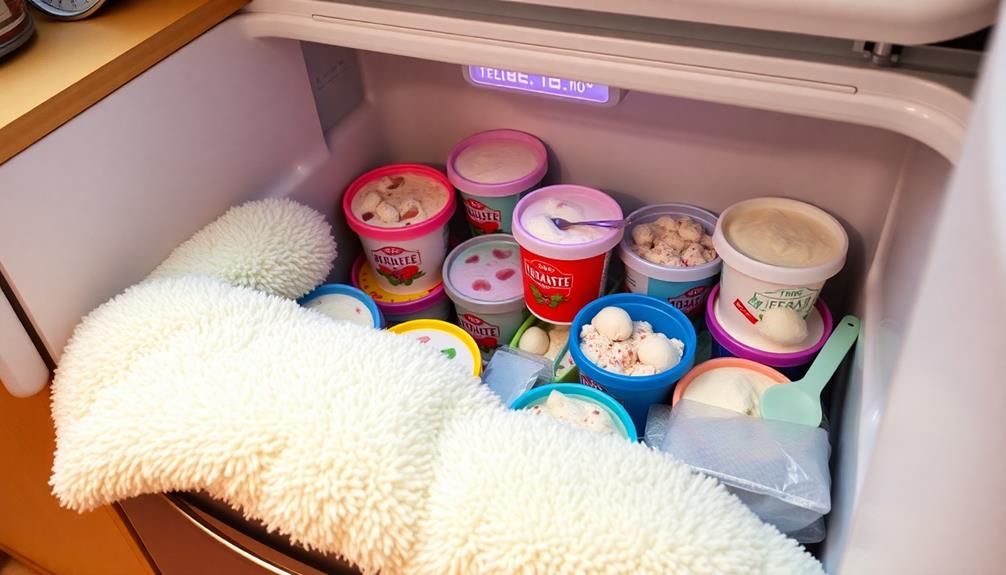
- Pre-scoop ice cream for consistency and return it to the freezer to maintain shape and prevent melting during the shoot.
- Choose a clean, uncluttered background and apply the rule of thirds to enhance composition and focus on the ice cream.
- Experiment with unique props and angles, incorporating elements like fruits or playful utensils to add depth and interest to your shots.
- Adjust brightness, contrast, and colors during post-processing to enhance the vibrancy and appeal of your ice cream images.

Amazon Basics Silicone Rectangular Baking Mat, Non-Stick, Reusable, Dishwasher Safe, Food Safe, Heat Resistant, 16.5" x 11.6", Beige/Gray, 2-Pack
- Package Includes: 2 reusable silicone baking mats
- Food Safety: Food-safe silicone material
- Non-Stick Surface: Releases food easily without oil
As an affiliate, we earn on qualifying purchases.
Set Up Your Shot

Setting the stage for your ice cream shoot is essential. Before you plunge into capturing that perfect scoop, make sure to set up your shot with careful planning. Start by arranging all your camera equipment and props. Testing them beforehand helps maintain ideal composition and prevents any melting mishaps. Use demonstration photos as a visual guide—they'll help you plan and visualize the desired shot effectively.
Next, focus on your light source. Adjust your lighting and angles in advance to create the best environment for showcasing the ice cream. Natural light often works wonders, but if you're indoors, consider using soft artificial lighting to avoid harsh shadows. Remember, you want your ice cream to shine, not the clutter around it.
Choose a clean, uncluttered background that enhances the focus on the ice cream. This simplicity allows your delicious subject to stand out in social media images.
Pre Scoop Your Ice Cream
Pre-scooping your ice cream is a game-changer for achieving perfect presentation.
By shaping the scoops ahead of time and letting them chill in the freezer, you keep them firm and ready for the camera.
This not only saves you from the pressure of melting but also gives you more creative control over your shot.
Perfect Scoop Preparation
When it comes to photographing ice cream, perfect scoop preparation is essential for achieving that mouthwatering look. Start by pre-scooping your ice cream onto parchment paper or into cones. This not only helps maintain shape but also guarantees consistency before shooting.
After scooping, return the ice cream to the freezer for at least an hour. This will help it regain its firmness, making your shots look even more appealing.
To create visually stunning scoops, use a warm scoop. This technique gives you smooth, attractive shapes that enhance your food styling efforts. Keep your pre-scooped ice cream in the freezer until just before you're ready to shoot, as this prevents melting during the setup process.
Planning is key to efficient ice cream photography. Aim to minimize exposure to warmer environments, as this protects the integrity of your ice cream.
Utilize visual examples to understand the ideal presentation and texture for your scoops. With these tips on perfect scoop preparation, you'll be well on your way to capturing delicious images that will wow your audience!
Freezer Time Importance
The importance of giving your ice cream enough time in the freezer can't be overstated. Pre-scooping your ice cream onto parchment paper or cones and returning the scoops to the freezer for at least one hour is crucial for achieving that perfect shot. This technique guarantees your ice cream maintains its shape and consistency throughout the photography session, preventing any unsightly melting.
With adequate freezer time, you can focus on composition and lighting without the pressure of working quickly against melting ice cream. Pre-scooping allows you to display your ice cream at its best visual state, enhancing the appeal of your final image for social media.
Plus, it gives you the freedom to experiment with different props and styling techniques, all while preserving the integrity of your ice cream. Using pre-scooped ice cream not only contributes to a clean presentation but also helps your subject stand out in crowded social media feeds.
Shoot in a Cool Environment
To capture the perfect ice cream shot, you need to keep your environment cool.
Schedule your sessions during the early morning or on overcast days, and don't forget to crank up the air conditioning to maintain ideal temperature settings.
Optimal Temperature Settings
Consistently scheduling your ice cream photography shoots during cooler parts of the day can make a significant difference in the final results. Aim for early mornings when temperatures are lower to help maintain the integrity of your ice cream.
Ideal temperature settings are essential, so try to keep your studio or shooting area around 60 degrees Fahrenheit. This helps minimize melting and guarantees your ice cream maintains its shape and texture while shooting.
Pre-chill all containers and surfaces, like marble or metal, to keep the ice cream cold longer. This simple step can greatly enhance your shooting experience.
When you're shooting ice cream, consider using ice as a styling element for popsicles or similar treats, adding visual interest while also keeping the environment cool.
Don't forget to take advantage of shaded areas if you're shooting outdoors. This will prolong your shooting time and help maintain the quality of your ice cream scoop.
Use of Air Conditioning
Keep your ice cream photography cool by utilizing air conditioning in your shooting environment. A stable, cool space helps maintain the quality of your ice cream and extends its life during the shoot. Aim to keep your studio temperature around 60 degrees Fahrenheit. This not only prevents melting but also enhances your photography efficiency, giving you more time to capture that perfect shot.
Here are some essential tips and tricks for shooting in a cool environment:
- Schedule shoots in cooler parts of the day, like early mornings, to minimize melting.
- Use air conditioning to combat heat and humidity, especially during summer.
- Consider supplemental cooling units if your space isn't naturally cool enough.
- Keep the ice cream close to the fridge until you're ready to shoot to slow down melting.
- Don't forget about your comfort; a cool environment keeps you focused and ready to shoot.
Timing for Best Results
When's the best time to photograph ice cream? You'll want to schedule your shoots during the cooler parts of the day—think early mornings or overcast afternoons. This timing helps maintain the integrity of your scoop, preventing it from melting too quickly.
If you have the option, shoot indoors with air conditioning or find shaded outdoor spots to keep your ice cream looking its best.
Direct sunlight can create harsh light that detracts from your ice cream's visual appeal, so use diffusers to soften it. This way, you can achieve a more flattering look while still capturing the vibrant colors of the ice cream.
Always have a plan for quick shooting actions. With a controlled environment, you can work swiftly and capture those perfect shots before the ice cream starts to melt.
The secret is to optimize your settings and get your angles right, so you can spend more time experimenting with the light and less time worrying about your treat turning into a puddle.
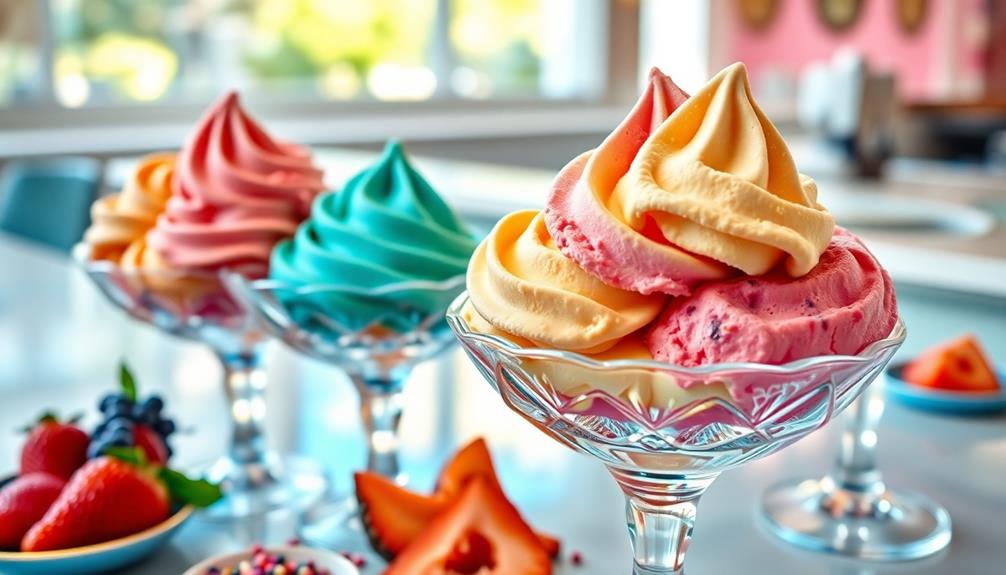
Get Creative With Props

Get creative with props to elevate your ice cream photography and make it visually enchanting.
Using thoughtful props can add depth and interest to your images, turning a simple shot of an ice cream cone into a delightful scene that captivates your audience.
Here are some ideas to enhance your photography:
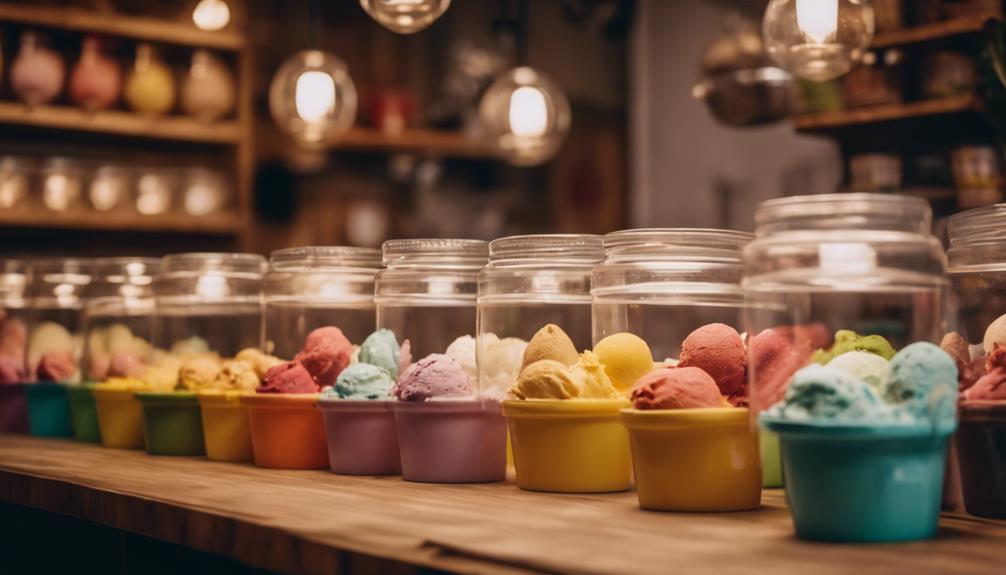
- Unique containers: Experiment with vintage glass jars or colorful bowls that complement the ice cream's colors and textures.
- Playful props: Incorporate spoons, napkins, or sprinkles to craft a fun and inviting atmosphere, encouraging viewer engagement.
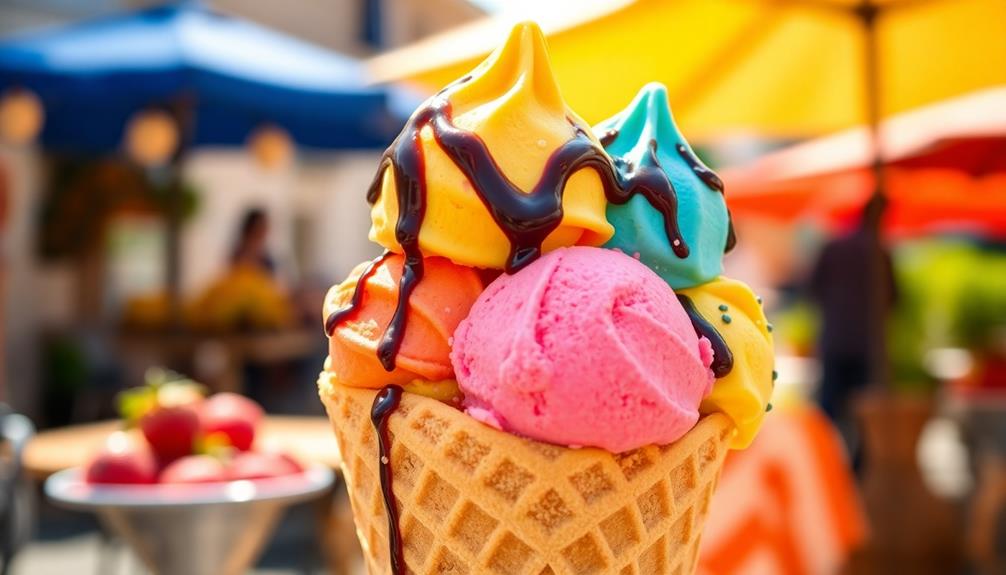
- Natural elements: Use fruits, flowers, or herbs as garnishes to add freshness and enhance the overall composition.
- Textured surfaces: Layer different textures, such as fabric backdrops or wooden tables, to create richness and draw the viewer's eye.
- Thematic props: Choose items that resonate with your ice cream flavor, like beach toys for tropical flavors or festive decorations for seasonal varieties.
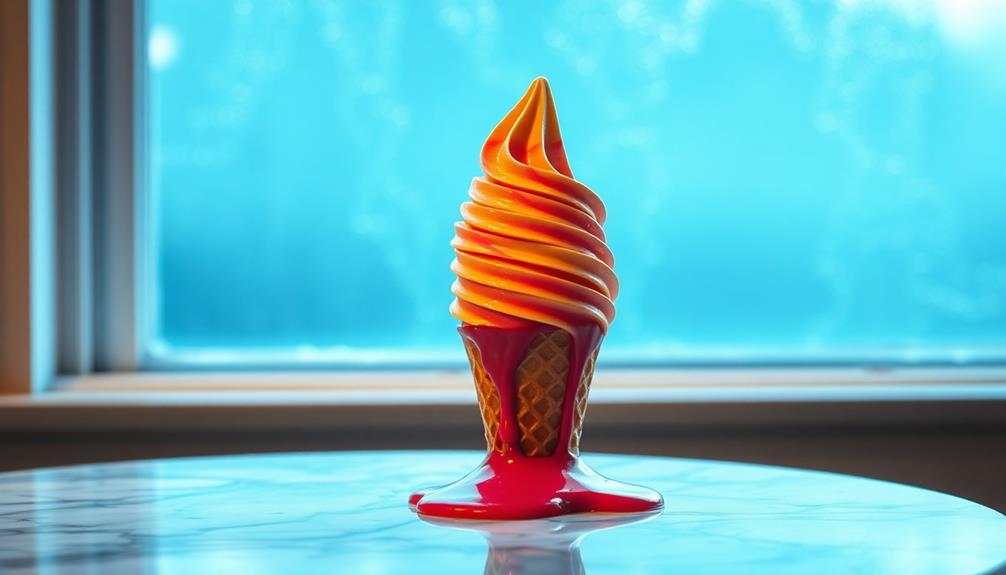
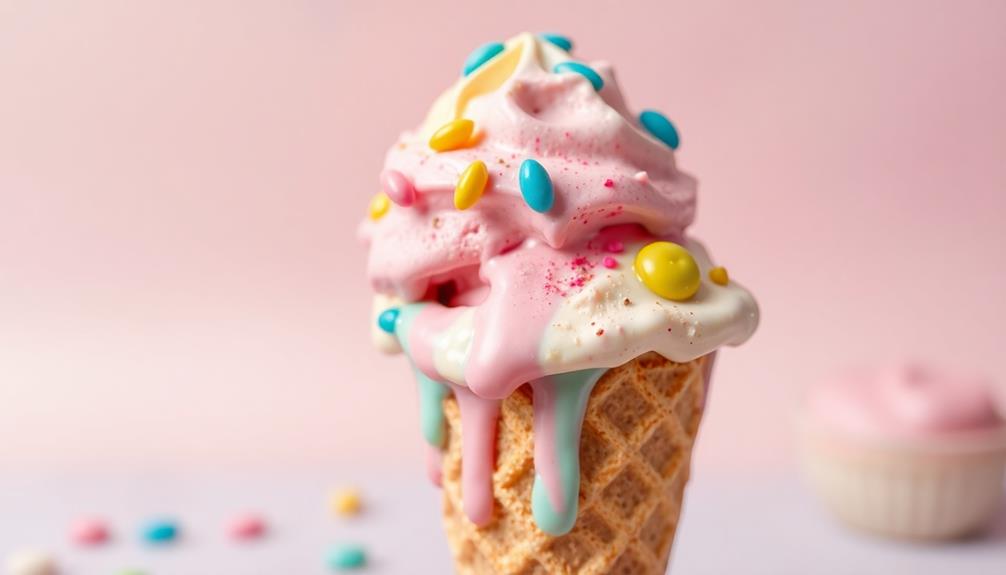
Embrace the Melting Process
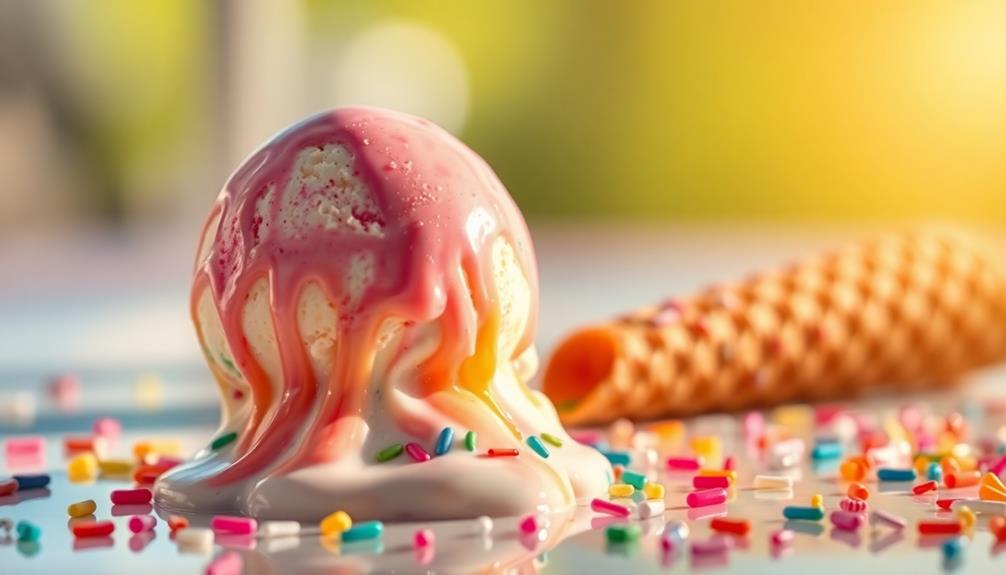
Capturing the delightful chaos of melting ice cream can bring your photography to life in a way that props alone can't achieve. Embracing the melting process adds a dynamic element that reflects the indulgent nature of this beloved dessert. As the ice cream drips and pools, you create a sense of movement that enhances the visual appeal of your images.
Don't shy away from capturing various stages of melting; each stage tells a story, from the pristine scoop to the delightful mess. This transformation not only showcases the textures and colors of the ice cream but also illustrates the experience of enjoying it. Focus on the melting ice cream, highlighting its creamy swirls and vibrant hues to entice your audience.
Moreover, the melting process can evoke emotions and nostalgia, making your photos more relatable and shareable on social media. Allow the natural drips to form, and let your camera capture that perfect moment where the ice cream is both beautiful and a little chaotic.
Experiment With Lighting Techniques

Lighting can dramatically elevate your ice cream photography by enhancing colors and textures. To make your images pop, experiment with various lighting techniques that'll showcase your delicious subject in the best light. Here are some tips to help you photograph ice cream effectively:
- Natural Light: Shoot during the golden hour—an hour after sunrise or before sunset—to achieve softer shadows and vibrant colors.
- Diffusers: Use diffusers to soften harsh sunlight, reducing glare and creating a more appealing look for your ice cream.
- Backlighting: Try backlighting techniques to give your ice cream a glowing effect, especially with translucent toppings like syrups or fruits.
- Reflectors: Use reflectors to bounce light back onto your ice cream, enhancing highlights and adding dimension to its textures.
- Avoid Overhead Lighting: Steer clear of overhead lighting, as it creates unflattering shadows. Aim for a 45-degree angle to maintain balanced illumination.
Incorporating these lighting techniques will enhance your ice cream photos considerably, making them more eye-catching for your social media followers.
Utilize Interesting Angles

Experimenting with interesting angles can dramatically enhance your ice cream photography, creating a more engaging visual narrative. By using various shooting angles, you can highlight different textures and features of your ice cream, making it more appealing. For instance, capture shots from overhead, eye-level, or even close-ups to showcase the delightful details.
Consider the following table to inspire your angle choices:
| Angle Type | Description |
|---|---|
| Overhead | Capture the full scoop arrangement, emphasizing colors and textures. |
| Eye-level | Get on the same level as your ice cream to create an inviting perspective. |
| Low Angle | Emphasize height and layers, making your cone or bowl look more impressive. |
| Tilting Angle | Add a dynamic feel, suggesting movement and fun in your shots. |
Don't forget to play with depth of field, using negative space to draw focus to the ice cream, allowing it to stand out against a clean background. Always take multiple shots from different angles; you'll discover unique and enthralling visuals that resonate on social media. Happy shooting!
Focus on Composition
When it comes to photographing ice cream, composition plays an essential role in creating eye-catching images. Ice cream's vibrant colors and textures can be enhanced by careful arrangement, making it irresistible to viewers.
To make your photos pop, consider these essential tips:
- Utilize the rule of thirds: Position the ice cream off-center to create a dynamic composition that draws the viewer's eye.
- Incorporate negative space: Leave empty space around the ice cream to enhance focus, preventing the scene from feeling overcrowded.
- Experiment with angles: Try different perspectives, like eye-level or overhead shots, to showcase the unique textures and colors of the ice cream.
- Use props wisely: Add napkins, spoons, or toppings that complement the ice cream, creating layers and depth while maintaining a cohesive color palette. You might even think about how different flavors, like Birthday Cake Ice Cream, can add to the visual appeal.
- Ensure a clean background: Keep the background uncluttered so the ice cream stands out as the hero of your image, which is essential for effective social media engagement.
Post-Processing Tips
After you've captured that perfect shot of ice cream, it's time to polish it up in post-processing. Start by adjusting the brightness and contrast to enhance the vibrancy of those delicious colors. This makes your ice cream pop, making it more appealing for your social media audience.
Next, utilize color correction tools to guarantee the flavors are accurately represented; vibrant colors attract more viewers.
Don't forget to crop strategically. Focus on the ice cream and eliminate any distracting elements to create a polished composition. You want all eyes on that delectable treat!
Additionally, apply sharpening techniques to highlight intricate details like texture and toppings. These details can draw viewers' attention and encourage engagement with your post.
Frequently Asked Questions
How Do You Take Good Pictures of Ice Cream?
To take good pictures of ice cream, use natural light, experiment with angles, and incorporate props. Pre-scoop your ice cream to maintain its shape, and don't shy away from capturing those delightful melting moments.
How Do You Photograph Ice Cream Without Melting It?
To photograph ice cream without melting it, pre-scoop and chill your ice cream, use cool surfaces, shoot during cooler times, and have everything ready. Work quickly to minimize exposure to heat.
What Do Photographers Use Instead of Ice Cream?
Photographers often use mashed potato flakes mixed with food coloring as a substitute for ice cream. This approach creates a visually appealing, stable option that won't melt, allowing you to capture stunning images without time constraints.
How to Make Fake Ice Cream for Pictures?
To make fake ice cream for pictures, mix mashed potato flakes with food coloring. Scoop it into cones, stabilize with toothpicks, and enhance texture by dipping in water for a realistic appearance. Enjoy the creative freedom!
Conclusion
Capturing ice cream is like freezing a moment of joy; each scoop tells a story. By experimenting with angles and lighting, you can transform your photos from simple treats into delightful memories. Embrace the melt, as it symbolizes the fleeting nature of summer bliss. With the right props and composition, your images will not just be pictures but invitations to indulge. So grab your camera and let each shot be a delicious reminder of life's sweet moments!