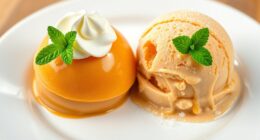
To create eye-catching marble-swirl desserts, focus on combining bold and subtle colors thoughtfully. Pour contrasting hues layer by layer, then swirl gently to form mesmerizing, marble-like patterns. Balance flavors like tangy berries or spicy chocolates with visual contrasts for added appeal. Practicing proper pouring and swirling techniques helps achieve stunning, organic designs. Mastering this technique turns simple layers into edible art, and if you keep exploring, you’ll discover even more ways to elevate your creations.
Key Takeaways
- Use contrasting colors like deep chocolate and bright vanilla to create striking marble patterns.
- Pour and swirl different colored layers gently to preserve distinct, organic marble effects.
- Incorporate complementary flavors that enhance visual contrast and overall sensory appeal.
- Experiment with swirling techniques to achieve dynamic, intricate patterns that mimic natural marble.
- Practice layering and swirling to develop consistent, eye-catching desserts with depth and clarity.
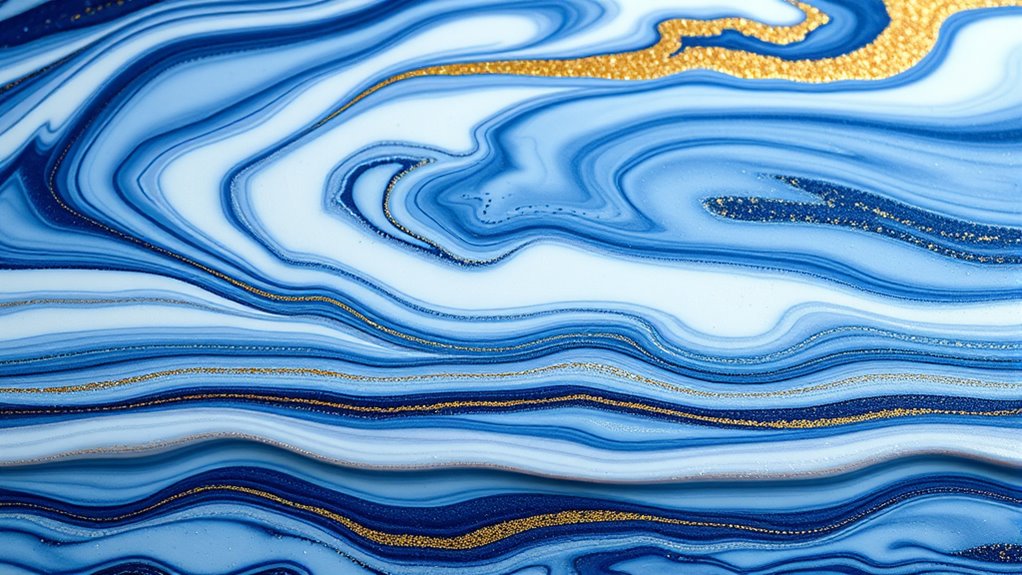
Have you ever been captivated by the mesmerizing patterns of marble swirls? It’s a stunning visual that instantly draws your eye, making you wonder how such intricate beauty can be crafted. When you’re creating layered frozen desserts, mastering the art of marble swirl design transforms a simple treat into a work of art. The key lies in understanding how to balance color contrast and flavor pairing—two essential elements that elevate your dessert’s visual appeal and taste.
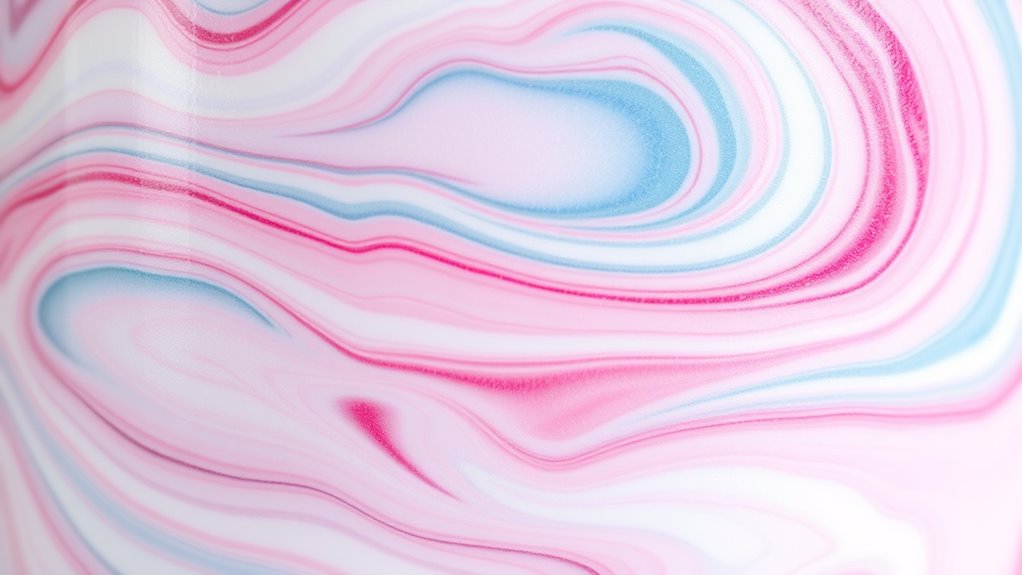
First, consider color contrast. To achieve striking marble effects, you want to combine hues that stand out against each other. Think bold, vibrant shades like deep chocolate and bright vanilla or rich berry reds against creamy whites. The contrast between these colors creates dynamic, eye-catching swirls that instantly catch the eye. You can also experiment with subtle shades for a more sophisticated look—such as pastel pinks and mint greens—where the gentle difference creates a delicate, elegant pattern. The trick is to pour contrasting colors into your base mixture carefully, then use a skewer or knife to swirl them gently, avoiding overmixing. This technique preserves the distinctiveness of each color, resulting in natural, organic-looking marble patterns.
Combine bold, vibrant hues with subtle shades, swirling gently to create elegant, natural marble patterns.
But visual appeal isn’t enough; flavor pairing plays an important role in making your dessert both beautiful and delicious. When selecting flavors, think about how they complement each other—just like how contrasting colors work together visually. For example, pairing a tangy lemon or tart berry with a creamy vanilla base creates a delightful balance that excites the palate. Similarly, combining rich chocolate with a hint of chili or sea salt enhances both taste and visual contrast. When you layer flavors thoughtfully, each swirl tells a story, offering a harmonious blend of sweet, sour, or spicy notes that make every spoonful a sensory experience.
Mastering marble swirl magic involves more than just aesthetics; it’s about creating a balanced composition of colors and flavors. You want each layer and swirl to stand out but also flow seamlessly into the next, inviting curiosity and delight. As you experiment, remember that the key is to keep your contrasting colors and complementary flavors in harmony. Use your tools to swirl gently, allowing the colors and flavors to mingle just enough to produce stunning patterns without losing their individuality. Additionally, understanding the importance of contrast ratio in your dessert helps ensure the visual depth and clarity of your marble designs. With practice, you’ll craft frozen desserts that not only taste amazing but also serve as edible art—an impressive display of creativity and skill in every bite.
Frequently Asked Questions
What Types of Desserts Are Best Suited for Marble-Swirl Layering?
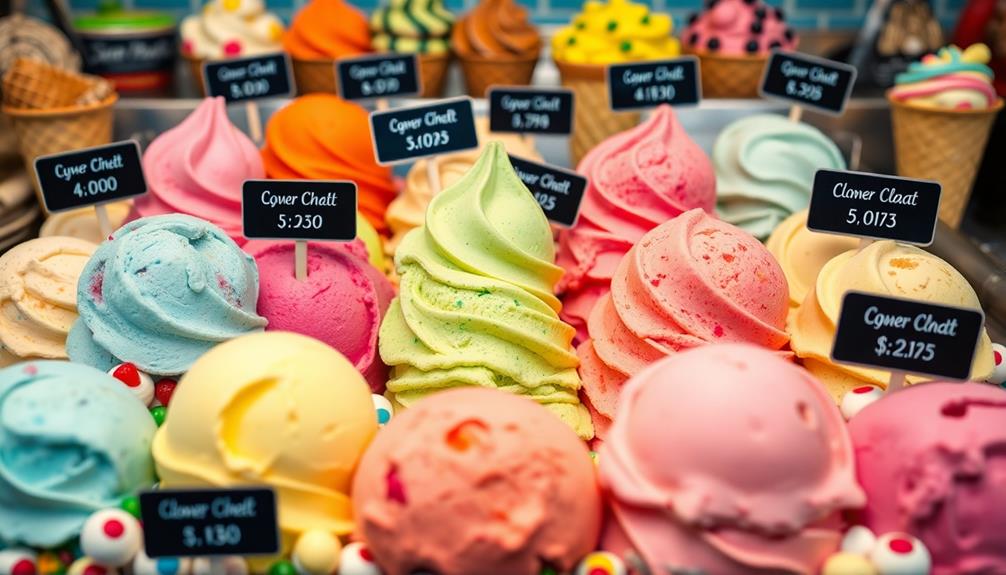
You should choose desserts like gelato, mousse, or ice cream for marble-swirl layering, as their smooth textures showcase gelato artistry beautifully. Focus on flavor pairing to create visually appealing swirls, blending complementary or contrasting flavors. These desserts hold the swirl well, allowing you to craft eye-catching displays that highlight both the artistry and deliciousness of layered frozen treats. Your skill in layering elevates simple desserts into visual delights.
How Long Does It Take for Layered Frozen Desserts to Set Properly?
Think of setting layered frozen desserts like baking a perfect soufflé—you need patience. Usually, it takes about 4-6 hours at a consistent temperature of around -20°C (or colder) for proper setting. Maintaining precise temperature control prevents melting or uneven layers. Keep in mind, factors like ingredient thickness and freezer efficiency can influence this timeframe, so checking the texture before serving guarantees your dessert’s beautifully layered consistency.
Can Marble-Swirl Techniques Be Used With Non-Dairy Alternatives?
You can definitely use marble-swirl techniques with plant-based options. Just choose dairy-free ice creams or sorbets that have good texture and flavor pairing. When creating your swirl, gently layer and use a skewer to blend colors without overmixing. This method works beautifully with coconut, almond, or cashew-based desserts, giving your frozen treats a stunning, eye-catching appearance while accommodating dietary preferences.
What Tools Are Essential for Creating Intricate Marble Patterns?
Creating intricate marble patterns might seem like wielding a magic wand, but you’ll need the right tools. A thin skewer or toothpick helps with delicate color mixing, while a palette knife guarantees smooth layers. Keep your tools well-maintained for precise control and vibrant results. With these essentials, you’ll effortlessly craft stunning designs, turning simple desserts into mesmerizing edible art that captivates everyone’s eyes and taste buds alike.
How Do You Prevent Colors From Bleeding During Layering?
To prevent colors from bleeding during layering, focus on proper color fixation by ensuring your dyes are fully integrated and set before layering. Use layering tips like pouring slowly and at a slight angle, allowing each layer to firm up slightly beforehand. Keep your layers at the right temperature—chilled but not frozen—to maintain separation. This careful approach helps preserve vivid, distinct colors and creates stunning, marbled effects.
Conclusion
Now that you’ve mastered the art of marble swirl magic, you can turn simple frozen desserts into stunning works of art. With each layered swirl, you create a visual feast that’s as mesmerizing as a painter’s masterpiece. Just like a well-tuned symphony, your desserts will delight both the eyes and the palate, making every serving feel like a special occasion. So go ahead, layer with confidence, and let your creativity shine through every icy swirl.
