
Get ready for a delicious journey by making your own ice cream in a bag – a fun, hands-on treat for everyone to savor! Combine milk, sugar, and vanilla in a small bag, then shake with ice and salt for 7-10 minutes. Present this creamy delight in cups for a delightful dessert experience. You can even personalize it with your preferred flavors and mix-ins to make it uniquely yours. Let’s create this treat and explore more ways to enhance your ice cream game!
Key Takeaways
- Simple ingredients like milk, sugar, and vanilla make this activity easy and enjoyable for all ages.
- Engage in a hands-on experience by shaking the bags with ice and salt to create creamy ice cream.
- Customize flavors and mix-ins for a personalized treat, perfect for experimenting and trying new combinations.
- Serve the homemade ice cream in cups for a delightful dessert or pair it with warm peach cobbler for a delicious experience.
- Encourage group dynamics and teamwork while making this DIY ice cream, fostering unity and shared dessert enjoyment.
Ingredients and Equipment

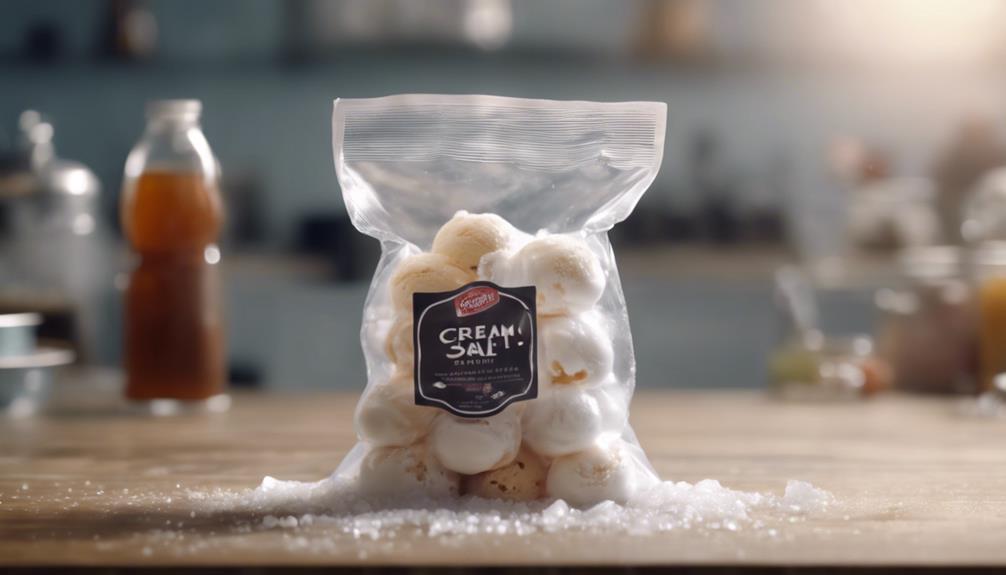
Gather the whole milk, half and half, sugar, vanilla extract, and ice cream salt or kosher salt for making ice cream in a bag. The process of making ice cream in a bag is a simple yet enjoyable activity that necessitates these key ingredients. Additionally, you'll need gallon-sized and quart or sandwich-sized Ziploc baggies to facilitate the ice cream-making process.
To start, combine the milk, half and half, sugar, and vanilla extract in a smaller bag, making sure it's securely sealed.
In a larger bag, fill it with ice and add ice cream salt or kosher salt to help lower the freezing point of the ice. This lower temperature is crucial for freezing the ice cream mixture efficiently.
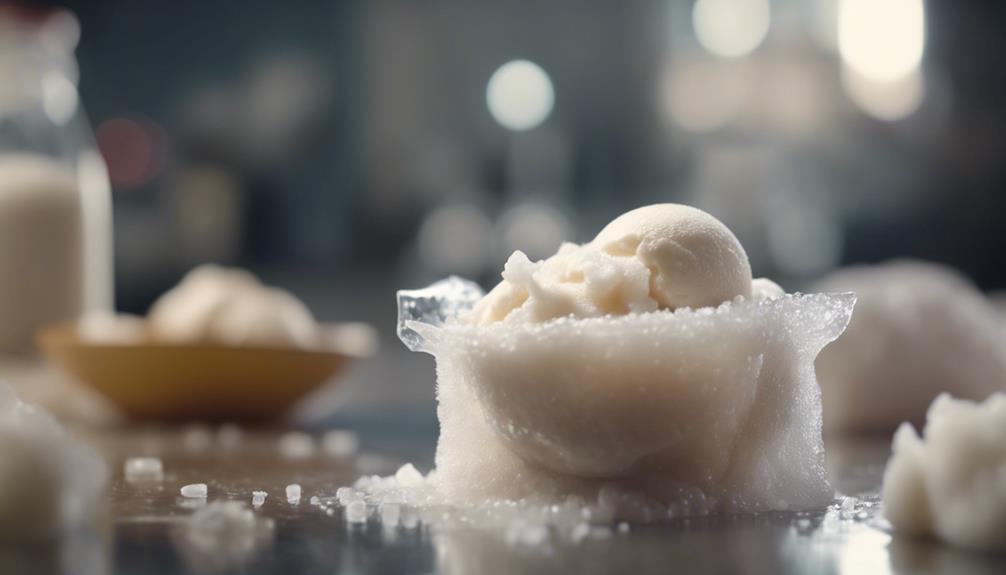
Once the smaller bag is securely placed inside the larger bag filled with ice and salt, shake vigorously for about 5-8 minutes. This shaking process helps the ice cream mixture freeze evenly.
After shaking, remove the smaller bag, rinse it off to make certain no salt contaminates the ice cream, and then serve the delicious homemade ice cream.
Preparation Steps
Now, let's go through the essential POINTS for making ice cream in a bag.
These include the steps for preparing the ice cream, tips for setting up the bags correctly, and suggestions for serving your delicious homemade treat.
Get ready to have fun and enjoy a tasty treat with these simple guidelines.
Steps for Ice Cream
To begin preparing the ice cream, combine half-and-half, sugar, and vanilla in a small bag. Once you have the ice cream mixture ready, place the small bag inside a larger bag filled with ice and salt. Seal the larger bag tightly, ensuring no leaks.
Now comes the fun part – shake the bag vigorously for 7 to 10 minutes. The ice and salt surrounding the small bag will cause the mixture to freeze and turn into delicious vanilla ice cream.
After shaking, carefully remove the small bag from the ice and salt. Wipe it off to remove any salt residue and rinse it for protection from saltiness. Open the small bag, and voilà, your homemade ice cream is ready to be enjoyed!
Scoop the creamy treat into cups and savor the sweet rewards of your DIY ice cream-making adventure. Share the joy by treating your friends or family to this delightful homemade dessert.
Bag Preparation Tips
When preparing the ice cream in a bag, make sure you use quart or sandwich-sized Ziploc baggies for individual portions of the ice cream mixture. To prevent leaks or tears during the shaking activity, double bag the small baggies. Remember to remove as much air as possible from the sealed bags to prevent ice crystals from forming in the ice cream. When filling the gallon-sized Ziploc baggies for the ice and salt mixture, aim to fill them slightly over halfway to allow space for shaking. Dividing students into groups can make the shaking activity more interactive and enjoyable.
| Bag Preparation Tips | |
|---|---|
| Double bag small baggies | Remove as much air |
| Fill gallon bags with ice | Add salt |
| Use quart/sandwich baggies | Shake for fun |
| Prevent ice crystals | Divide into groups |
Serving Suggestions
For a delightful serving suggestion, consider pairing your homemade ice cream in a bag with a warm slice of peach cobbler. The creamy texture of the ice cream made with heavy cream, sugar, and vanilla extract complements the fruity sweetness of the cobbler perfectly.
When serving, make sure to have Ziploc bags ready to prevent the ice from melting too quickly. This combination isn't only delicious but also adds a touch of warmth and comfort to your dessert experience.
Creating ice cream in a bag isn't only fun to make but also fosters group dynamics, especially when done with family or friends. The simplicity of the process, combined with the enjoyment of making a sweet treat together, can enhance bonding and create lasting memories.
Whether you choose to enjoy the ice cream on its own or pair it with a dessert like peach cobbler, this DIY activity is a versatile option for various group sizes and occasions.
Recipe Details

You can easily customize the ice cream in a bag recipe by choosing your favorite flavors and mix-ins. To make ice cream in a bag, simply mix cream, sugar, and vanilla (or any other flavor) in a small resealable bag. Place this bag inside a larger resealable bag filled with ice and salt.
Shake the bags vigorously for about 5-10 minutes until the mixture inside the small bag thickens into creamy ice cream. This process of shaking the bag helps freeze the mixture effectively.
Don't be afraid to get creative and flavor your ice cream with ingredients like cocoa powder, fruit purees, or crushed cookies. Adding mix-ins such as chocolate chips, sprinkles, or nuts can enhance the texture and taste of your homemade treat.
This fun and interactive method of making ice cream isn't only entertaining but also allows you to fully customize your dessert to suit your preferences.
Serving Suggestions

Consider enhancing your homemade ice cream in a bag with a variety of toppings for added flavor and texture. Whether you opt for traditional sprinkles, crushed nuts, fresh fruit, or a drizzle of chocolate sauce, toppings can elevate your DIY treat to the next level.
For a more indulgent experience, pair your ice cream in a bag with a side of warm peach cobbler or a slice of pie.
This enjoyable DIY treat is versatile and perfect for different group sizes, making it ideal for gatherings with family and friends. Whether you're hosting a small get-together or a larger party, everyone can participate in the excitement of creating and relishing their customized ice cream creations.
Enjoy your ice cream in a bag indoors for a cozy and interactive experience, or take the fun outside for a revitalizing treat on a sunny day. This activity is suitable for all ages, ensuring that everyone can partake in the pleasure of serving and savoring this delightful dessert.
Feedback and Unity Building
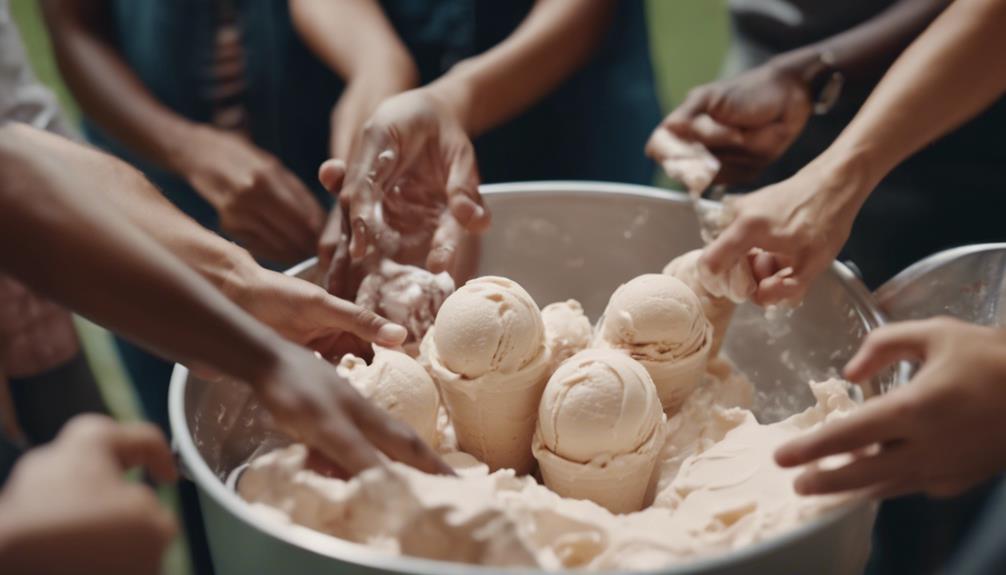
Regularly collecting feedback from participants can greatly enhance unity building during ice cream in a bag activities. The teamwork involved in making homemade ice cream without traditional equipment fosters a sense of togetherness.
The interactive process of shaking the bags not only results in delicious treats but also promotes group dynamics and communication among participants. Encouraging customization by offering various mix-ins adds a fun element to the activity, allowing everyone to personalize their ice cream flavors.
By incorporating feedback into the process, you create a more engaging and inclusive experience for all involved. Unity building is further strengthened when participants feel their opinions are valued and implemented.
This collaborative approach transforms the simple act of making ice cream in a bag into a memorable and interactive group activity that fosters teamwork and togetherness.
Homemade Ice Cream in a Bag Method
The process of creating homemade ice cream in a bag is a quick and enjoyable DIY activity that doesn't require an ice cream maker. This accessible and easy method is quick and fun, taking around 10-15 minutes to complete.
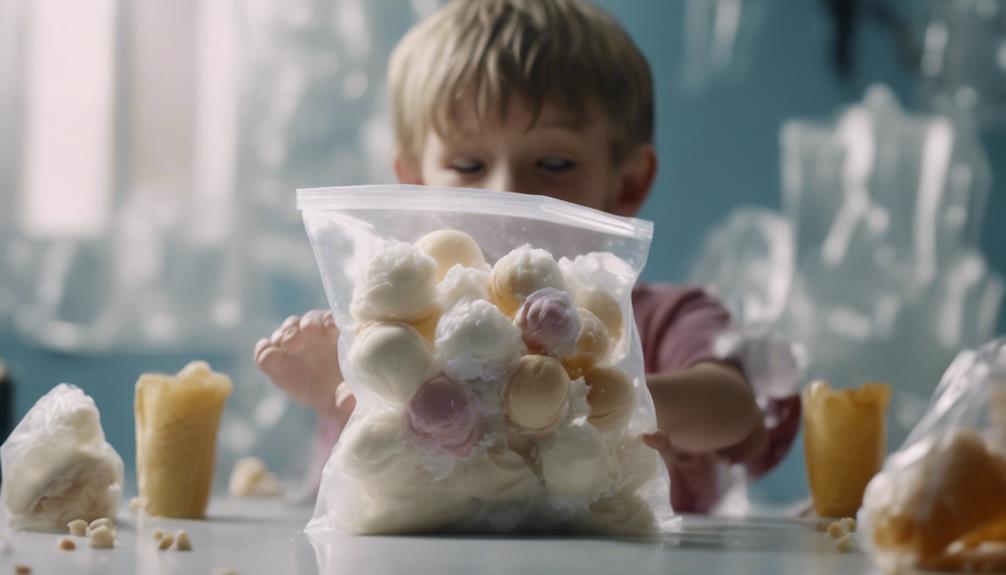
By shaking the bag, you can achieve a soft-serve consistency by introducing air into the mixture. It's a fantastic hands-on project for all ages, especially kids, and allows you to customize flavors with various mix-ins.
The beauty of making ice cream in a bag is that you can tailor it to your preferences, whether you prefer classic vanilla, decadent chocolate, or fruity flavors like strawberry. This DIY project isn't only a delicious treat but also a fun way to experiment and enjoy a personalized dessert.
Once you've shaken up your ice cream in a bag, you can savor it right away or pop it in the freezer for a chilly delight later on.
Ice Cream Recipe Variations

Get creative with your ice cream by experimenting with different flavors and mix-ins to customize your dessert experience. When making your ice cream, consider incorporating unique ingredients and toppings to elevate the flavors. Here are some ideas to inspire your ice cream recipe variations:
| Flavors | Mix-Ins |
|---|---|
| Chocolate | Crushed Cookies |
| Strawberry | Nuts |
| Mint | Fruit |
For those looking for non-dairy options, try using almond milk, coconut milk, or oat milk as a base for your ice cream recipe. Additionally, don't be afraid to explore different toppings like sprinkles, caramel sauce, or chocolate chips to add a delightful finishing touch to your creation. To take your ice cream to the next level, experiment with ingredients such as matcha powder, peanut butter, or fresh herbs for a truly unique twist. Let your imagination run wild and enjoy the process of crafting your own personalized ice cream variations.
Making Ice Cream

To make ice cream in a bag, gather your ingredients and follow these simple steps. This DIY method is quick and easy, taking only about 10-15 minutes of your time.
Start by combining cream, sugar, and vanilla in a small resealable bag, ensuring it's sealed tightly. In a larger resealable bag, mix ice and salt to create a freezing environment for the ice cream mixture.
Once both bags are prepared, place the smaller bag inside the larger one and shake vigorously. The shaking motion helps incorporate air into the mixture, resulting in a creamy texture as it freezes.
This hands-on activity is perfect for kids and groups, making it a fun way to enjoy a delicious treat at the end. After shaking for a few minutes, your ice cream should be ready to enjoy.
Simply scoop it out of the bag and savor the homemade goodness!
Nutrition and Reader Engagement

Explore the nutritional value of this ice cream recipe and engage with fellow readers by sharing your thoughts and questions below.
When it comes to the nutrition information of this homemade ice cream, a serving typically contains around 200-250 calories, 25-30g of carbohydrates, 3-5g of protein, 10-15g of fat, and 50-100mg of sodium. Feel free to customize these values based on your specific mix-ins and serving sizes.
- Have you tried adding mix-ins like nuts or marshmallows to your ice cream? Share your favorite combinations with us!
- What're some common queries you have about making ice cream at home? Let's help each other troubleshoot and share tips.
- When it comes to salt recommendations, have you experimented with different types of salt in your ice cream recipe? Let's discuss how it can impact the flavor and texture.
Engage with the community by commenting below and keep the conversation going about ice cream making and nutrition!
Frequently Asked Questions
How to Make Ice Cream in a Bag in 5 Minutes?
To make ice cream in a bag in 5 minutes, combine half-and-half, sugar, and vanilla in a small bag. Place it in a larger bag with ice and salt, shake vigorously for 5-8 minutes. Customize and enjoy your tasty treat!
Why Put Ice Cream in a Bag?
Who knew putting ice cream in a bag could be such a blast? You seal in the sweet concoction, shake away, and voila! Homemade ice cream without the fuss. It's a cool way to whip up a tasty treat fast!
Can You Use Regular Salt to Make Ice Cream in a Bag?
Yes, you can use regular salt for making ice cream in a bag, but it might require a longer shaking time to freeze properly. Best results are achieved with rock salt, which lowers the freezing point more effectively.
How to Make Your Own Ice Cream for Kids?
You can make your own ice cream for kids without an ice cream maker! Just grab some half-and-half, sugar, and vanilla extract. Let them shake up their customized treat with fun toppings. Enjoy the sweet science lesson!
Can the DIY Ice Cream in a Bag Recipe be Stored in an Ice Cream Box?
Yes, the DIY ice cream in a bag recipe can be stored in an ice cream box. After making the ice cream, simply transfer it into an airtight store and serve ice cream box and place it in the freezer. This will keep the ice cream fresh and ready to enjoy whenever you want.
Conclusion
So next time you're craving a sweet treat, why not try making your own ice cream in a bag? It's a fun and easy DIY project that the whole family can enjoy together.
And for those who might be worried about the mess, don't fret – the cleanup is a breeze with this simple recipe.
Give it a try and create some delicious memories with your loved ones!