To transport ice cream for a picnic without melting, start by pre-chilling your cooler with ice for at least four hours. Pack the ice cream containers at the bottom, surrounded by dry ice or large ice blocks for efficient cooling. Secure the cooler lid tightly to minimize warm air entry. Keep an eye on the temperature with a thermometer, ensuring it stays below 32°F (0°C). Use insulated bags and fill empty spaces with towels to reduce air circulation. Serve quickly and strategically to keep the ice cream cold. There's plenty more to contemplate for a perfect picnic experience!
Key Takeaways
- Pre-chill your cooler with ice for at least 4 hours and line it with aluminum foil for better insulation.
- Use dry ice on top of ice cream containers, wrapping it in a towel to protect other items.
- Monitor the cooler temperature regularly to ensure it stays below 32°F (0°C) for optimal ice cream preservation.
- Serve ice cream quickly and consider using insulated serving tools to minimize warm air exposure.
- Pack empty spaces with towels or blankets to reduce air circulation and maintain a cold environment.

Cuisinart Ice Cream Maker, 1.5 Quart Double Insulated, Sorbet and Frozen Yogurt Maker, Ready in 20 Minutes, ICE-21P1, White
SUPERIOR FUNCTION: This Cuisinart Ice Cream Maker Machine features a mixing paddle that makes frozen treats in 20...
As an affiliate, we earn on qualifying purchases.
Importance of Cooler Management

When it comes to transporting ice cream, effective cooler management is essential. Proper management guarantees you keep your ice cream frozen, preserving its texture and flavor during your picnic.
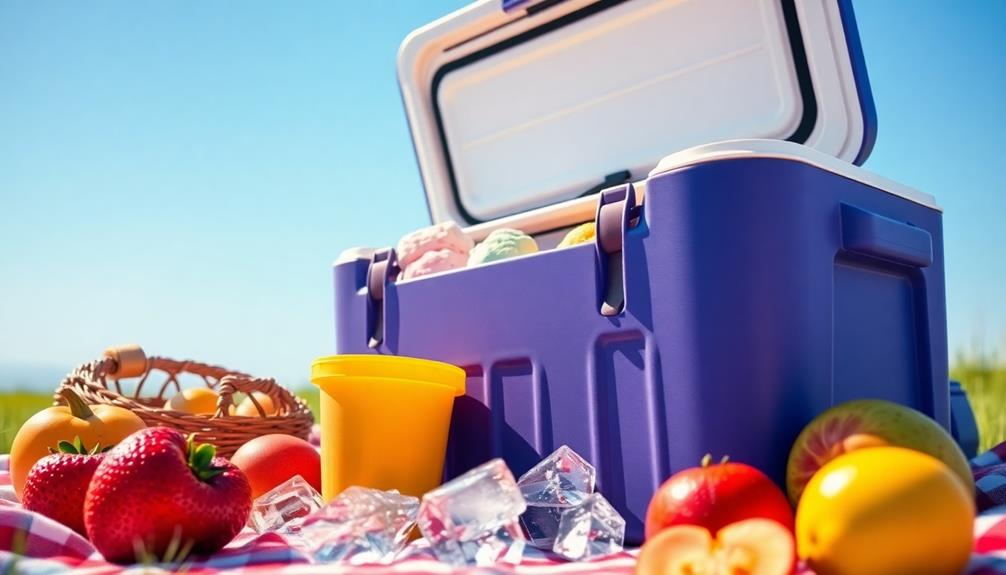
Start by pre-chilling the cooler; fill it with ice for at least four hours before adding your ice cream. This step helps maintain a low internal temperature when you introduce your frozen treats.
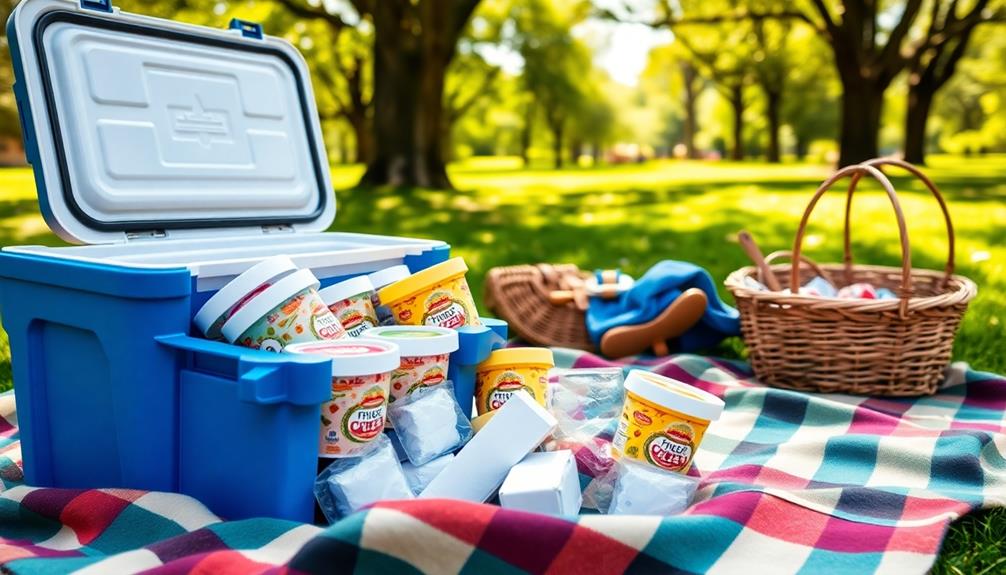
When packing, position the ice cream containers at the bottom of your insulated cooler. Surround them with dry ice or large blocks of ice to maximize cooling efficiency and slow the melting process.
After packing, secure the cooler lid tightly to minimize warm air entry, which helps maintain the cold environment.
Don't forget to monitor cooler temperature with a fridge thermometer. You'll want to verify it stays below 32°F (0°C) throughout transport.

Cuisinart 1.5-Quart Ice Cream Maker and Gelato Machine, Makes Frozen Yogurt and Sorbet, Fully Automatic with Commercial-Quality Compressor and 2 Churning Paddles, ICE-100, Black/Stainless
FROZEN FAVORITES: The fully automatic Cuisinart 1.5-Quart Ice Cream Maker with high-powered compressor makes lusciously rich ice cream,...
As an affiliate, we earn on qualifying purchases.
Utilizing Dry Ice Effectively
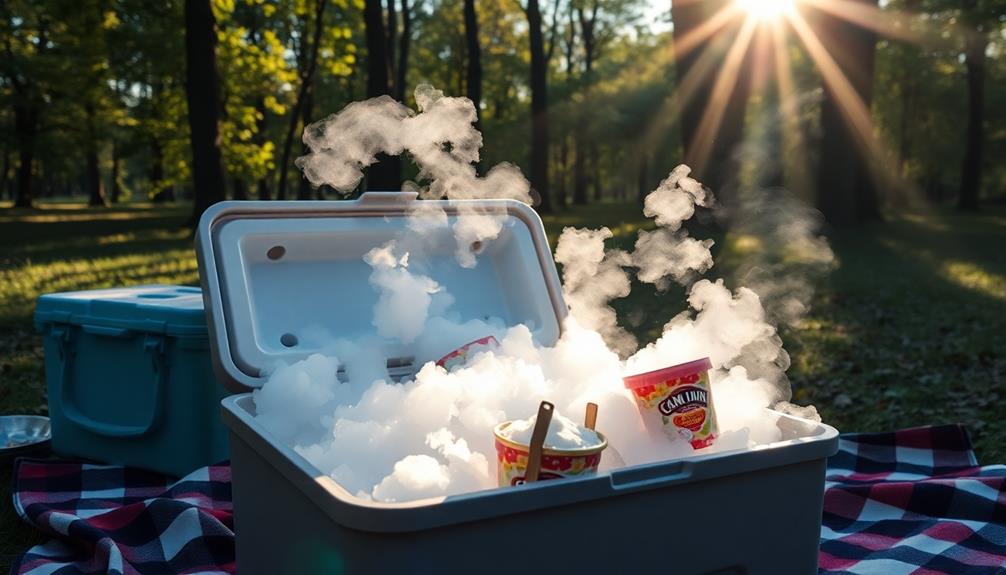
For keeping your ice cream perfectly frozen during a picnic, utilizing dry ice can make a significant difference. You'll want to purchase about 10-20 pounds of dry ice, costing around $1.00-$3.00 per pound. This amount can effectively maintain low temperatures for several hours.
Always handle dry ice with thick gloves or tongs to avoid frostbite, and store it in a well-ventilated area to prevent carbon dioxide buildup.
When packing your insulated cooler, place the dry ice on top of your ice cream containers. Since cold air sinks, this helps keep your ice cream frozen longer. To protect other contents in the cooler, wrap the dry ice in a towel. Additionally, fill any empty spaces with regular ice or towels to minimize air circulation.
It's crucial to monitor dry ice, as it evaporates at a rate of 5-10 pounds per day. By keeping an eye on it, you can guarantee the dry ice lasts for the duration of your picnic, helping you enjoy perfectly frozen ice cream throughout your outing.

Oplace 4-in-1 Compressor Ice Cream Maker (1.0Qt), No Pre-Freezing, Automatic Yogurt Maker, Gelato Sorbet Frozen Yogurt Soft Serve Machine, Compact Vertical Design for Home Kitchen(Blue)
4-in-1 Multifunctional Treat Maker: Built-in compressor requires no pre-freezing; effortlessly makes ice cream, gelato, sorbet, frozen yogurt, soft...
As an affiliate, we earn on qualifying purchases.
Packing Techniques for Success
Maximize your ice cream's chances of staying frozen by mastering effective packing techniques.
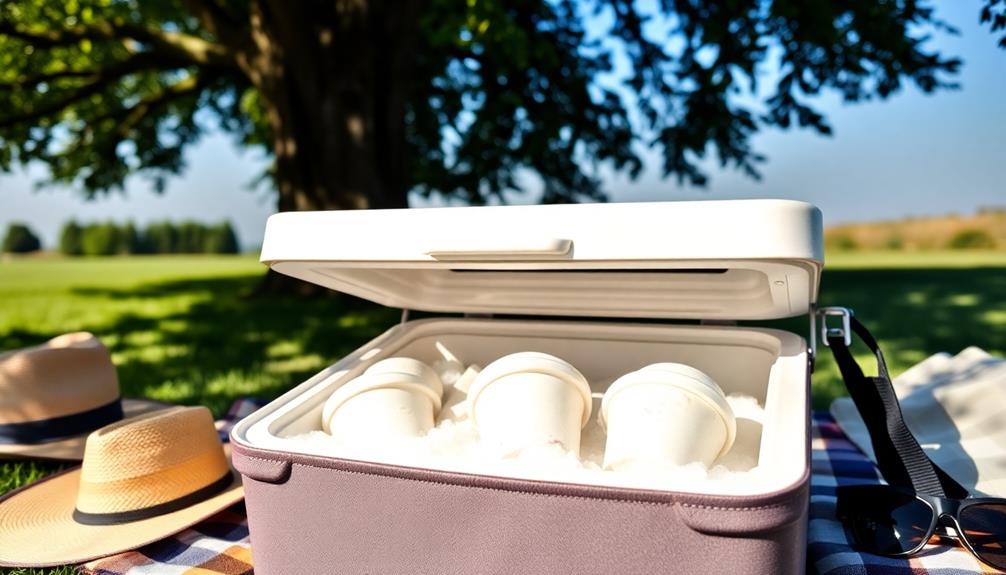
Start by placing your ice cream containers at the bottom of the cooler. Cold air sinks, so this positioning helps maintain the temperature, keeping your ice cream as frozen as possible.
Line the cooler's interior with aluminum foil to reflect heat away, enhancing insulation and further protecting your precious cargo from warm air.
For ideal results, use a combination of dry ice and regular ice. Place dry ice on top of your ice cream, as it's more effective at keeping items frozen for longer periods.
You'll also want to fill any empty spaces in the cooler with towels or blankets. This reduces air circulation, minimizing the chances of warm air reaching your ice cream.
Before you pack your ice cream, pre-chill the cooler with a large chunk of ice for at least four hours to guarantee it's at an ideal temperature.

Cuisinart Ice Cream Maker Machine, 2-Quart Ice Cream, Sorbet and Frozen Yogurt Machine, Fully Automatic Double-Insulated Freezer Bowl Makes Frozen Desserts in Under 30 Minutes, ICE30BCP1, Silver
DOUBLE-INSULATED FREEZER BOWL: This Cuisinart Cuisinart Ice Cream Maker Machine with double-insulated freezer bowl holds a generous 2...
As an affiliate, we earn on qualifying purchases.
Safety Precautions to Consider
Packing ice cream properly is only part of the equation; ensuring safety during transport is just as important. If you're using dry ice to keep your treats frozen, always handle it with insulated gloves. This'll prevent frostbite, as dry ice can cause severe skin burns upon contact.
Make sure there's proper ventilation in your vehicle. As dry ice sublimates, it releases carbon dioxide gas that can displace oxygen, posing a suffocation risk in enclosed spaces.
Regularly monitor the cooler temperature, aiming to keep the ice cream below 32°F (0°C) to maintain its frozen state.
Educate anyone involved in the transport about the risks associated with dry ice. It's essential they understand the importance of not swallowing it or disposing of it improperly.
Additionally, keep dry ice away from children and pets. This helps prevent accidental contact or ingestion, ensuring a safe transport environment.
Serving Strategies for Ice Cream
When it's time to serve ice cream, you'll want to act quickly to keep it from melting.
Using smaller portions not only makes it easier to eat but also helps maintain that perfect texture.
Quick Serving Techniques
To keep ice cream at its best during a picnic, serve it quickly after taking it out of the cooler. Aim to serve within a few minutes to minimize exposure to warmer air, which can affect its texture and flavor.
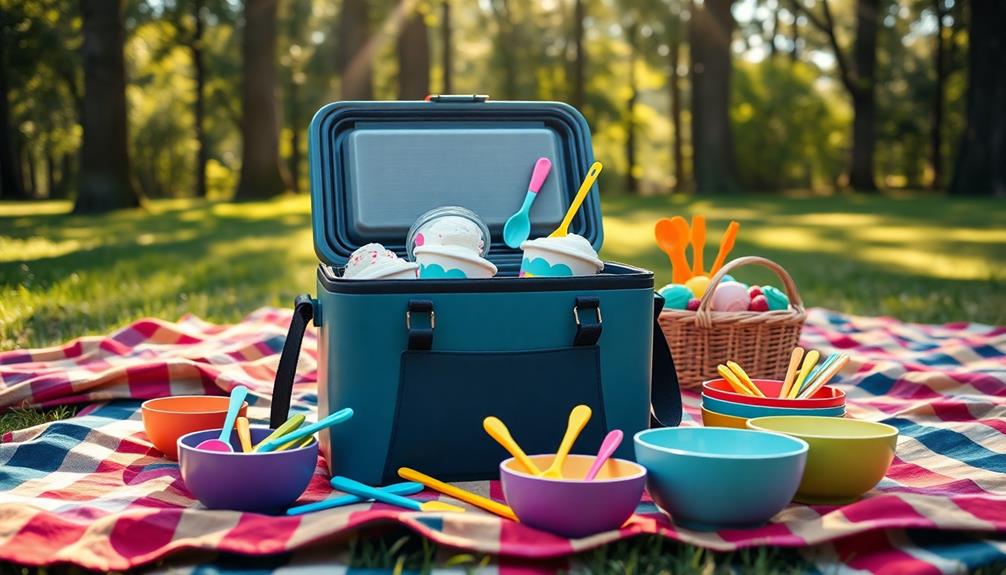
Using quick serving techniques, scoop smaller portions to limit the surface area exposed to heat. This approach helps reduce the rate of melting while everyone enjoys their treat.
Keep ice cream containers in a cool, shaded area until it's time to serve. Avoid direct sunlight at all costs, as it can rapidly increase the temperature and lead to a soupy mess.
Having extra ice or dry ice on hand is also a smart move; this can quickly re-chill any softened ice cream and help maintain the ideal temperature.
When planning your picnic, strategize the logistics ahead of time. By minimizing the time the cooler is open during serving, you'll guarantee that cold air remains trapped inside.
These quick serving techniques will help you enjoy delicious ice cream without a melt-down!
Efficient Portion Management
Efficient portion management is key to enjoying ice cream at your picnic without the hassle of melting. By serving ice cream in smaller portions, you limit exposure to warmer air, helping to keep the ice cream in its frozen state longer.
Before serving, make sure to keep ice cream containers in a cool, shaded area to minimize temperature increases.
To further enhance your strategy, use insulated serving tools. These will help maintain the cold temperature of the ice cream while you serve it, ensuring that each scoop retains its delightful texture.
It's also a good idea to have extra ice or dry ice on hand during serving. This way, you can quickly re-cool any melting ice cream and maintain ideal texture.
Additionally, limit the frequency of cooler openings to retain cold air inside. Each time you open the cooler, warm air rushes in, increasing the risk of melting.
Strategic Timing Considerations
Timing plays an essential role in serving ice cream at your picnic, as even a few minutes can greatly impact its texture and taste. When you're transporting ice cream, try to plan your trip during the cooler evening hours to minimize exposure to the heat of a hot summer day. This will help keep it frozen longer.
Once you arrive, aim to serve ice cream quickly. The longer it sits outside the cooler, the more likely it's to melt. To maintain its frozen state, have extra ice or dry ice on hand during serving. This will help replenish the cooler's cold environment and extend your ice cream's life.
Using smaller serving portions is another strategic move. This limits the amount of ice cream exposed to warm air at once, which reduces the overall melting rate.
Additionally, keep the cooler out of direct sunlight and closed as much as possible while serving. This simple step will help retain cold air and maintain the ice cream's ideal temperature.
Additional Tips for Transport
When you're transporting ice cream, quick strategies can make all the difference.
Effective insulation techniques and temperature monitoring tips guarantee your treats stay frozen and delicious.
Let's explore how to keep your ice cream in perfect condition from your home to the picnic spot.
Quick Transport Strategies
To keep your ice cream perfectly frozen during transport, it's crucial to use a pre-chilled cooler packed with large blocks of ice or dry ice on top. This helps maintain a low temperature throughout your journey.
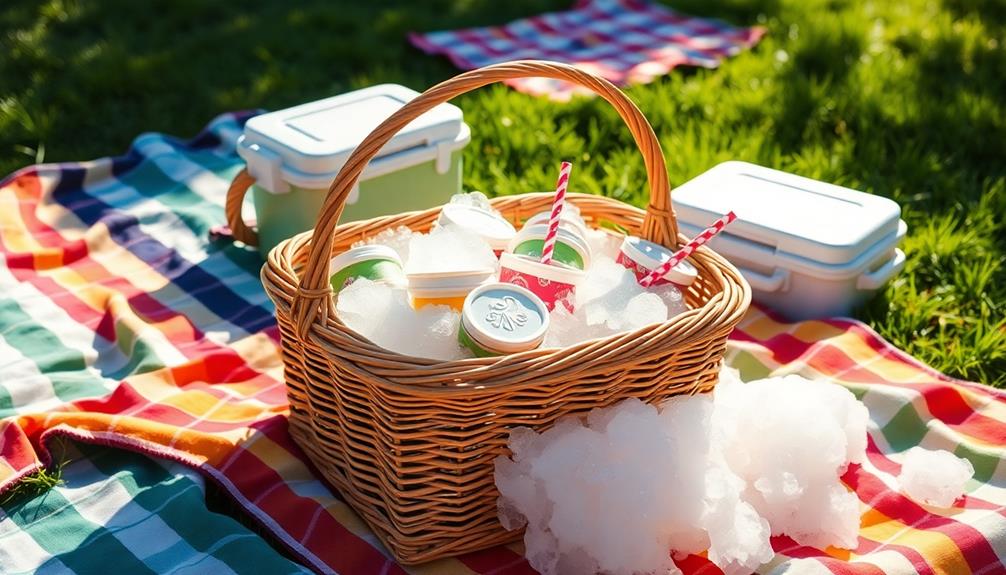
You should also consider using insulated bags or thermal freezer bags for added protection around your ice cream containers.
To prevent melting, minimize exposure to warm air by limiting the number of times you open the cooler. Serve the ice cream quickly once you arrive at your picnic site.
Another effective strategy is to mix rock salt with ice, creating a colder environment that can prolong the freezing duration of your ice cream.
Don't forget to include frozen gel packs in your cooler, as they can help keep the temperature down.
To make sure everything stays frozen, monitor the cooler temperature with a fridge thermometer, making sure it remains below 32°F (0°C) during the trip.
Effective Insulation Techniques
Maximize the effectiveness of your ice cream transport by employing robust insulation techniques. Keeping your ice cream frozen and at a stable temperature during transit is essential to prevent melting. Here are three effective strategies you can use:
- Insulated Containers: Use insulated containers or thermal bags designed for cold storage. These will help maintain a stable temperature for your ice cream.
- Additional Wrapping: Wrap your ice cream containers in bubble wrap or towels. This extra layer of insulation reduces the impact of external temperatures, keeping your treats colder for longer.
- Pre-Chill Your Cooler: Before packing, pre-chill your cooler by placing a large block of ice inside for at least 4 hours. This lowers the internal temperature and creates a frosty environment for your ice cream.
To further enhance insulation, fill any gaps in the cooler with towels or blankets to minimize air circulation.
Consider using a combination of dry ice and regular ice as well, since dry ice can keep ice cream frozen for several hours when packed correctly.
With these insulation techniques, you can guarantee your ice cream remains deliciously frozen during your picnic!
Temperature Monitoring Tips
Even with high-quality insulation techniques, keeping your ice cream frozen during transport requires careful temperature monitoring.
Start by using a fridge thermometer to check the cooler's internal temperature regularly. You want it to stay below 32°F (0°C) to prevent your ice cream from melting. Every 30 minutes, monitor the ice levels, as regular ice typically lasts about two hours. Replenish with fresh ice or, for better results, use dry ice, which can help maintain a temperature below the freezing point of ice.
Keep a digital thermometer handy to quickly gauge your ice cream's temperature. Aim for a reading below 0°F (-18°C) for ideal preservation of ice crystals.
Avoid opening the cooler frequently; each time you do, the internal temperature can rise several degrees, jeopardizing your frozen treats.
Consider using temperature-sensitive stickers or indicators that change color based on heat exposure. These can provide a visual cue for when it's time to replenish your cooler.
Choosing the Right Containers

Selecting the right containers is essential for keeping your ice cream frozen during a picnic. To guarantee temperature stability and minimize melting, consider these options:
- Hard-sided plastic containers: These provide superior insulation and are less likely to absorb heat than metal options.
- Styrofoam coolers: Known for their excellent insulation properties, they can keep your ice cream cold for hours.
- Thermally insulated bags: Use these alongside coolers for added protection and to maintain a consistent cold environment.
Before loading your ice cream, remember to pre-chill your containers in the freezer. This step helps maintain a low temperature, preventing ice crystal formation that can ruin the texture of your treat.
Make sure the containers are tightly sealed to keep air exposure at bay, which could lead to spoilage.
Frequently Asked Questions
How to Keep Ice Cream From Melting While Traveling?
To keep ice cream from melting while traveling, pack it in a pre-chilled cooler with dry ice or ice blocks. Insulate containers, limit cooler openings, and monitor the temperature to maintain its frozen state.
How to Bring Ice Cream to a Picnic?
To bring ice cream to a picnic, you'll need a well-insulated cooler. Pre-chill it with ice, pack the ice cream tightly, and limit openings to keep everything cold until you're ready to enjoy.
How Do You Transport Ice Cream Without a Cooler?
You can transport ice cream without a cooler by using dry ice, insulated containers, or wrapping it well. For shorter trips, a thick insulated bag works wonders, keeping your treat cold for a while.
How Do You Transport Ice Cream on a Hot Day?
On a hot day, you'll want to use a high-quality cooler. Pre-chill it, place ice cream at the bottom, surround it with ice, and limit cooler openings to keep everything frozen longer.
Conclusion
By mastering cooler management, utilizing dry ice, and perfecting packing techniques, you can guarantee your ice cream stays sensationally solid during your picnic. Always remember safety precautions and smart serving strategies to savor every scoop. With these clever tips and the right containers, you'll transform your transport troubles into a delightful dessert experience. So, gather your gear and get ready to enjoy a wonderfully whipped treat that won't melt away before it's time to indulge!