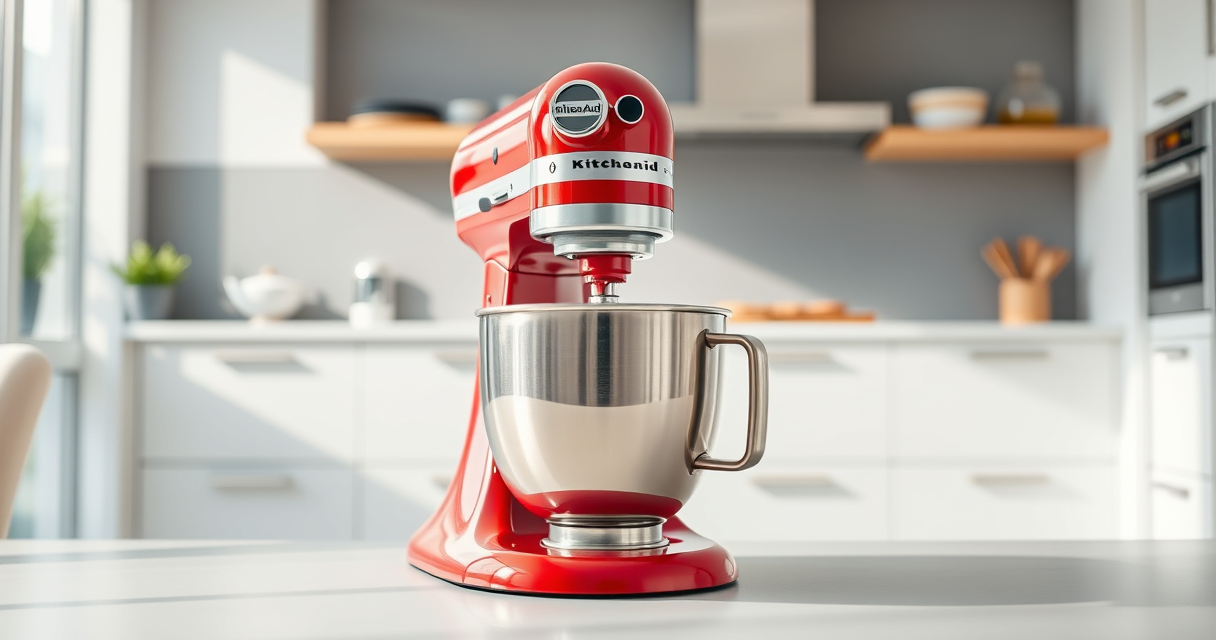

If your KitchenAid Artisan Series 5 Quart Tilt Head Stand Mixer is leaking oil, it’s a sign that something may be wrong with the internal components. While these mixers are built to last with durable metal construction, oil leaks can occur due to worn seals or internal damage. Addressing this issue promptly can prevent further damage and keep your mixer functioning smoothly.

Get baking supplies delivered free with Prime
- Fast, free delivery on millions of items
- Prime Video, Amazon Music and more included
- Member-only deals all year
In this guide, we’ll walk you through the essential steps to diagnose and fix an oil leak safely and effectively. Whether you’re an experienced DIYer or a first-timer, these clear instructions will help you restore your mixer’s performance without risking damage or voiding warranties.
Key Takeaways
| Identify the source of the leak | Determine if oil is leaking from the head, the base, or the bowl area. |
| Check internal seals | Worn or damaged seals are often the culprit for oil leaks. |
| Disassemble carefully | Follow proper steps to access internal parts without causing damage. |
| Replace faulty seals or gaskets | Use genuine replacement parts to restore a proper seal. |
| Reassemble and test | Ensure the mixer runs smoothly without leaking after repairs. |
Step 1: Prepare Your Workspace and Gather Tools
Before beginning any repairs, ensure your workspace is clean, dry, and well-lit. Unplug the mixer to avoid accidental activation. Gather necessary tools such as a Phillips and flat-head screwdriver, a wrench set, replacement seals or gaskets (if needed), and a clean cloth. It’s also helpful to have the user manual on hand for reference to specific disassembly points.
Step 2: Remove the Mixer Head and Access Internal Components
- Loosen the tilt-head latch and lift the head to access the internal mechanism.
- Use the screwdriver to remove the screws securing the head to the base.
- Carefully lift the head, keeping track of all screws and small parts.
- Inspect the internal areas, focusing on the gear housing and oil seals for signs of wear or damage.
Step 3: Identify and Replace Worn Seals or Gaskets
Look for signs of oil leakage around the seals, gaskets, or internal shafts. Worn or cracked seals are common causes of leaks. If you find damaged seals, carefully remove them using a flat-head screwdriver or a seal removal tool. Clean the area thoroughly with a cloth to remove residual oil and debris. Install new seals or gaskets, ensuring they fit snugly and are properly seated to prevent future leaks.
Step 4: Reassemble the Mixer and Conduct a Test Run
- Reattach the mixer head, tightening screws securely but without over-tightening.
- Lower the head into the locked position and ensure it is secure.
- Plug in the mixer and run it at various speeds to check for leaks.
- Observe closely for any oil seeping from the areas you repaired. If leaks persist, recheck the seals and ensure proper installation.
Tips and Warnings for Safe and Effective Repairs
- Always unplug the mixer before disassembly to prevent injury.
- Use genuine replacement parts for seals to ensure compatibility and durability.
- Handle internal components gently to avoid damaging gears or shafts.
- If unsure about any step, consult the user manual or contact a professional repair service.
- Dispose of old seals and oil responsibly, following local regulations.
The Products in This Guide

KitchenAid Artisan Series 5 Quart Tilt Head Stand Mixer
- ✔ Weight: 26 lbs
- ✔ Dimensions: 14 x 8 x 14 inches
- ✔ Warranty: 1 year

KitchenAid Stand Mixer Attachment
- ✔ Capacity: Varies by plate
- ✔ Color: Silver
- ✔ Warranty: N/A
KitchenAid Artisan Series 5 Quart Tilt Head Stand Mixer
The KitchenAid Artisan Series 5 Quart Tilt Head Stand Mixer is a popular choice for both amateur and professional bakers, thanks to its robust metal construction and versatile features. When it starts leaking oil, it indicates a need for internal inspection and possible seal replacement. While the machine is built to last, regular maintenance can extend its lifespan and prevent leaks.
Pros:
- Durable metal construction
- Powerful motor with 10 speeds
- Large 5-quart capacity
- Easy to tilt for access
Cons:
- Can develop oil leaks over time
- Requires disassembly for internal repairs
- Seal replacement can be tricky without experience
Best for: Home bakers needing a reliable, high-capacity mixer
Not ideal for: Users uncomfortable with DIY repairs or seeking plug-and-play solutions
Bottom line: Regular maintenance and seal replacement keep your mixer running smoothly.
KitchenAid Stand Mixer Attachment
Adding a KitchenAid Metal Food Grinder attachment can expand your mixer’s capabilities beyond baking, enabling you to process fresh meats, vegetables, and more with ease. Its sturdy construction and multiple grinding plates make it a versatile addition for any kitchen.
Pros:
- Made of durable metal
- Includes multiple grinding plates
- Easy to attach and clean
- Great for fresh, custom foods
Cons:
- Additional cost
- Requires space for storage
- Power hub connection needed
Best for: Cooks wanting to grind meats or make fresh sausage
Not ideal for: Those only interested in baking or not wanting extra attachments
Bottom line: A valuable upgrade for fresh, homemade processed foods.
Frequently Asked Questions
Why is my KitchenAid mixer leaking oil?
Oil leaks typically occur due to worn or damaged internal seals or gaskets, which can degrade over time or due to improper use.
Can I fix the oil leak myself?
Yes, with proper tools and careful disassembly, you can replace seals or gaskets. However, if you’re unsure, consulting a professional is recommended.
Is oil leakage harmful to the mixer’s motor?
Yes, leaking oil can damage internal components or cause electrical issues if not addressed promptly.
How often should seals be replaced?
Seals should be inspected regularly, especially if leaks are noticed. Replace them as soon as signs of wear or damage appear.
What kind of oil should I use for internal seals?
Use only the type of lubricant recommended by KitchenAid or a professional technician. Do not overfill or use inappropriate oils.
Keep Your KitchenAid Mixer Running Smoothly
Dealing with an oil leak in your KitchenAid Artisan stand mixer can be straightforward if you follow these steps carefully. Regular inspection and timely seal replacement can prolong the life of your mixer and ensure it performs at its best. Remember to handle internal parts gently, use genuine replacement components, and seek professional help if needed. With proper maintenance, your mixer will continue to be a reliable kitchen partner for years to come.
Affiliate disclosure: As an Amazon Associate we earn from qualifying purchases. Prices and availability are accurate as of the time of publishing.
Halloween Picks
halloween
As an affiliate, we earn on qualifying purchases.