Yes, homemade ice cream can go bad if not stored properly. It usually stays fresh for 1-2 months in the freezer, but quality declines over time. Signs of spoilage include off smells, discoloration, or icy textures. Using airtight containers and keeping it in the coldest part of your freezer helps prevent freezer burn and ice crystals. Want to learn the best storage tricks? Keep going for all the tips!
Key Takeaways
- Homemade ice cream can last 1-2 months in the freezer before quality declines.
- Proper airtight containers prevent freezer burn, odor absorption, and moisture loss.
- Covering the surface with plastic wrap minimizes ice crystal formation and maintains texture.
- Thaw in the refrigerator to preserve flavor and safety, avoiding room temperature or microwave.
- Regularly check freezer temperature and store in the coldest part to extend shelf life and prevent spoilage.

ZICOTO Set of 3 Reusable Ice Cream Containers 1 Quarts ea. - Perfect for Homemade Sorbet, Frozen Yogurt Or Gelato - Stackable Storage Pint Containers, Stickers And Lids Stores Easily In Freezer
Indulge In Homemade Delights: Savor the joy of crafting frozen delights at home and the heavenly pleasure of...
As an affiliate, we earn on qualifying purchases.
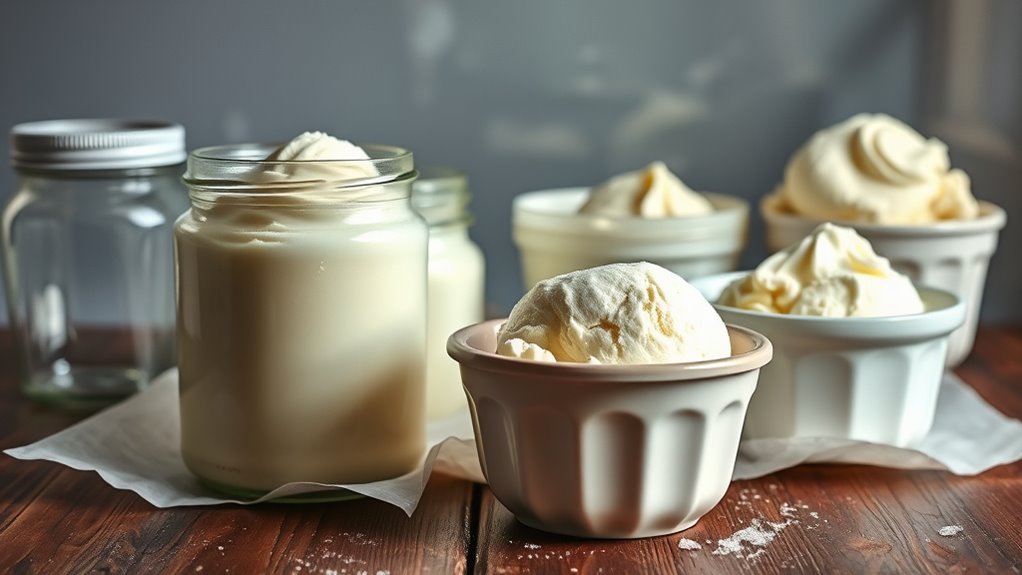
Understanding the Shelf Life of Homemade Ice Cream

How long can homemade ice cream stay fresh in your freezer? Typically, homemade ice cream maintains its best flavor stability for about 1 to 2 months. After that, you might notice a decline in taste and texture. The key factors influencing this are ingredient quality and how well you store it. Using fresh, high-quality ingredients helps preserve flavor and prevents freezer burn. Proper storage also minimizes exposure to air, which can cause ice crystals that affect texture and taste. Additionally, freezer temperature stability plays a crucial role in maintaining quality over time. Maintaining a consistent freezer temperature prevents unwanted ice crystal formation, which can negatively impact texture. While it won’t spoil immediately, over time, the quality diminishes, making it less enjoyable. Proper storage conditions such as temperature fluctuations can accelerate spoilage. Keep in mind, though, if you notice any off smells or significant changes in appearance, it’s best to discard it. Proper handling and freezer storage techniques ensure you enjoy your homemade creation at its peak.
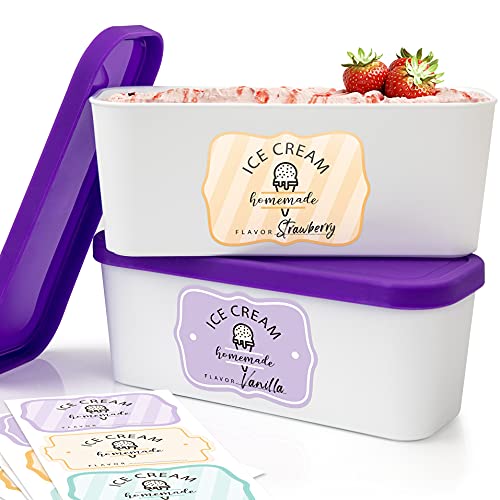
Set of 2 Reusable Ice Cream Tub Containers 1.6 Quart Ea. - Perfect for Homemade Sorbet, Frozen Yogurt Or Gelato - Stackable Storage Containers, Stickers And Lids Stores Easily In Freezer
Perfect For Homemade Ice Cream & More: The ice cream tub set of 2 is a great way...
As an affiliate, we earn on qualifying purchases.
How to Properly Store Your Ice Cream to Maximize Freshness
To keep your homemade ice cream as fresh and flavorful as possible, proper storage techniques are essential. Store it in an airtight container to prevent freezer burn and odor absorption, which can ruin flavor variations and mask subtle ingredient substitutions. HEPA filtration helps keep the freezer environment clean and free from airborne contaminants that might affect your stored ice cream. For best results, place the container at the back of the freezer, where temperature fluctuations are minimal. Before sealing, press a piece of plastic wrap directly on the surface of the ice cream to reduce ice crystals. If you’ve used different flavor variations or ingredient substitutions, label your container clearly to track freshness. Consistent freezing temperatures ensure your ice cream maintains its creamy texture and delicious taste longer. Maintaining a steady temperature in your freezer is crucial for preventing freezer burn, which can negatively impact quality. Additionally, understanding the types of dog names can offer inspiration for fun naming ideas, though they are unrelated to storage. Proper storage is your key to enjoying homemade ice cream that tastes just as good as when it was made. Regularly monitoring storage conditions ensures optimal preservation and quality over time.

ZICOTO Set of 2 Reusable Ice Cream Tub Containers 2 Quart Each - Perfect for Homemade Sorbet, Frozen Yogurt Or Gelato - Stackable Storage Containers, Stickers And Lids Stores Easily In Freezer
Perfect For Homemade Ice Cream & More: The ice cream tub set of 2 is a great way...
As an affiliate, we earn on qualifying purchases.
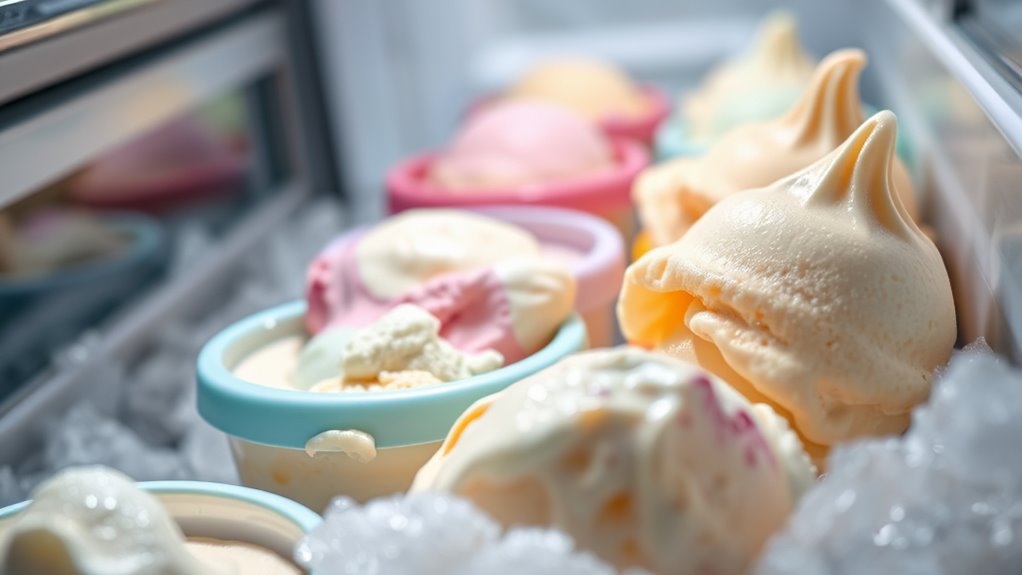
Recognizing Signs That Your Ice Cream Has Gone Bad
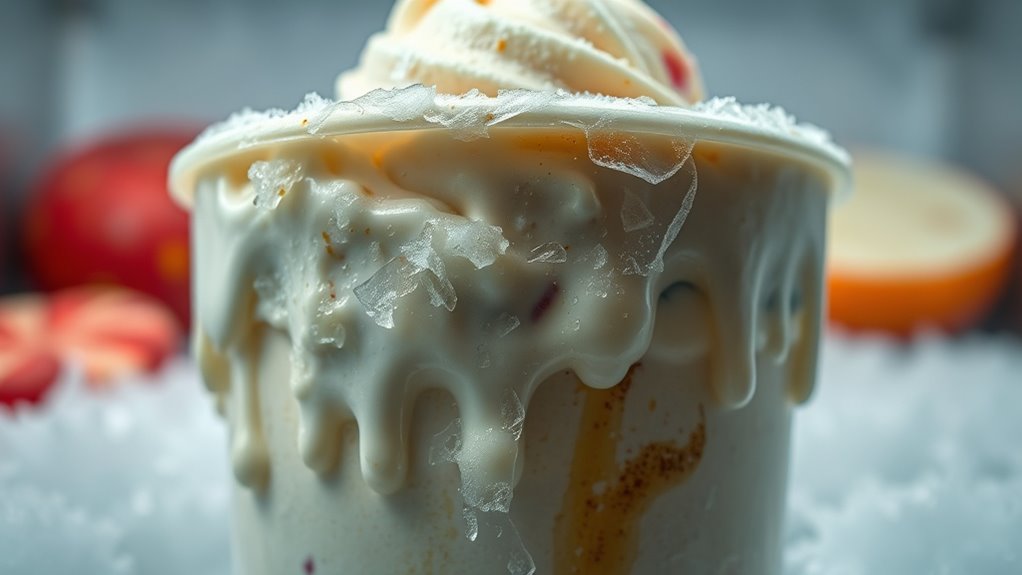
Even when stored properly, ice cream can spoil over time. One sign is changes in texture—if it becomes icy or develops large ice crystals, it’s likely past its prime. Melting points can shift due to temperature fluctuations, causing uneven melting and a grainy consistency. Flavor degradation is another warning sign; if your ice cream tastes stale, sour, or off, it’s no longer good. Unusual odors are also a red flag, indicating bacterial growth or spoilage. Keep an eye out for discoloration or freezer burn, which can affect both appearance and taste. Additionally, food safety standards highlight the importance of proper storage durations to minimize health risks. These standards are influenced by the technological advancements in freezing and storage techniques that help prolong freshness. Proper storage practices are crucial in maintaining the quality and safety of your ice cream over time. For example, understanding the optimal storage temperature can significantly extend its shelf life. If you notice any of these signs, it’s best to discard the ice cream to avoid health risks and ensure your desserts remain enjoyable.

BALCI - Ice Cream Container - 2 Quart - Perfect Reusable Freezer Storage for Homemade Ice Cream Tubs for Sorbet, Frozen Yogurt and Gelato! - Flexible Silicone Lids, Long Scoop, Stackable - Blue
Tough, Stylish & Reusable Ice Cream Containers: This Ice Cream Container is the perfect addition for your freezer,...
As an affiliate, we earn on qualifying purchases.
The Best Containers and Packaging for Freezing Ice Cream
Choosing the right containers can make a big difference in keeping your homemade ice cream fresh. Airtight freezer bags and plastic containers each have their advantages, but selecting the best helps prevent ice crystals. Using proper sealing techniques ensures minimal air exposure, which is essential for maintaining texture and flavor over time. Additionally, maintaining a consistent freezer temperature helps preserve the quality of your ice cream for longer periods. Proper storage methods can also prevent freezer burn, which is crucial for maintaining optimal taste and quality. Being aware of vacuums and sealing methods can further enhance freshness by removing excess air and sealing in flavors. Regularly checking your freezer’s temperature stability can also help prevent spoilage and moisture build-up that affects ice cream quality.
Airtight Freezer Bags
Have you ever wondered why airtight freezer bags are often considered the best option for storing homemade ice cream? They excel in frozen storage because their packaging materials create a tight seal that prevents air from entering. This helps maintain the ice cream’s texture and flavor while reducing the risk of freezer burn. Airtight freezer bags are flexible, allowing you to remove excess air easily, which is vital for preserving quality over time. They also save space in your freezer compared to bulky containers. Using these bags minimizes exposure to moisture and odors, keeping your ice cream fresh longer. Additionally, proper packaging methods are essential for freezer burn prevention, which can ruin your homemade treats. Proper storage techniques further enhance the longevity and quality of your ice cream. For optimal results, consider the types of plastics used in these bags, as some materials are more resistant to cold and moisture than others. Overall, they provide a convenient, effective solution for long-term storage, ensuring your homemade ice cream stays delicious and safe to enjoy.
Plastic Container Benefits
Plastic containers are a popular choice for freezing homemade ice cream because they provide a sturdy, leak-proof environment that protects your treat from freezer burn and odors. Their benefits include easy stacking, which saves space, and the ability to seal tightly, helping you avoid freezer burn. Plus, plastic containers often come with lids that create an airtight seal, preserving freshness longer. To maximize benefits, choose containers made from BPA-free plastic, ensuring safety and durability. Here’s a quick comparison:
| Benefit | Explanation |
|---|---|
| Leak-proof | Prevents messes and freezer spills |
| Airtight Seal | Keeps ice cream fresh and free from odors |
| Space-efficient | Stackable design saves freezer space |
Using the right plastic container guarantees your homemade ice cream stays delicious longer, especially when combined with proper storage techniques.
Avoiding Ice Crystals
To prevent ice crystals from forming and ruining your homemade ice cream, selecting the right containers and packaging is essential. Use airtight, shallow containers to minimize air exposure and help maintain a smooth, creamy texture. Wrap the surface of the ice cream with plastic wrap before sealing to reduce surface ice crystals that cause texture changes. Avoid deep, narrow containers, which can trap excess moisture and promote ice crystal growth. Proper packaging also helps prevent flavor degradation by limiting freezer burn and odor absorption. For best results, leave some space at the top of the container for expansion and ensure a tight seal. These steps will keep your ice cream smooth, flavorful, and free of unwanted ice crystals.
Tips for Preventing Ice Crystals and Maintaining Texture
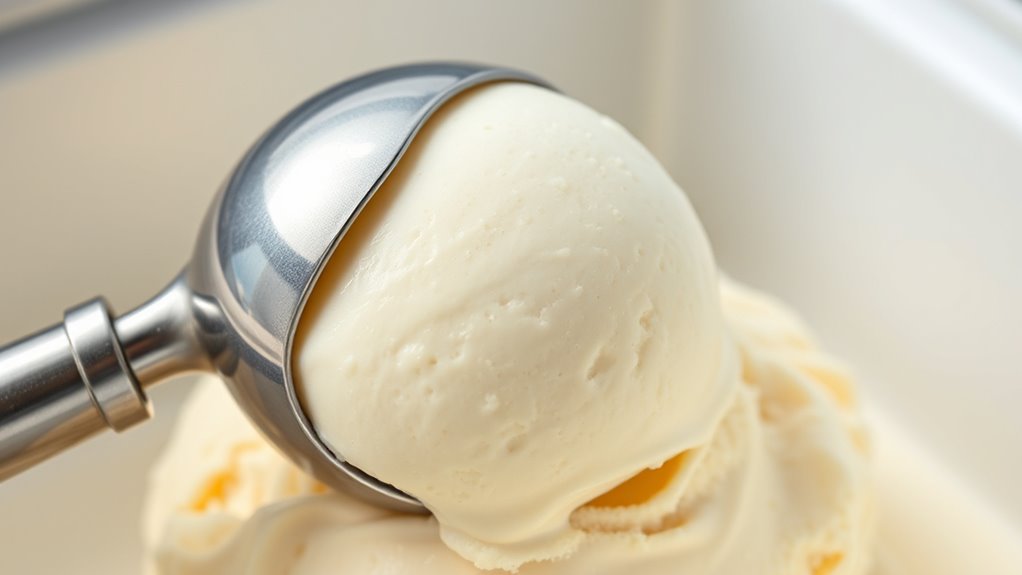
Preventing ice crystals from forming is essential for maintaining smooth, scoopable homemade ice cream. To achieve this, make certain proper air circulation inside your freezer by avoiding overpacking, which traps excess moisture. Use a container made of airtight, high-quality material, like plastic or glass, to prevent moisture transfer and reduce crystallization. Cover the surface of the ice cream with a layer of plastic wrap or parchment paper before sealing the lid, minimizing exposure to air. Keep the container tightly sealed to prevent freezer burn and moisture infiltration. Also, store the ice cream in the coldest part of your freezer, ideally away from the door, where temperature fluctuations are common. These tips help maintain your ice cream’s creamy texture and prevent unwanted ice crystals from ruining your dessert.
How Long Can Homemade Ice Cream Last in the Freezer?
Homemade ice cream typically stays at its best quality for about 1 to 2 months in the freezer. Over time, flavor variations can fade, and ingredient substitutions may affect texture and taste. To maximize shelf life, store your ice cream in an airtight container, minimizing exposure to air and preventing freezer burn. If you’ve used dairy or fresh fruit, keep in mind that these ingredients can influence how long your ice cream remains fresh. While it may still be safe to eat beyond two months, the quality might decline, with ice crystals forming or flavors dulling. For best results, consume your homemade creation within this timeframe and consider adjusting recipes based on ingredients to extend freshness. Proper storage ensures your homemade ice cream stays delicious longer.
Safe Thawing and Serving Practices for Homemade Ice Cream
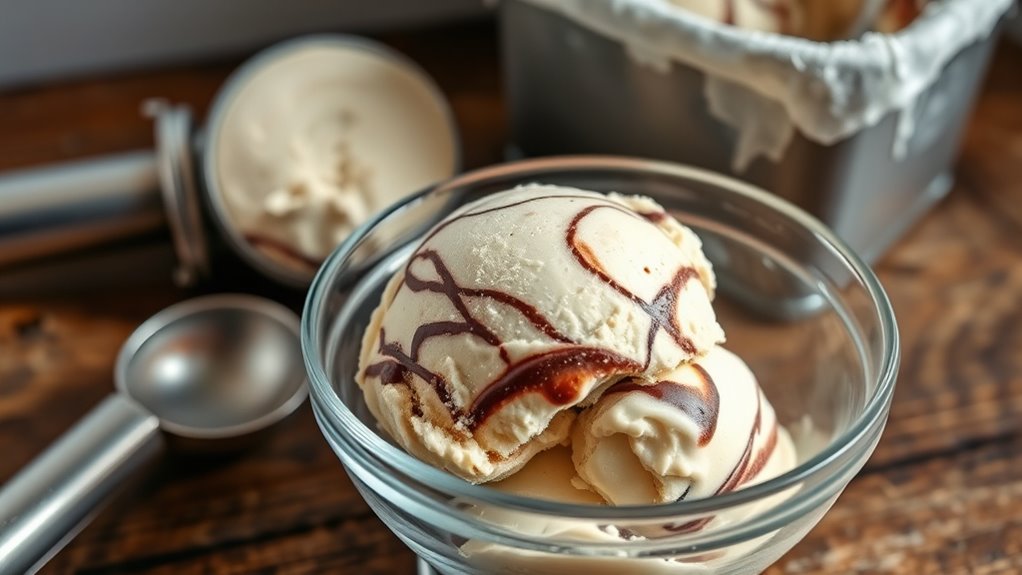
When thawing homemade ice cream, it’s important to do so safely to preserve its quality and prevent foodborne illness. Use proper thawing techniques like transferring it from the freezer to the refrigerator and letting it thaw slowly. Avoid quick-thaw methods like microwaving, which can affect texture and safety. When serving, aim for the ideal serving temperature—usually around 6-10°F (-14 to -12°C)—to maintain smoothness and flavor. Keep these tips in mind:
- Thaw in the refrigerator, not at room temperature
- Use a clean spoon to scoop, avoiding cross-contamination
- Serve ice cream slightly softer for better texture
- Don’t refreeze melted ice cream without proper reheating
Following these practices ensures your homemade ice cream stays delicious and safe to enjoy.
Frequently Asked Questions
Can Homemade Ice Cream Develop Harmful Bacteria Over Time?
Homemade ice cream can develop harmful bacteria if not stored properly, especially over time. Bacterial growth occurs when it’s left at unsafe temperatures, increasing spoilage indicators like sour smells or ice crystals. To prevent this, you should keep your ice cream in an airtight container in the freezer and consume it within a few weeks. Regularly check for signs of spoilage and discard if you notice any unusual odors or texture changes.
Does Adding Alcohol Extend Homemade Ice Cream’s Shelf Life?
Imagine your homemade ice cream as a delicate garden; adding alcohol preservation is like planting a protective barrier, extending its freshness. Alcohol not only acts as a preservative but also enhances flavor, giving your treat a richer taste. With just a splash, you can delay ice crystal formation and keep it tasting great longer. So, yes, adding alcohol helps preserve your ice cream, making it last and taste better over time.
How Does Homemade Ice Cream Compare to Store-Bought in Spoilage Risk?
You might notice homemade ice cream spoils faster than store-bought because it often has less preservatives. To keep it fresh, you should store it at a consistent cold temperature, ideally below 0°F, and use fresh ingredients. Unlike store-bought options, homemade varieties are more prone to freezer burn and spoilage if not properly stored. Always check for signs of spoilage before enjoying your homemade treat.
Can Homemade Ice Cream Be Refrozen After Partial Melting?
Did you know that about 60% of homemade ice cream enthusiasts have refrozen it after partial melting? You can refreeze homemade ice cream, but it may affect its texture. Using proper freezing techniques, you should reassemble it quickly to minimize ice crystal growth and preserve creaminess. Keep in mind, repeated freezing and melting can degrade ice cream texture, so try to serve it in smaller portions to avoid unnecessary refreezing.
What Are the Best Signs to Discard Homemade Ice Cream Safely?
You should discard homemade ice cream if you notice freezer burn or mold formation, as these signs indicate spoilage. Freezer burn causes ice crystals and texture changes, while mold suggests bacteria growth, both unsafe to eat. Also, if the ice cream develops an off smell or sour taste, it’s best to throw it out. Regularly check your ice cream and store it in airtight containers to prevent these issues.
Conclusion
Think of your homemade ice cream as a cherished memory—you want to savor it at its best. By following storage secrets, you guarantee each scoop remains as delightful as the first. I once kept a batch for weeks, and it still tasted like a summer sunset—sweet and perfect. When you store and handle your ice cream with care, you’re not just preserving flavor; you’re holding onto those little moments of joy.