Prepare to unlock the magic behind the richest, **creamiest**, and most indulgent homemade vanilla ice cream! Begin by creating a luscious vanilla base with heavy cream, whole milk, egg yolks, vanilla extract, and sugar. Become a master in crafting a flawless custard base, then refrigerate and mix it with milk. Whip up the mixture until it reaches a creamy texture, then add your desired toppings like chocolate chips or nuts. Play around with distinct flavors and decorations to personalize your creation. Are you ready to elevate your homemade vanilla ice cream game? There’s a whole world of possibilities waiting for you to explore!
Key Takeaways
- Master a rich and creamy vanilla base with heavy whipping cream, whole milk, egg yolks, vanilla essence, and sugar for the best flavor.
- Combine egg yolks, sugar, salt, milk, and cream for the custard base, then whisk and heat to 165°F for the right consistency.
- Chill the custard base for at least 2 hours before churning in an ice cream maker for 20-25 minutes to achieve a creamy consistency.
- Elevate your vanilla ice cream with toppings like chocolate syrup, sprinkles, or crushed Oreos, or experiment with unique flavors and mix-ins.
- Store your homemade vanilla ice cream in an airtight container with wax paper on the surface to maintain freshness for up to two months.
Rich and Creamy Vanilla Base
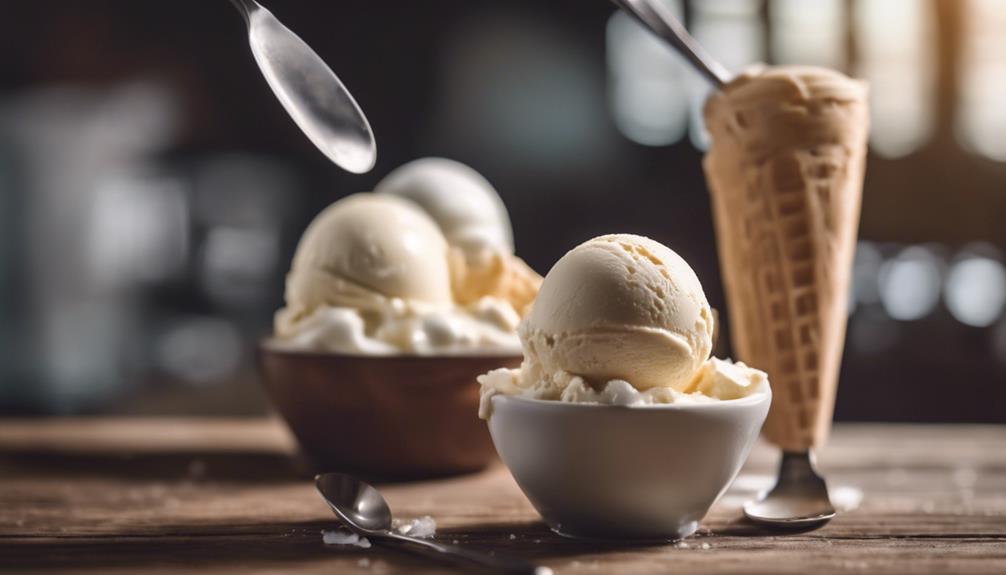
You'll start by crafting a rich and creamy vanilla base, which relies heavily on the trifecta of heavy whipping cream, whole milk, and egg yolks to deliver a decadent texture. This combination is the foundation of a luxurious homemade vanilla ice cream.
The heavy whipping cream adds a velvety smoothness, while the whole milk enhances the creaminess. The egg yolks, meanwhile, provide richness and depth to the custard base.
To infuse your ice cream with a warm and aromatic flavor, you'll need to add a touch of vanilla. You can use vanilla bean paste or real vanilla beans, which won't only add flavor but also tiny specks throughout the ice cream, enhancing its visual appeal.
As you mix these ingredients together, you'll start to see the makings of a truly exceptional vanilla ice cream. With a solid base in place, you'll be well on your way to creating a dessert that's sure to impress.
Essential Ingredients and Variations

When crafting your vanilla ice cream recipe, the essential ingredients you'll need are heavy whipping cream, whole milk, vanilla essence, egg yolks, and sugar, which form the foundation of a rich and creamy base. These ingredients will give your homemade ice cream a smooth, velvety texture and a deep, sweet flavor.
But don't be afraid to get creative! Here are some ways to mix things up:
- Add some crunch: Introduce mix-ins like chocolate chips, nuts, or fruit to give your ice cream some texture and visual appeal.
- Sweeten it up: Experiment with different sweeteners like maple syrup or honey to create a unique flavor profile.
- Go boozy: Add a splash of Crown Royal Canadian whiskey during churning to maintain a silky texture and prevent ice cream from becoming too hard in the freezer.
- Get extract-happy: Use high-quality vanilla essence to guarantee a robust, authentic vanilla flavor in your homemade ice cream.
Making the Perfect Custard Base
Now that you've gathered your essential ingredients, it's time to focus on crafting the perfect custard base for your homemade vanilla ice cream.
You'll need to master three key aspects: ensuring your custard base has the right components, preparing the egg yolk mixture to perfection, and chilling and combining the mixture correctly.
Custard Base Essentials
To create a rich and creamy vanilla ice cream, start by combining 3 large egg yolks, 1/2 cup granulated sugar, and a pinch of salt in a medium saucepan. This mixture is the foundation of your custard base, which is essential for a smooth and velvety texture in your homemade ice cream.
Here are the must-haves for a perfect custard base:
- Egg yolks: Providing richness and thickness to your ice cream.
- Sugar: Balancing the flavors and enhancing the sweetness.
- Milk and cream: Adding moisture and creaminess to the mix.
- Proper chilling: Ensuring your custard base is well-chilled before churning for the best results.
Egg Yolk Mixture Tips
You'll need to whisk the egg yolks and sugar together until they're smooth and pale, almost double in volume, to create a creamy and rich custard base for your vanilla ice cream. This egg yolk mixture is the foundation of your homemade ice cream, so don't skip this essential step!
As you whisk, you'll notice the mixture thickening and becoming lighter in color, which indicates that it's ready to be combined with the heated milk. When you heat the milk and combine it with the egg mixture, the custard will thicken, creating a rich and creamy texture that's vital for a classic custard ice cream.
To make sure the perfect consistency, heat the mixture to 165°F. Once you've reached this temperature, it's time to chill the custard base, which will enhance the flavor profile and allow you to add the heavy cream and vanilla extract.
Chill and Combine
After whisking the egg yolks and sugar together, refrigerate the custard base for at least 2 hours or overnight to allow it to chill and thicken, setting the stage for a silky-smooth ice cream. This essential step in making the perfect custard base for your vanilla ice cream recipes will pay off in the end.
Now, it's time to combine the chilled egg yolk mixture with the heated milk. Make sure to heat the mixture to 165°F to ensure safe consumption. As you combine the two, whisk constantly to prevent the eggs from scrambling. The result will be a smooth, creamy custard base infused with the richness of the egg yolks and sugar.
Here's what sets your vanilla ice cream apart:
- Real vanilla bean specks add an authentic flavor to your custard base.
- Whisking egg yolks and sugar together creates a luxuriously creamy texture.
- Chilling the custard base guarantees a smooth and velvety ice cream.
- Heating the mixture to 165°F ensures consumption safety.
Churning and Freezing the Mix

Now that you've got your perfect custard base ready, it's time to churn and freeze it to bring out the best in your vanilla ice cream.
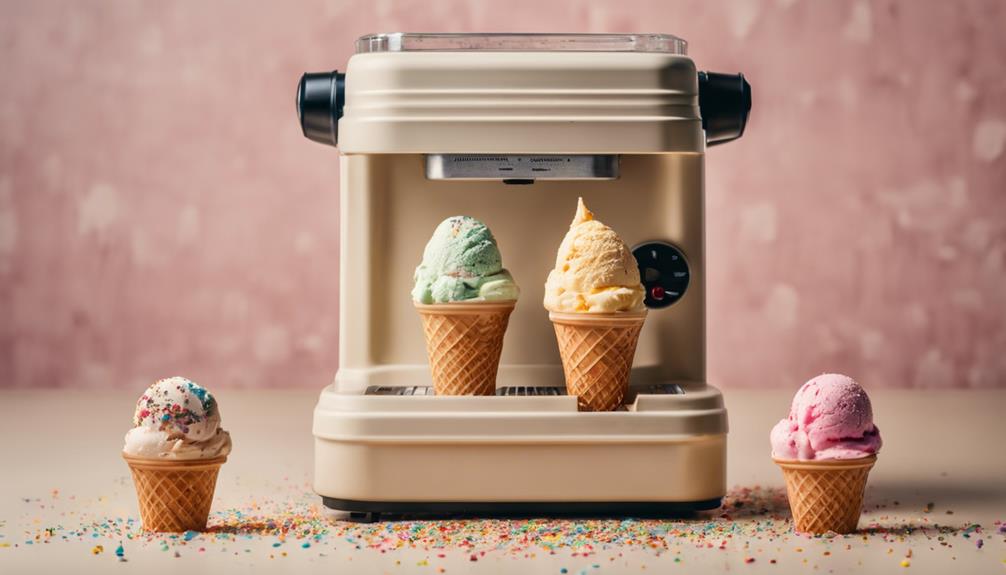
You'll need to prep your ice cream maker according to the manufacturer's instructions, then chill and churn the mix for the recommended time.
After that, you'll need to freeze the churned ice cream to achieve the right consistency, so let's walk through the steps to get it just right.
Ice Cream Maker Prep
With your ice cream maker bowl frozen for at least 12 hours, it's ready to churn the vanilla ice cream mix into a creamy delight. Now, it's time to churn the ice cream mixture in the ice cream maker according to the manufacturer's instructions. This pivotal step will determine the final texture and consistency of your homemade vanilla ice cream.
Here are the key takeaways to keep in mind:
- Churn with care: Churn the ice cream mixture for about 20-25 minutes until it reaches a creamy consistency.
- Follow the rules: Follow the manufacturer's instructions for churning and freezing the vanilla ice cream to achieve the best results.
- Texture time: Serve the freshly churned ice cream immediately for a soft-serve texture or freeze for 2-3 hours for a firmer scoopable consistency.
- Freeze with finesse: Proper churning and freezing techniques are essential for creating smooth and creamy homemade vanilla ice cream.
Chill and Churn Time
As you pour the vanilla ice cream mix into the frozen bowl of your ice cream maker, get ready to churn your way to a creamy delight. The chill time is over, and it's time to churn! Typically, the churning process takes around 20-25 minutes, depending on your ice cream maker. During this time, the mix will thicken and transform into a smooth, creamy homemade vanilla ice cream. Proper churning is pivotal to achieve the perfect texture, so be patient and let the machine do its magic.
Once the churning is complete, it's time to freeze the mix. Transfer the churned ice cream to an airtight container and pop it in the freezer. Allow it to firm up for 2-3 hours before serving. This step is indispensable, as it'll give your ice cream a smooth, scoopable consistency. Be sure to follow the manufacturer's instructions for freezing to get the best results.
After the chill and churn time, you'll be rewarded with a delicious, creamy homemade vanilla ice cream that's sure to impress!
Toppings and Customization Ideas

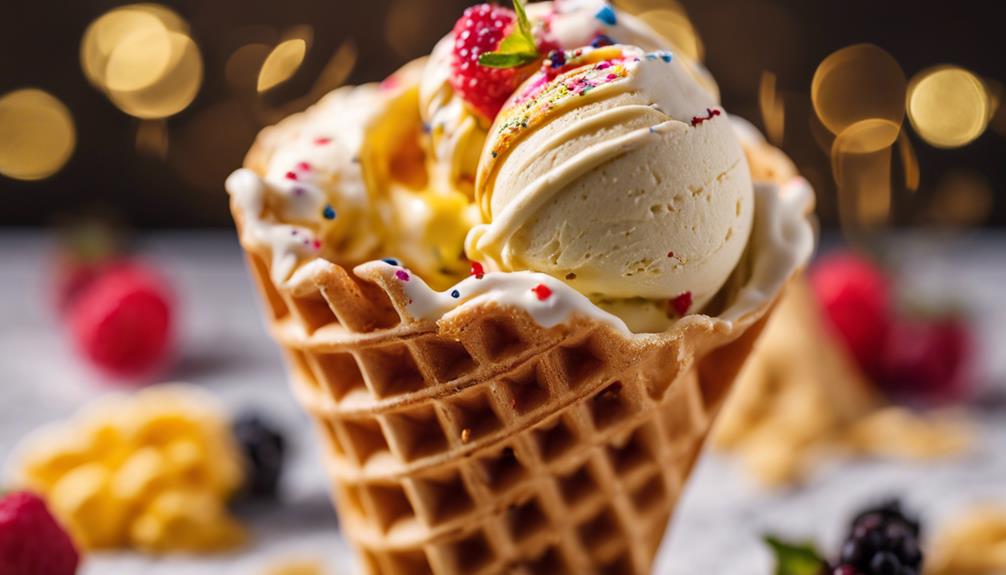
You can instantly elevate your vanilla ice cream by choosing from a wide range of toppings, from classic chocolate syrup and sprinkles to more unexpected options like crushed Oreos and whipped cream. The possibilities are endless, and it's up to you to get creative!
Here are some unique topping ideas to get you started:
- Sweet Surprises: Mix in cookie dough chunks, candy bar chunks, or mini M&Ms for a fun surprise in every bite.
- Fruitful Delights: Add fresh fruit like strawberries, blueberries, or raspberries for a burst of flavor and color.
- Nutty Delights: Sprinkle chopped nuts like almonds, walnuts, or pecans for a satisfying crunch.
- Savory Twists: Drizzle salted caramel sauce or sprinkle toffee bits for a sweet and salty contrast.
Storing and Serving Your Ice Cream

Now that you've crafted your tasty homemade vanilla ice cream, it's essential to store it properly to maintain its creamy texture and flavor.
To do this, transfer the ice cream to an airtight container, making sure to place wax paper directly on the surface of the ice cream before sealing the container. This added layer of protection will prevent ice crystals from forming and keep your ice cream fresh for a longer period.
When storing your homemade vanilla ice cream, keep the container towards the front of the freezer for easier scooping and access. Proper storage will allow your ice cream to last up to two months in the freezer.
Don't forget to label the container with the date you made the ice cream, so you can easily track its freshness.
When you're ready to serve, simply scoop out the desired amount and enjoy! With these storage tips, you'll be able to savor your homemade vanilla ice cream for weeks to come.
Recipe Modifications and Tips

Take your homemade vanilla ice cream to the next level by experimenting with unique ingredients and techniques that can elevate its flavor and texture. You can try substituting different sweeteners, like maple sugar, to add a distinct twist to your classic vanilla recipe. This won't only change the flavor profile but also give your ice cream a richer taste.
Here are some recipe modifications and tips to explore:
- Get creative with sweeteners: Experiment with maple sugar, honey, or agave nectar to find your perfect flavor combination.
- Add a splash of whiskey: Incorporate Crown Royal Canadian whiskey during churning to prevent your ice cream from becoming too hard in the freezer.
- Enhance texture with Xanthan Gum: This natural additive will reduce iciness and give your ice cream a smooth, creamy texture.
- Try new churning methods: Don't be afraid to experiment with different techniques to find the one that works best for you.
Expert Advice and Troubleshooting

With these creative modifications in mind, expert advice can help refine your homemade vanilla ice cream recipe and troubleshoot any issues that may arise during the process. To secure the best flavor and texture, use high-quality ingredients and proper churning techniques.
If you're not satisfied with the result, don't worry! Troubleshooting tips can help you adjust the sweetness, creaminess, or freezing time to suit your taste preferences.
Experimenting with different ingredients, sweeteners, and flavorings can also enhance the taste and texture of your homemade vanilla ice cream. For instance, adding a splash of alcohol like Crown Royal Canadian whiskey during churning can prevent the ice cream from hardening too much in the freezer.
Additionally, try different sweeteners or flavorings to create unique variations. Remember, the key to achieving a smooth and creamy consistency lies in proper churning techniques.
Frequently Asked Questions
What Can I Add to Vanilla Ice Cream to Make It Taste Better?
You can enhance vanilla ice cream's flavor by adding mix-ins like crushed Oreos, chocolate chips, or caramel swirls, or try unique additions like chopped candy bars, cookie pieces, or flavored extracts to create a customized treat.
What's the Difference Between Vanilla and Classic Vanilla Ice Cream?
You're wondering what sets vanilla and classic vanilla ice cream apart. The difference lies in the quality and intensity of the vanilla flavoring used, with classic vanilla often having a richer, more pronounced taste.
How to Make Homemade Ice Cream Creamy and Not Icy?
"Step into the Renaissance of creamy indulgence! To avoid icy homemade ice cream, you're mixing high-fat ingredients, stabilizers like xanthan gum, and a splash of booze, then churning and freezing like a pro – voilà, silky smooth delight!"
How to Make the Creamiest Ice Cream?
You're on a mission to craft the creamiest ice cream ever! To achieve this, you'll want to focus on incorporating high-fat ingredients, using a custard base with egg yolks, and chilling the mixture before churning.
Can I Use This Ice Cream Recipe to Make Homemade Vanilla Ice Cream?
Looking to make homemade vanilla ice cream? Look no further than the best ever ice cream recipe. This recipe is perfect for creating delicious, creamy vanilla ice cream at home. Just follow the instructions and enjoy your homemade treat.
Conclusion
You've got it! Your homemade vanilla ice cream is now a reality, as smooth as silk and as divine as a warm summer day. With every spoonful, the richness and creaminess transport you to a world of pure bliss.
You've mastered the art of creating the perfect custard base, expertly churning and freezing the mix, and customizing it to your heart's desire.
Enjoy your sweet triumph!

