
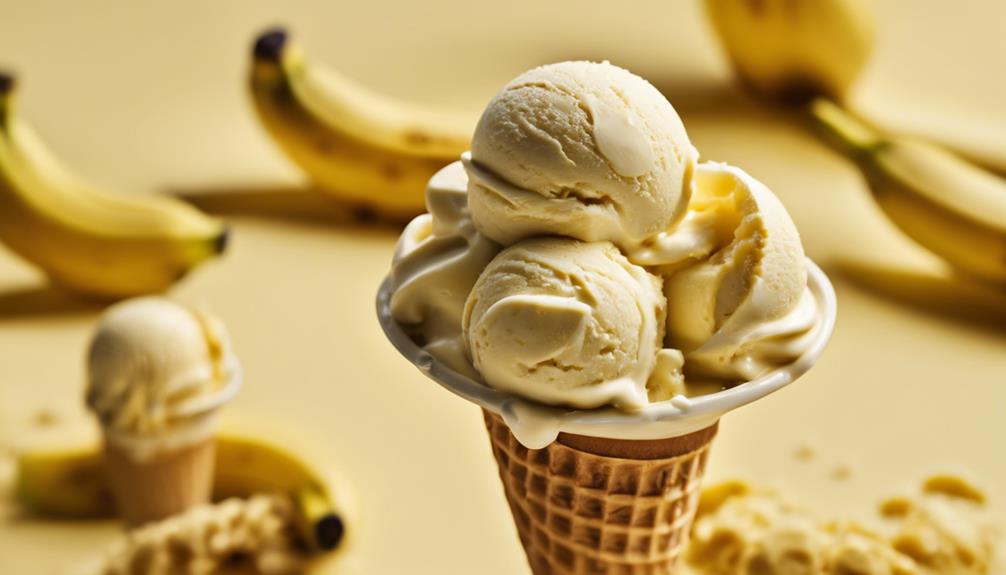
You are on the verge of unlocking the secret to the richest, most indulgent banana ice cream you will ever taste! Ripened bananas are the secret ingredient, providing a burst of flavor and natural sweetness. By freezing and blending them with vanilla extract, coconut milk, and a hint of honey, you can enjoy a guilt-free, dairy-free treat. For a smooth texture, be sure to chill the mixture before churning, and feel free to add in mix-ins like chocolate chips or nuts to elevate the experience. Get ready to indulge in your own banana paradise – there is so much more to discover in this recipe!
Key Takeaways
- Use ripe bananas as the base flavor and freeze them before blending for a rich banana flavor and creamy texture.
- Add a dairy-free milk option like coconut milk or almond milk to enhance the flavor and texture.
- Intensify the flavor with vanilla extract and add honey for sweetness, if desired.
- Churn the mixture to incorporate air and prevent ice crystal formation, then freeze to set the texture.
- Customize with add-ins like chocolate chips, nuts, or caramel swirls, and top with whipped cream, sprinkles, or fresh fruit for a unique treat.

Cuisinart Ice Cream Maker, 1.5 Quart Double Insulated, Sorbet and Frozen Yogurt Maker, Ready in 20 Minutes, ICE-21P1, White
SUPERIOR FUNCTION: This Cuisinart Ice Cream Maker Machine features a mixing paddle that makes frozen treats in 20...
As an affiliate, we earn on qualifying purchases.
Rich Banana Flavor Explained
When you use ripe bananas as the primary ingredient, you reveal a rich and intense banana flavor that's unparalleled in traditional ice cream recipes. The natural sweetness of the bananas eliminates the need for added sugars, making this ice cream a healthier alternative.
As you blend the bananas until smooth, you'll notice the creamy texture that's surprisingly similar to traditional dairy-based ice cream.
To take your banana ice cream to the next level, consider freezing it on a sheet with parchment paper before scooping. This will help the ice cream hold its shape and prevent it from becoming too soft.
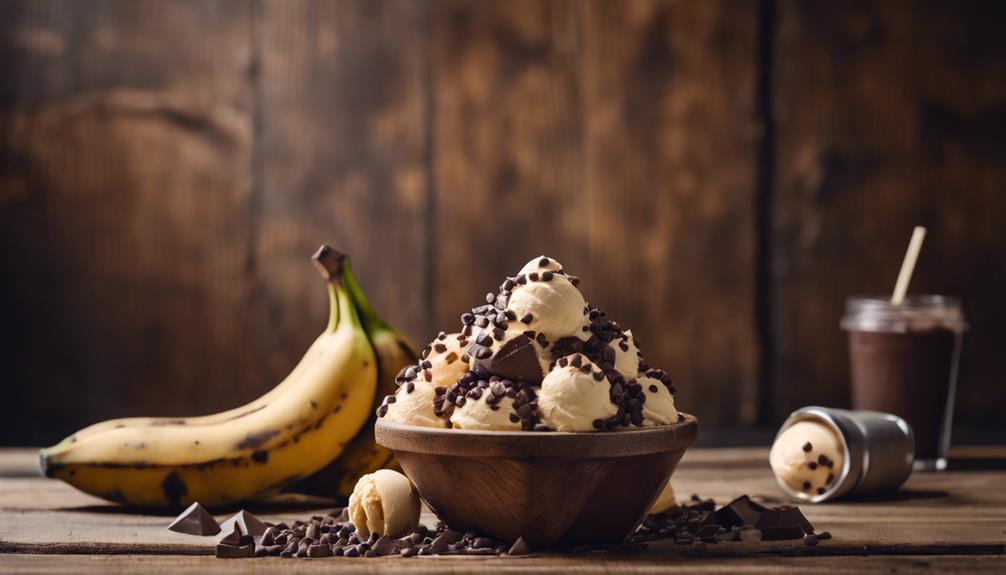
With a rich banana flavor as your base, the possibilities for customization are endless. You can add in chocolate chips, nuts, or swirls of caramel to create a unique flavor profile that's all your own.
Whatever you choose, you can't go wrong with the simplicity and indulgence of banana ice cream. So go ahead, get creative, and enjoy every bite of your delicious banana ice cream!

Cuisinart 1.5-Quart Ice Cream Maker and Gelato Machine, Makes Frozen Yogurt and Sorbet, Fully Automatic with Commercial-Quality Compressor and 2 Churning Paddles, ICE-100, Black/Stainless
FROZEN FAVORITES: The fully automatic Cuisinart 1.5-Quart Ice Cream Maker with high-powered compressor makes lusciously rich ice cream,...
As an affiliate, we earn on qualifying purchases.
Essential Ingredients for Success
To ensure your banana ice cream turns out creamy and delicious, you'll need a few essential ingredients that will enhance the natural sweetness of your ripe bananas.
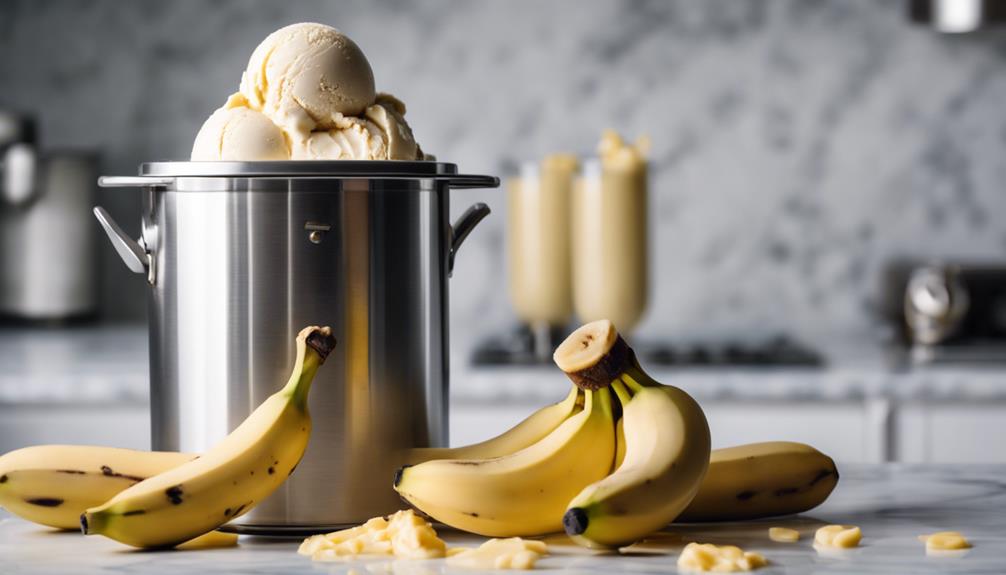
First and foremost, you'll need those ripe bananas themselves, which provide the base flavor and sweetness for your ice cream. Freezing them before blending is pivotal, as it helps create a smooth, creamy texture similar to traditional ice cream.
Next, add a splash of vanilla extract to intensify the banana flavor and add a hint of sweetness. This will elevate your banana ice cream to the next level!
If you're looking for a dairy-free option, consider using coconut milk or almond milk instead of traditional dairy products. These alternatives will still provide a rich, creamy texture without the dairy.

Oplace 4-in-1 Compressor Ice Cream Maker (1.0Qt), No Pre-Freezing, Automatic Yogurt Maker, Gelato Sorbet Frozen Yogurt Soft Serve Machine, Compact Vertical Design for Home Kitchen(Blue)
4-in-1 Multifunctional Treat Maker: Built-in compressor requires no pre-freezing; effortlessly makes ice cream, gelato, sorbet, frozen yogurt, soft...
As an affiliate, we earn on qualifying purchases.
Preparing the Banana Base

Frozen banana chunks are the foundation of your creamy banana ice cream, and it's pivotal to prepare them correctly to achieve the perfect base. You'll be thrilled with the result if you follow these simple steps.
Here's how to prepare the banana base:
- Peel and chunk: Peel ripe bananas and cut them into small pieces.
- Freeze: Place the banana chunks in a single layer on a baking sheet lined with parchment paper and freeze until solid, usually for about 2-3 hours.
- Blend: Once the banana pieces are frozen, transfer them to a food processor or blender and blend until smooth and creamy, resembling a soft-serve ice cream consistency.
Now that you've got your banana base ready, you can enhance the flavor by adding vanilla extract or honey to taste. If you prefer a firmer texture, simply transfer the blended mixture to a container and freeze for an additional 1-2 hours before serving.
You're one step closer to enjoying your delicious banana ice cream!

Cuisinart Ice Cream Maker Machine, 2-Quart Ice Cream, Sorbet and Frozen Yogurt Machine, Fully Automatic Double-Insulated Freezer Bowl Makes Frozen Desserts in Under 30 Minutes, ICE30BCP1, Silver
DOUBLE-INSULATED FREEZER BOWL: This Cuisinart Cuisinart Ice Cream Maker Machine with double-insulated freezer bowl holds a generous 2...
As an affiliate, we earn on qualifying purchases.
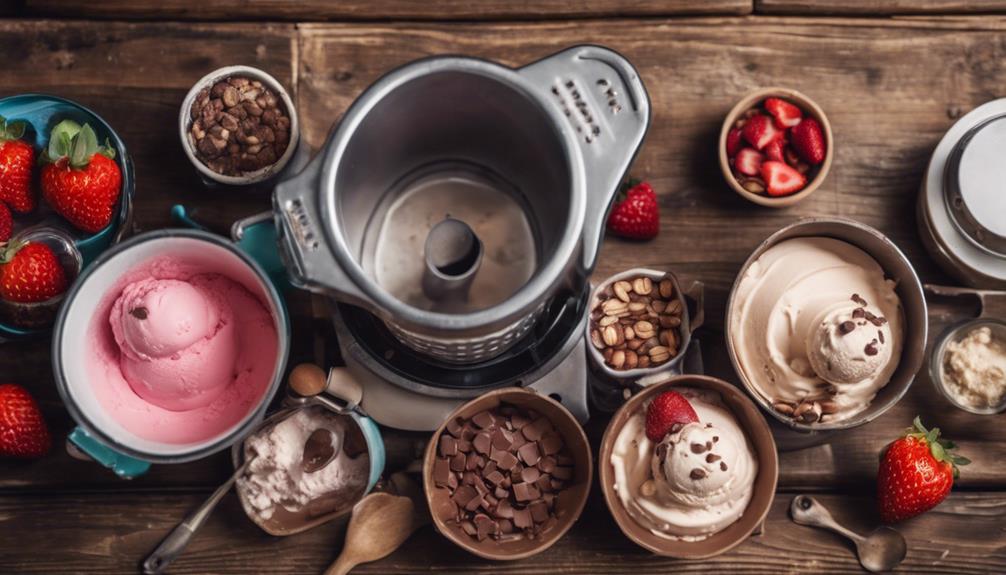
Churning the Ice Cream Mix
Now that you've prepared the banana base, it's time to churn the ice cream mix.
As you churn, you'll notice the mix thickening and transforming into a creamy, smooth texture.
You'll want to pay close attention to the churning time, as it can make all the difference in achieving the perfect scoop.
Mix Thickening Process
Frequently, you'll find that mixing the ice cream blend is an important step in creating a smooth and creamy banana ice cream. This process involves freezing the blend while stirring to incorporate air and prevent large ice crystals from forming. By doing so, you'll achieve a smooth and creamy texture in your ice cream.
Here are three key benefits of mixing your ice cream blend:
- Even distribution of mix-ins: Mixing ensures that any added mix-ins, like chunks of banana or nuts, are evenly distributed throughout the ice cream.
- Prevents ice crystal formation: Mixing prevents large ice crystals from forming, which would otherwise give your ice cream a grainy texture.
- Creates a smooth texture: Mixing incorporates air into the blend, resulting in a smooth and creamy banana ice cream that's perfect for hot summer days.
Ice Cream Texture
As you stir the ice cream mix, you'll be integrating air into the mixture, creating a smooth and creamy texture that's free from ice crystals. This process helps prevent ice crystals from forming, resulting in a velvety consistency that's a hallmark of perfect banana ice cream.
By continuously moving the mixture during churning, you guarantee even freezing and distribution of flavors, which means every bite will be a delight.
Chilling the ice cream base before churning also plays an essential role in achieving the perfect texture. It helps the mixture freeze faster and reduces the formation of large ice crystals, making your banana ice cream even smoother.
The longer you churn the ice cream, the smoother and creamier the final texture will be. So, be patient and take your time – it's worth the wait!
With these tips, you'll be on your way to creating banana ice cream that's so divine, you'll want to scream with joy.
Churning Time Matters
You'll find that churning time is a critical component of achieving the perfect banana ice cream, as it directly impacts the final texture and consistency of your frozen treat. If you churn for too short a time, your ice cream will be soft and creamy, but if you overdo it, you'll end up with a grainy or icy texture. So, how do you get it just right?
Here are some key things to keep in mind when churning your banana ice cream:
- Start checking early: Begin checking the ice cream for doneness around the 15-minute mark to avoid over-churning.
- Aim for the sweet spot: The ideal churning time for banana ice cream is typically around 20-30 minutes, but this can vary depending on your machine and recipe.
- Monitor the texture: Stop churning when your ice cream is smooth, creamy, and free from large ice crystals.
Freeze and Blend to Perfection
You're now just a few steps away from enjoying your banana ice cream!
First, you'll need to freeze your bananas to perfection – the riper, the better.
Then, it's time to blend them to smoothness, creating a creamy consistency that's hard to resist.
Freeze to Perfection
Peel and slice ripe bananas, then lay them flat on a baking sheet lined with parchment paper and freeze for at least 2 hours to transform them into a perfect base for your dairy-free ice cream. This step is essential in intensifying the bananas' natural sweetness and creating a creamy texture when blended.
As you wait for the bananas to freeze, you can start thinking about the mix-ins you'll add to customize your banana ice cream flavor. Here are a few ideas to get you started:
- Chocolate chips: Add a handful of dark or milk chocolate chips for a classic ice cream flavor.
- Nuts: Chopped walnuts or pecans add a nice crunch and flavor contrast to your banana ice cream.
- Caramel sauce: Drizzle in some store-bought or homemade caramel sauce for a sweet and salty flavor combination.
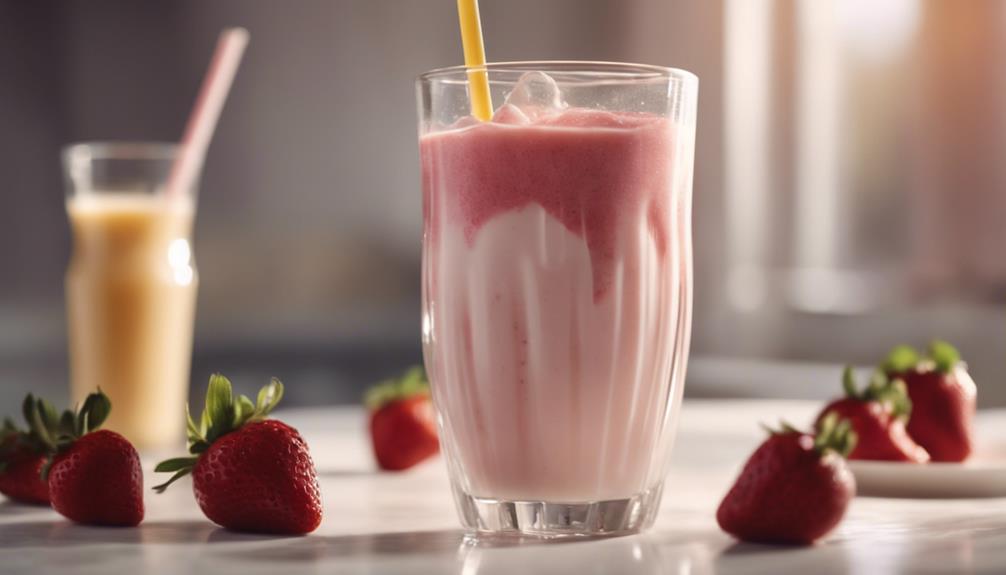
Blend to Smoothness
Now that your bananas are frozen to perfection, how do you transform them into a creamy, dreamy ice cream? It's time to blend them into a smooth and velvety consistency. Grab your food processor or blender and add the frozen bananas. Blend them until they reach a soft-serve ice cream consistency. You'll be amazed at how easily they break down into a creamy treat.
As you blend, you can add other ingredients to enhance the flavor of your banana ice cream. A pinch of vanilla extract or a sprinkle of cocoa powder can give it a unique twist. If you're feeling extra adventurous, throw in some chopped nuts for added crunch. Blend until everything is fully incorporated and you're left with a delicious, creamy banana ice cream.
If you prefer a firmer texture, transfer the blended mixture into a container and freeze it for a few hours before serving. Either way, you'll be indulging in a guilt-free, dairy-free ice cream that's perfect for hot summer days or any time you need a sweet treat.
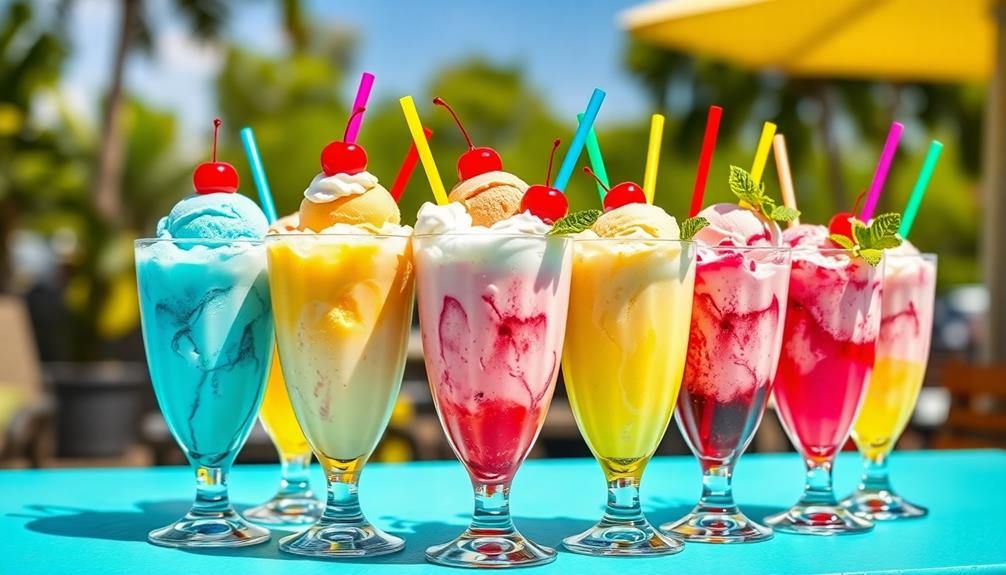
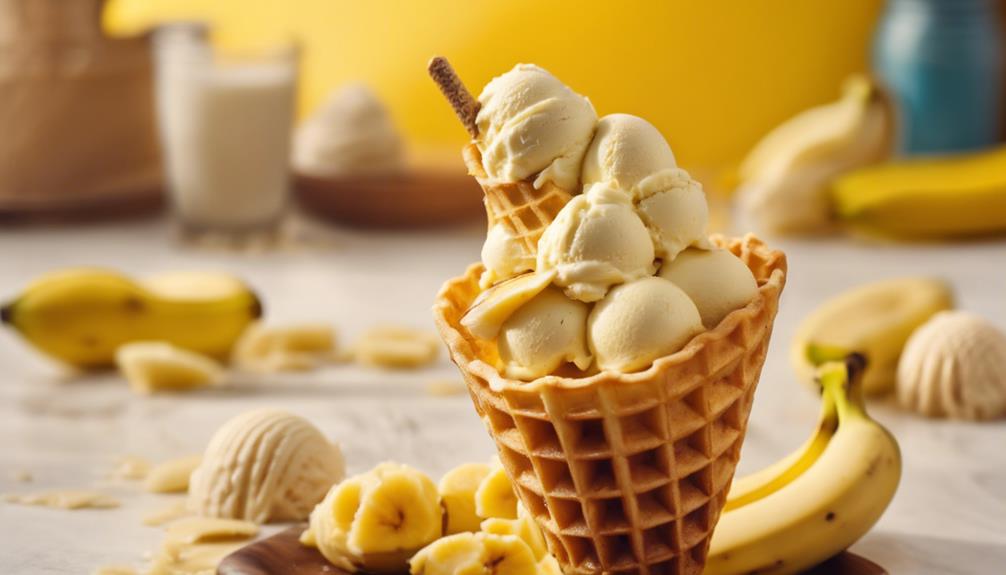
Customizing Your Banana Heaven
With your banana ice cream base ready, it's time to spark your creativity and transform it into a personalized treat that suits your taste buds. You're just a few mix-ins away from creating a unique flavor profile that's all yours.
Here are some ideas to get you started:
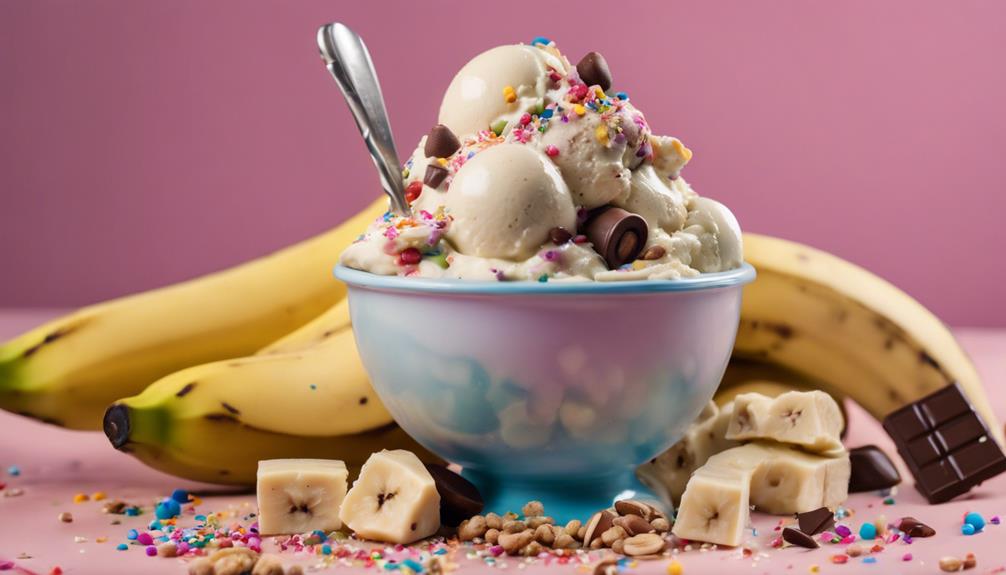
- Add-ins: Introduce new textures and flavors to your banana ice cream by mixing in chocolate chips, nuts, or caramel swirls.
- Toppings: Take your banana ice cream to the next level with whipped cream, sprinkles, or fresh fruit toppings that add a pop of color and flavor.
- Flavor Variations: Experiment with different flavor combinations by incorporating peanut butter, cocoa powder, or cinnamon into your banana ice cream base.
Feel free to adjust the sweetness of your banana ice cream by using ripe or overripe bananas, or adding a touch of honey or maple syrup.
If you're catering to dairy-free diets, substitute regular milk with almond milk, coconut milk, or any other non-dairy milk alternative.
The possibilities are endless, so go ahead and get creative with your banana ice cream!
Tips for Achieving Smooth Texture
To make sure your banana ice cream has a silky smooth texture, you'll want to pay attention to a few key factors during the preparation process.
First, use ripe bananas that are soft and sweet, as they'll blend more easily and give your ice cream a creamy consistency. Freezing the bananas before blending them can also help achieve a smooth texture. Additionally, adding a splash of milk or cream while blending can help break down any remaining chunks and create a velvety texture.
If you want an even richer and creamier texture, consider adding ingredients like Greek yogurt or coconut milk to the banana mixture. These won't only add flavor but also help to create a luxurious, smooth consistency.
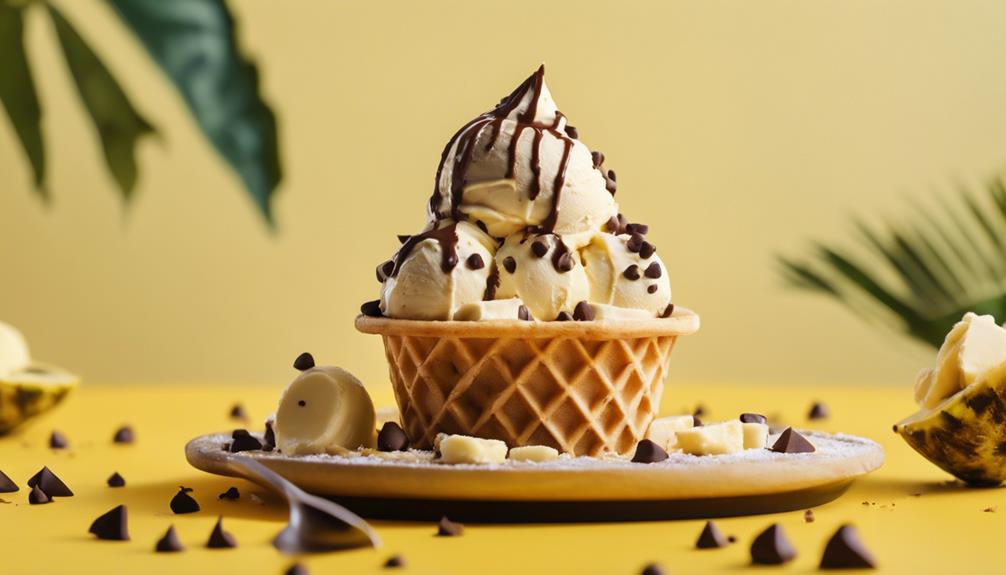
Enjoy Your Banana Ice Cream
You're finally ready to indulge in your freshly made banana ice cream, and the best part is that you can customize it to your heart's content! This guilt-free treat is all yours, and you can enjoy it any time of the year. Since banana ice cream is dairy-free and naturally sweetened by the bananas, you don't have to worry about the calories.
Now, it's time to get creative with your toppings! Here are some ideas to get you started:
- Nutty Delight: Sprinkle some chopped nuts like walnuts or almonds on top of your banana ice cream for a crunchy texture and nutty flavor.
- Chocolatey Heaven: Add some chocolate chips or shavings to give your banana ice cream a rich and decadent twist.
- Sweet and Simple: Drizzle some honey on top of your banana ice cream for a touch of sweetness and a hint of floral flavor.
Frequently Asked Questions
Why Is My Banana Ice Cream Bitter?
You're wondering why your banana ice cream tastes bitter? It's likely because you used overripe or brown-spotted bananas or froze them for too long, but don't worry, adding a sweetener or flavorings can help balance out the flavor!
Is Ice Cream Made From Bananas Healthy?
You think banana ice cream is a guilty pleasure, but ironically, it's a nutritious treat! Made from frozen bananas, it's dairy-free, naturally sweetened, and packed with potassium, fiber, and vitamins – so go ahead, indulge in this healthy delight!
What Is Banana Ice Cream Made Of?
You're wondering what banana ice cream is made of? Fundamentally, it's frozen bananas blended until creamy, with optional add-ins like vanilla, nut butter, or coconut milk for extra flavor and texture.
Is Homemade Ice Cream Healthier?
You wonder if homemade ice cream is really healthier… The truth is, yes, it can be! By controlling the ingredients, you can reduce sugar, use natural sweeteners, and customize to suit your dietary needs, making it a guilt-free indulgence.
Can I Make Banana Ice Cream Keto-Friendly?
Yes, you can make banana ice cream keto-friendly by using low-carb sweeteners and full-fat dairy or coconut milk. The best keto ice cream recipe often involves swapping out traditional ingredients for more low-carb alternatives, allowing you to indulge in a delicious frozen treat while staying in ketosis.
Conclusion
As you take your first bite, the creamy texture melts in your mouth, releasing a symphony of ripe banana flavors that transport you to a tropical paradise.
Your taste buds do the happy dance, singing praises to the sweet and velvety smoothness that's now your new obsession.
You've discovered the secret to banana heaven, and there's no turning back – every spoonful is a sinful delight that'll leave you craving more, more, MORE!