Yes, making ice cream without a machine definitely works. You rely on simple techniques like freezing and mixing to develop a creamy, scoopable texture. Using ingredients like heavy cream, sugar, and stabilizers, along with frequent stirring during freezing, creates smooth, delicious results. With patience and proper steps, you can enjoy homemade ice cream with no special equipment. Keep going, and you’ll discover all the easy tips and tricks to perfect your frozen treats.
Key Takeaways
- No-churn ice cream techniques rely on freezing and aeration, mimicking traditional churning for smooth texture.
- Using stabilizers like gelatin or cornstarch helps prevent large ice crystals without a machine.
- Regular stirring during freezing creates air pockets, ensuring creaminess without an ice cream maker.
- Proper temperature control and shallow containers optimize freezing, producing a similar smoothness.
- With the right ingredients and techniques, homemade no-churn ice cream can be just as creamy as churned varieties.

Cuisinart Ice Cream Maker Machine, Ready in 20, 1.5 qt Freezer Bowl
- Fast Frozen Treats: Makes treats in 20 minutes or less
- No Ice Needed: Double-insulated freezer bowl eliminates ice
- Generous Capacity: Produces up to 1.5 quarts of ice cream
As an affiliate, we earn on qualifying purchases.
As an affiliate, we earn on qualifying purchases.
Understanding the Basic Principles of No-Churn Ice Cream
No-churn ice cream relies on the science of freezing and aeration to create a creamy texture without an ice cream maker. To achieve this, gelatin stabilization is often used to prevent ice crystals from forming, ensuring a smooth consistency. Gelatin acts as a thickening agent, trapping air and liquids to improve texture. Flavor infusion is key to making your ice cream delicious; by blending ingredients thoroughly, you evenly distribute flavors throughout the mixture. Freezing the mixture in a shallow container allows air to be incorporated as it thickens, mimicking traditional churning. Understanding these principles helps you craft rich, creamy ice cream at home without specialized equipment, giving you control over texture and flavor while relying on simple science techniques. Additionally, proper temperature control during freezing is essential to prevent uneven ice crystal formation and achieve optimal creaminess. Maintaining consistent freezing temperatures helps ensure the best possible texture, mimicking the effects of commercial churning methods, and understanding ice crystal formation can further improve your homemade ice cream results. For example, incorporating techniques from Honda Tuning such as suspension upgrades can inspire innovative ways to experiment with texture and stability in your frozen treats.
Furthermore, understanding raw food preservation methods can help extend the shelf life of your ingredients and improve your overall ice cream quality.
Key Ingredients and Their Roles in Homemade Ice Cream

Creating delicious homemade ice cream depends on selecting the right ingredients, each playing a vital role in achieving the desired texture and flavor. The base usually includes heavy cream or milk for creaminess, while sugar sweetens and helps with freezing. Flavor combinations like vanilla and chocolate or fruit purees add variety, and ingredient substitutions—such as coconut milk for dairy—can cater to dietary needs. The key ingredients and their roles are summarized below:
| Ingredient | Role |
|---|---|
| Heavy cream or milk | Provides richness and smooth texture |
| Sugar | Sweetens and lowers freezing point |
| Flavor extracts | Add distinct flavors, e.g., vanilla, mint |
| Stabilizers | Improve creaminess and prevent ice crystals |
| Mix-ins | Add texture and flavor variations |
Additionally, understanding the automation in business can help in scaling up production processes for homemade ice cream, ensuring efficiency and consistency. Proper filtration of ingredients can also improve the overall quality and shelf life of the final product. Employing proper storage techniques is essential to maintain freshness and prevent ice crystal formation during freezing. Implementing these techniques can also help in managing costs effectively while producing larger batches. Moreover, selecting high-quality ingredients can significantly impact the final flavor, making your homemade ice cream more enjoyable.
Popular No-Machine Techniques and Methods

Many popular no-machine ice cream techniques rely on simple, hands-on methods that harness the power of freezing and stirring to achieve a creamy texture. Gelatin stabilization is one such method, where you add dissolved gelatin to your mixture to prevent ice crystal formation and improve creaminess. This technique works well with fruit purees or custards, ensuring a smooth consistency. This process benefits from understanding the science behind ice cream texture, which explains how controlling the size of ice crystals impacts creaminess and mouthfeel. Another effective approach is alcohol infusion, where a small amount of alcohol is incorporated into the base. Alcohol lowers the freezing point, keeping the ice cream softer and easier to scoop without a machine. Both methods are accessible, require minimal equipment, and can be customized with flavors and ingredients. While they may not replicate commercial machines, they produce satisfying results with patience and proper technique. Additionally, understanding the science behind ice cream texture can help you fine-tune your homemade recipes for better results. For example, incorporating stabilizers such as gelatin or cornstarch can also enhance creaminess and prevent large ice crystals from forming during freezing. Using resources and tools like quality ingredients and proper freezing techniques can further improve your homemade ice cream. Incorporating antique kitchen tools can add a charming touch to your ice cream-making process and inspire unique presentation.
Step-by-Step Guide to Making Ice Cream Without a Machine
To make ice cream without a machine, start by preparing your ice cream base with the ingredients you prefer. Then, churn and freeze the mixture, stirring occasionally to keep it smooth. Finally, serve your homemade treat and enjoy your delicious, no-machine ice cream.
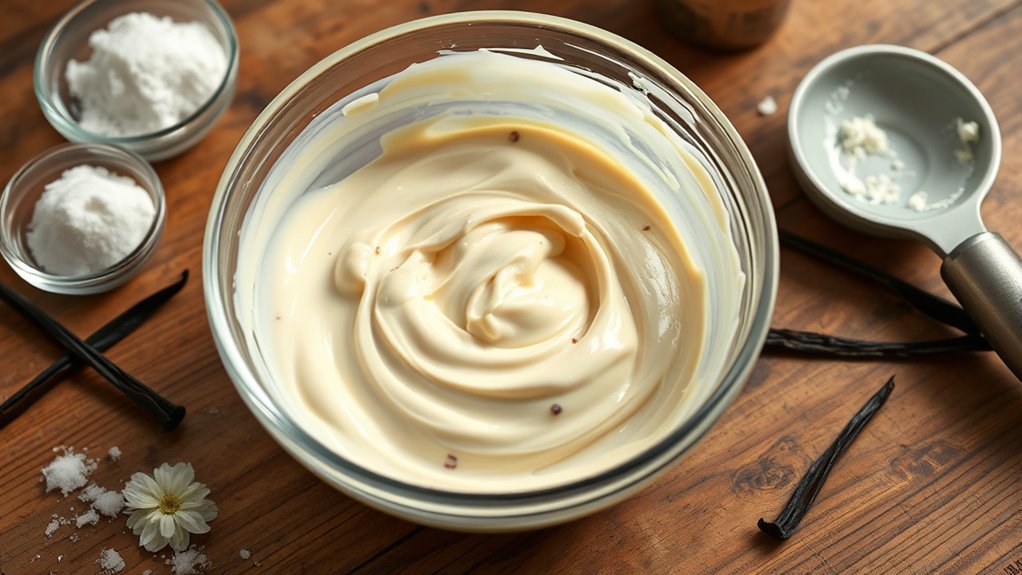
Prepare Ice Cream Base
Before you start churning your ice cream, you need to prepare a smooth and well-balanced base. This involves combining ingredients like milk, cream, sugar, and your chosen ice cream flavor. Confirm the mixture is thoroughly blended to prevent ice crystals and achieve a creamy texture. Properly prepared base also helps with ice cream storage, maintaining flavor and consistency over time. Keep in mind that the base can be customized with mix-ins or flavorings later. To emphasize the importance of balance, consider this:
| Ingredient | Purpose | Tips |
|---|---|---|
| Milk & Cream | Creaminess and texture | Use full-fat for richness |
| Sugar | Sweetness and smoothness | Dissolve fully before freezing |
| Flavorings | Ice cream flavor | Add after base is blended |
| Chill Base | Prevents ice crystals | Refrigerate for at least 2 hours |
Adding a well-chilled emergency preparedness plan can help you stay resilient in unexpected situations, just as a thoroughly prepared base ensures smooth ice cream.
Churn and Freeze
Once your ice cream base is well-chilled, it’s time to churn and freeze it to achieve that creamy texture. Pour the mixture into a freezer-safe container and start the churn process by stirring vigorously every 30 to 45 minutes. This helps incorporate air and prevents large ice crystals from forming. If you’re making a specific ice cream flavor, add mix-ins or flavorings during this stage. Continue churning and stirring until the ice cream reaches your desired consistency, usually around 4-6 hours. The constant agitation during the churn process ensures a smooth, creamy texture without an ice cream machine. Once it’s firm enough, you’re ready for the final step before serving. The churn and freeze method creates homemade ice cream with a rich, authentic flavor.
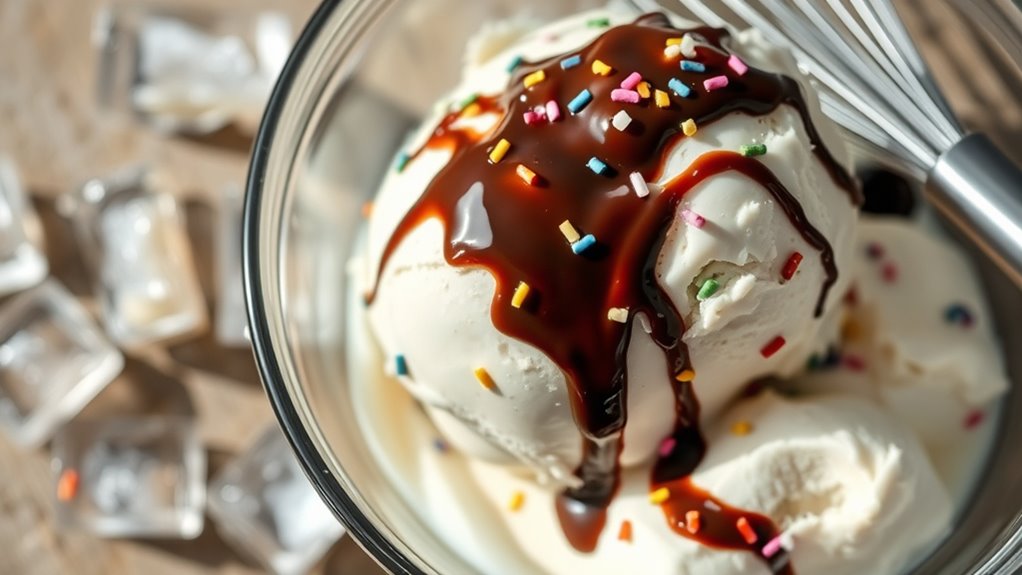
Serve and Enjoy
After your ice cream has fully frozen and reached the desired consistency, it’s time to prepare for serving. To enhance flavor infusions, let the ice cream sit at room temperature for a few minutes before scooping. Use a warm spoon or scoop for cleaner servings. Consider adding toppings or sauce to elevate your experience. For storage, cover the ice cream tightly with plastic wrap or an airtight container to prevent freezer burn and maintain freshness. Here are some tips to ensure the best serving experience:
- Let the ice cream soften slightly before scooping.
- Add flavor infusions like chocolate chips or fruit pieces during final mixing.
- Store in an airtight container, pressing a piece of plastic wrap directly on the surface.
- Keep at a consistent freezing temperature for best texture.
- Remember that homemade ice cream often benefits from a brief re-softening period before serving to achieve optimal creaminess.
- Choosing the right dog names can add a fun touch to your pet’s personality and make the experience more personalized.
- Ensuring your freezer maintains a steady temperature supports the durability and quality of your homemade ice cream.
- Additionally, understanding the horsepower of electric dirt bikes can inspire you to explore new ways to energize your outdoor activities.
Common Mistakes and How to Avoid Them
One common mistake when making ice cream without a machine is not properly controlling the freezing process, which can lead to ice crystals that ruin the smooth texture. Overmixing the batter during freezing introduces air and causes ice crystals to form, resulting in a gritty texture. To avoid this, mix your ingredients just enough to combine and then freeze without excessive agitation. Another mistake is using incorrect ingredient ratios; too much sugar or alcohol can prevent proper freezing, while too little may lead to a hard, icy consistency. Always measure ingredients carefully and follow a tested recipe. Proper exfoliation with glycolic acid can also help in maintaining healthy skin, which may enhance your overall skincare routine. By paying attention to mixing and ingredient balance, you can prevent these common pitfalls and improve your chances of achieving creamy, smooth homemade ice cream.
Tips for Achieving Creamy and Smooth Texture
To get your ice cream really creamy and smooth, focus on proper chilling techniques to prevent ice crystals from forming. Incorporate enough fat and sugar into your base, as they help create a rich, velvety texture. These simple adjustments make a big difference in achieving that perfect, scoopable consistency. Using efficient cooling methods can further enhance the texture by maintaining a consistent temperature during freezing. Additionally, choosing the right storage container can help prevent unwanted moisture exposure that might cause ice crystal growth. Employing tuning techniques from Mazda vehicles such as precise temperature control can optimize the freezing process for better results. Regularly monitoring the air quality during storage can also prevent off-flavors and ensure a fresher taste.
Proper Chilling Techniques
Achieving a creamy and smooth texture in homemade ice cream hinges on proper chilling techniques. Your goal is to guarantee even and rapid freezing, which prevents ice crystal formation. Here are key tips:
- Use the coldest part of your freezer to chill your mixture quickly.
- Regularly stir or agitate during freezing to break up ice crystals.
- Opt for efficient freezing methods like shallow, wide containers for faster cooling.
- Cover tightly to prevent moisture loss and freezer burn.
These chilling techniques help lock in creaminess, while proper freezing methods ensure a smooth consistency. Avoid overcrowding your freezer, which can hinder proper chilling. By following these steps, you’ll get closer to that perfect, velvety texture in your homemade ice cream.
Incorporate Fat and Sugar
Incorporating the right amount of fat and sugar into your ice cream mixture plays a vital role in creating a creamy, smooth texture. Fat content helps prevent ice crystals from forming too large, resulting in a richer, silkier mouthfeel. Use whole milk, heavy cream, or add dairy fats to boost creaminess. Sugar levels influence not only sweetness but also texture; higher sugar content lowers freezing point, keeping your ice cream softer and more scoopable. Be careful not to oversweeten, as excess sugar can make the mixture overly runny. Balancing fat and sugar ensures your ice cream freezes smoothly without becoming icy or too hard. Adjust these elements based on your preferred taste and texture, and you’ll achieve a decadently creamy homemade treat.
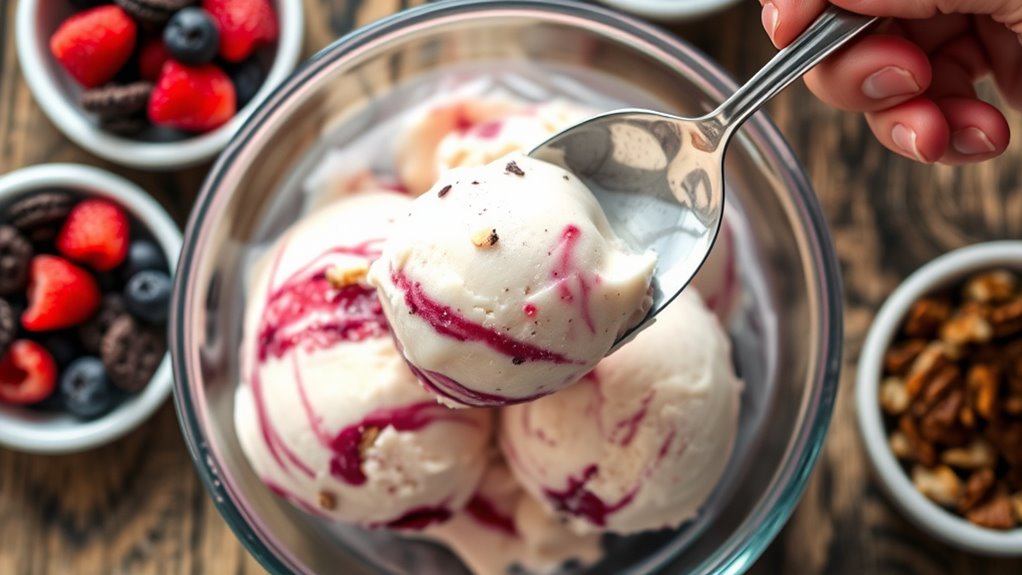
Creative Variations and Flavor Combinations

Experimenting with different flavor combinations can turn your homemade ice cream into a truly unique treat. To elevate your creations, try these ideas:
- Mix unexpected innovative flavor pairings like basil and lemon or goat cheese and honey.
- Incorporate seasonal ingredient ideas such as ripe peaches, pumpkin puree, or cranberries for fresh, vibrant flavors.
- Add texture with mix-ins like toasted nuts, crushed cookies, or swirls of fruit preserves.
- Experiment with spices like cinnamon, cardamom, or ginger to add depth and warmth.
Troubleshooting and Ensuring Success With Your Homemade Ice Cream

To guarantee your homemade ice cream turns out smooth and creamy, it’s important to address common issues promptly and follow best practices. Proper ice cream storage is key; always keep it in an airtight container to prevent freezer burn and flavor absorption. If your ice cream becomes icy or grainy, it may need more churn time or better mixing during freezing. To enhance flavor layering, add ingredients gradually and gently fold them in to avoid disrupting the mixture’s texture. Avoid overfilling your container, which can cause uneven freezing. Regularly check your ice cream during freezing, and stir if necessary to prevent large ice crystals. With these tips, you’ll troubleshoot effectively and ensure each batch is perfectly creamy and flavorful.
Frequently Asked Questions
Can I Make No-Churn Ice Cream Without Using Eggs or Dairy?
You can definitely make no-churn ice cream without eggs or dairy by using vegan options and allergy-friendly ingredients. Coconut milk, cashew cream, or frozen bananas work great as bases, giving you creamy textures without animal products. Add sweeteners like agave or maple syrup, and flavorings such as fruit or vanilla. These alternatives let you enjoy homemade ice cream that’s allergy-friendly and satisfying, all without needing a machine.
How Long Does Homemade No-Machine Ice Cream Typically Last?
Imagine savoring that homemade ice cream, and then realizing how quickly it can spoil. Usually, no-machine homemade ice cream lasts about 2 to 3 weeks in the freezer, but proper storage duration is key to prevent spoilage. Keep it airtight and at a consistent freezing temperature. If you notice ice crystals or off smells, it’s time to toss it—enjoy it fresh for best flavor and safety.
Is No-Churn Ice Cream Suitable for Vegans or Those With Allergies?
No-churn ice cream can be suitable for vegans and allergy sufferers if you choose the right ingredients. You can use vegan alternatives like coconut milk, almond milk, or cashew cream, which are allergy-friendly options. By selecting allergy-friendly ingredients and avoiding dairy or common allergens, you create a delicious, safe treat. Just verify your ingredients are labeled free from allergens and vegan, so everyone can enjoy your homemade ice cream.
Can I Make No-Churn Ice Cream in a Standard Freezer Without Special Equipment?
Ever wondered if you can make no-churn ice cream in your standard freezer? Absolutely! You just need enough freezer space to store your mixture, which is usually a simple blend of ingredients. Can’t find a specific ingredient? No problem—substitute with what you have. Just remember, stirring or smashing every 30 minutes helps prevent ice crystals, giving you smooth, creamy ice cream without any special equipment.
What Are the Best Storage Methods to Maintain Texture and Flavor?
To keep your homemade ice cream fresh, store it in airtight containers to prevent freezer burn and absorb odors. Use proper layering, placing a piece of parchment paper directly on the surface before sealing to maintain texture. Keep the containers consistently cold and avoid frequent opening. These methods help preserve flavor and creamy consistency, ensuring your no-churn ice cream stays delicious and enjoyable for longer periods.
Conclusion
Think of making no-churn ice cream like tending a garden—you’ll need patience, the right ingredients, and a bit of care. With each stir and freeze, you’re nurturing a delicate bloom of flavor and texture. When you master these simple steps, your homemade treat blossoms into a creamy masterpiece. So, keep tending your culinary garden, and soon you’ll harvest delicious, smooth ice cream—no machine needed, just your passion and a little bit of love.