
To make homemade ice cream so good your friends won’t believe it’s from your kitchen, start with high-quality ingredients like fresh cream and real vanilla. Chill your base thoroughly before freezing, and incorporate stabilizers to keep it creamy. Don’t overmix during freezing to avoid ice crystals, and add mix-ins at the right time. Serve at the perfect temperature and store properly. Keep experimenting to perfect your technique—there’s even more to learn for that perfect scoop.
Key Takeaways
- Use high-quality, fresh ingredients like real vanilla, ripe fruits, and premium dairy for rich, authentic flavor.
- Thoroughly chill your ice cream base before freezing to ensure a smooth, creamy texture without large ice crystals.
- Incorporate stabilizers such as xanthan or guar gum to enhance creaminess and prevent ice crystal formation.
- Use an ice cream maker for even churning and air incorporation, resulting in a professional, velvety consistency.
- Serve at the optimal temperature (6-10°F) to maximize creaminess and flavor, impressing friends with your homemade masterpiece.

Elite Gourmet EIM402 Old Fashioned 4 Quart Vintage Wood Bucket Electric Ice Cream Maker Machine, Bonus Classic Die-Cast Hand Crank for Churning, Uses Ice and Rock Salt Churns Ice Cream in Minutes
4-QUART CAPACITY: Freeze up to 4 Quarts of cold and creamy ice cream, gelato, frozen yogurt or sorbet….
As an affiliate, we earn on qualifying purchases.
As an affiliate, we earn on qualifying purchases.
Use High-Quality Ingredients for a Richer Flavor
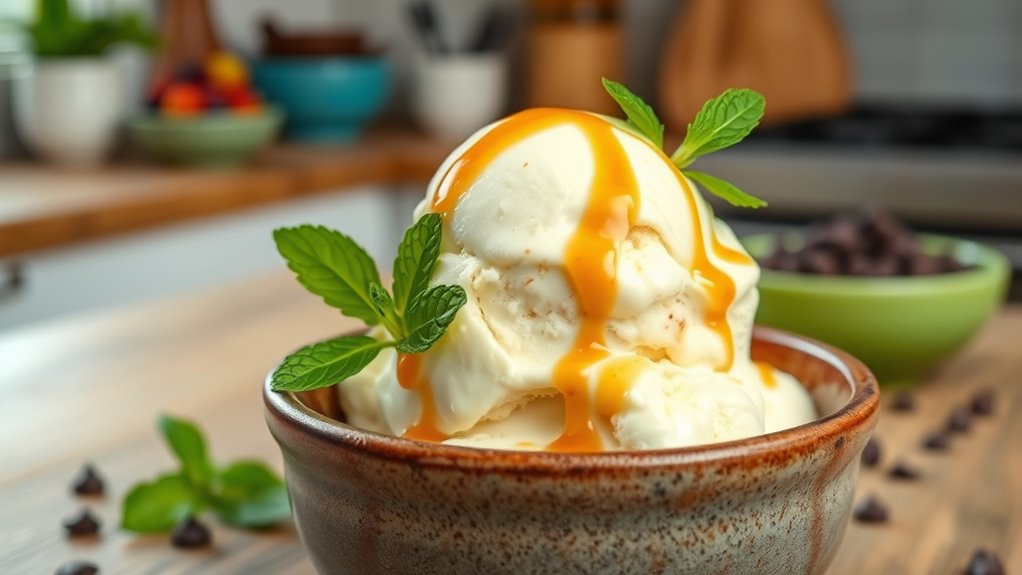
Using high-quality ingredients is essential if you want your homemade ice cream to have a rich, authentic flavor. Premium ingredients, like fresh cream, real vanilla beans, and ripe fruits, make a noticeable difference in taste. They provide a depth of flavor that cheap substitutes simply can’t match, elevating your ice cream from ordinary to extraordinary. When you start with the best ingredients, flavor enhancement happens naturally—each spoonful bursts with richness and complexity. Don’t cut corners by using artificial flavorings or low-quality dairy; instead, opt for fresh, natural components. This investment in quality guarantees your ice cream will impress friends and family alike, making every bowl a delightful, gourmet experience. Additionally, understanding the role of ingredients in flavor can help you select the best components for your recipe, ensuring optimal taste and texture. Recognizing the importance of ingredient freshness can significantly impact the final outcome of your ice cream. Moreover, choosing trusted suppliers for your ingredients ensures that you get consistently high-quality products. Paying attention to quality control measures during sourcing and preparation can also prevent off-flavors and ensure a smooth, creamy consistency. Remember, quality ingredients are the foundation of truly delicious homemade ice cream.

It's Just – Xanthan Gum, 8oz, Batch Tested Gluten Free, Keto Baking, Non-GMO, Thickener for Sauces, Soups, Dressings, Packaged in USA
It's Just – Xanthan Gum, 8oz, Batch Tested Gluten Free, Keto Baking, Non-GMO, Thickener for Sauces, Soups, Dressings,…
As an affiliate, we earn on qualifying purchases.
As an affiliate, we earn on qualifying purchases.
Chill Your Base Thoroughly Before Freezing

Make sure your ice cream base is thoroughly chilled before freezing. Use cold ingredients, pop the mixture in the freezer for a bit, and wait until it’s completely cool. This process helps guarantee a smoother, creamier texture in your final ice cream. For optimal results, consider properly storing your ingredients to maintain freshness and prevent unwanted ice crystallization. Additionally, maintaining a consistent freezing temperature can help achieve the best texture. Moreover, monitoring air quality during the preparation process can help ensure a clean environment, reducing the risk of contamination or spoilage. Furthermore, monitoring AI safety measures in AI-driven tools used during recipe development can ensure reliable and safe culinary innovations. Incorporating powerful persuasive words into your recipe sharing can captivate your audience and boost your homemade ice cream’s popularity.
Use Cold Ingredients
Chilling your ice cream base thoroughly before freezing is essential for smooth, creamy results. Using cold ingredients helps keep the mixture at a low temperature, which is vital for ice crystal prevention. When your base starts cold, it freezes faster and more evenly, reducing the chance of large ice crystals forming that can ruin texture. Always make sure your milk, cream, and other liquids are chilled before combining. If you’re adding eggs or other ingredients, verify they’re cold too, to maintain a consistent temperature. This step minimizes temperature fluctuations during freezing, resulting in a velvety, scoopable ice cream. Remember, cold ingredients aren’t just about safety—they’re key to achieving that perfect, professional-quality texture you’re after.
Chill in Freezer
After verifying your base is cold before mixing, it’s time to give it a thorough chill in the freezer. Proper freezer organization and temperature regulation are key to this step. Place your bowl on a flat, stable surface, and cover it tightly to prevent ice crystals. Keep your freezer at 0°F (-18°C) for consistent chilling. Imagine this scene:
| Freezer Zone | Temperature Control | Organization Tip |
|---|---|---|
| Top Shelf | Slightly warmer | Store ingredients here |
| Middle Shelf | Ideal for chilling | Keep your base flat |
| Bottom Drawer | Coldest | Store frozen treats |
| Door Shelf | Warmest | Avoid chilling here |
| Freezer Wall | Consistent temperature | Use bins for organization |
This setup ensures your base chills evenly, making your ice cream irresistibly smooth. Additionally, maintaining proper temperature control throughout the freezing process helps achieve the best texture. Incorporating organized storage can help monitor and maintain consistent temperatures, preventing uneven freezing. Implementing temperature monitoring devices can further improve your freezing consistency.
Wait Before Freezing
Before placing your mixture in the freezer, make sure it’s thoroughly chilled. This step is vital for smooth, creamy ice cream. After ingredient sourcing, guarantee your base is cold—ideally, refrigerate it for at least two hours or overnight. A well-chilled base reduces the strain on your freezer’s temperature, helping it freeze evenly and quickly. Keep your freezer at the ideal temperature, around 0°F (-18°C), to prevent ice crystals from forming. Rushing to freeze warm mixture can lead to a grainy texture. By waiting until your base is cold, you give your ingredients time to meld and develop flavor, resulting in a richer, more indulgent final product. Properly temperature-controlled freezing ensures your ice cream remains creamy and delicious. Additionally, understanding engine tuning principles can help you optimize your equipment for better performance, much like tuning a vehicle for the best results. Ensuring your freezer maintains a consistent temperature is also crucial for avoiding ice crystal formation, which can ruin the texture of your ice cream, especially with the help of advanced robotics in manufacturing equipment. Regularly monitoring your freezer’s performance can further prevent temperature fluctuations, ensuring your homemade ice cream stays perfectly smooth.

Cook's, Natural Vanilla Bean Paste, Gourmet Grade A Madagascar Premium Vanilla Made with Fresh Vanilla Beans for Baking and Cooking, 16 oz
Natural Vanilla Bean Paste (Puree) contains all of the flavor punch of Natural vanilla extract, with the authentic…
As an affiliate, we earn on qualifying purchases.
As an affiliate, we earn on qualifying purchases.
Incorporate Stabilizers or Gums for Creaminess
Adding stabilizers or gums to your homemade ice cream can substantially enhance its creaminess and texture. Stabilizer benefits include preventing ice crystal formation, which keeps your ice cream smooth and scoopable for longer. Common gum types, such as xanthan gum, guar gum, and carrageenan, are popular choices because they help thicken the mixture without altering flavor. These gums improve mouthfeel and give your ice cream a richer, more professional finish. When used in small amounts, they won’t overpower your recipe but will make a noticeable difference in texture. Incorporating stabilizers or gums is a simple step that ensures your homemade ice cream is irresistibly creamy and consistently delightful, impressing friends and family with every scoop.

Amazon Grocery, Heavy Whipping Cream, Ultra-Pasteurized, 32 Fl Oz
One 32 fluid ounce carton of Heavy Whipping Cream, Ultra-Pasteurized
As an affiliate, we earn on qualifying purchases.
As an affiliate, we earn on qualifying purchases.
Don’t Overmix During Freezing to Avoid Ice Crystals
To keep your homemade ice cream smooth and scoopable, it’s important not to overmix during the freezing process. Overmixing introduces too much air circulation, which can cause ice crystals to form and make your ice cream gritty. To prevent this, stop mixing once the mixture reaches a thick, soft-serve consistency. Maintaining proper temperature control is vital; keep your freezer at around 0°F (-18°C) and avoid opening it frequently. Stirring too much during freezing can also lead to uneven consistency. Use the table below to visualize key ideas:
| Action | Effect | Tip |
|---|---|---|
| Overmix during freezing | Large ice crystals form | Mix just until thickened |
| Proper temperature | Prevents large crystals | Keep freezer at 0°F (-18°C) |
| Limited air circulation | Smoother texture | Minimize opening freezer door |
| Consistent stirring | Ensures even freezing | Stir gently and at intervals |
Additionally, understanding the role of compatibility in relationships can help you better appreciate the importance of balanced interaction during the freezing process. Recognizing the importance of proper technique can significantly improve your homemade ice cream results. Developing a consistent routine can also help maintain quality and texture over time, ensuring your ice cream remains delicious and enjoyable. Incorporating tuning techniques from different Mazda models can serve as a metaphor for fine-tuning your approach to perfect ice cream.
Add Mix-Ins at the Right Time for Even Distribution
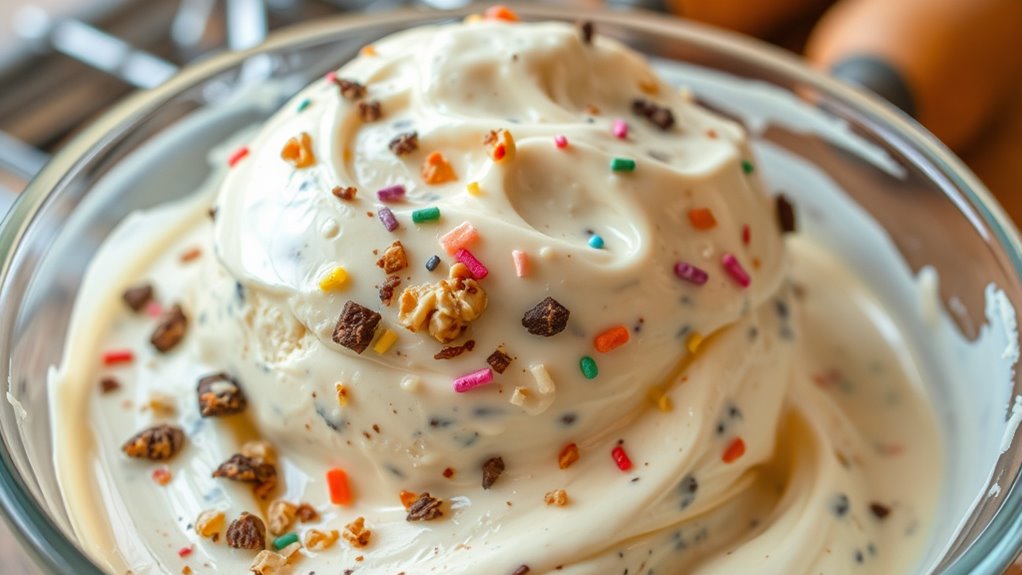
Timing your mix-ins is key to achieving even distribution in your ice cream. Add them near the end of churning, and stir gently to prevent breaking up the texture. This way, every scoop has a perfect balance of flavors and textures. For best results, consider the ingredients’ properties, such as their size and moisture content, to determine the optimal moment for incorporation. Being mindful of storage and shelf life can also help maintain the quality of your mix-ins and overall ice cream. Additionally, understanding the global intelligence landscape can inspire creative ideas for unique flavor combinations and presentation.
Timing Matters for Mix-Ins
For the best results, you should add your mix-ins at the right moment during the freezing process. This guarantees proper mix in timing and peak flavor blending. Typically, add sturdy ingredients like chocolate chips or nuts when your ice cream is halfway frozen. For softer mix-ins like fruit pieces or candy, wait until the ice cream reaches a thicker, almost-frozen consistency. Timing is key to prevent sinking or uneven distribution. Use this guide to decide when to add different mix-ins:
| Mix-In Type | Best Timing |
|---|---|
| Chocolate chips | Halfway through freezing |
| Fruit pieces | When mixture is thickened |
| Nuts | When ice cream is almost frozen |
| Candy pieces | When ice cream holds shape |
Stir Gently for Evenness
Once you’ve determined the right moment to add your mix-ins, gently stirring them into the ice cream helps guarantee even distribution. Use careful mixing techniques to avoid breaking the texture or overmixing, which can make your ice cream icy. Choose the right utensil—preferably a rubber spatula or a wooden spoon—that allows you to fold and incorporate ingredients smoothly. Stir slowly and evenly, making sure to reach the edges of the container. This gentle approach prevents the mix-ins from sinking or clumping together. Remember, the goal is to distribute flavors and textures uniformly without compromising the creaminess. Taking your time and using proper utensil choices will ensure every scoop is just as deliciously balanced as the last.
Use an Ice Cream Maker for Consistent Texture

Using an ice cream maker guarantees your homemade ice cream achieves a smooth, consistent texture every time. It actively controls ice crystal formation, which is key to ice cream texture. By churning the mixture continuously, the maker prevents large ice crystals from forming, resulting in a creamier, more desirable consistency. This process promotes even freezing and incorporates air, giving your ice cream a light, fluffy feel. Without an ice cream maker, your mixture may freeze unevenly, creating a gritty or icy texture. Investing in one simplifies achieving that professional-quality finish. Plus, it saves you from the frustration of inconsistent results. With regular use, you’ll notice your homemade ice cream consistently has a rich, velvety texture that rivals store-bought varieties.
Experiment With Flavor Enhancers Like Extracts and Zests
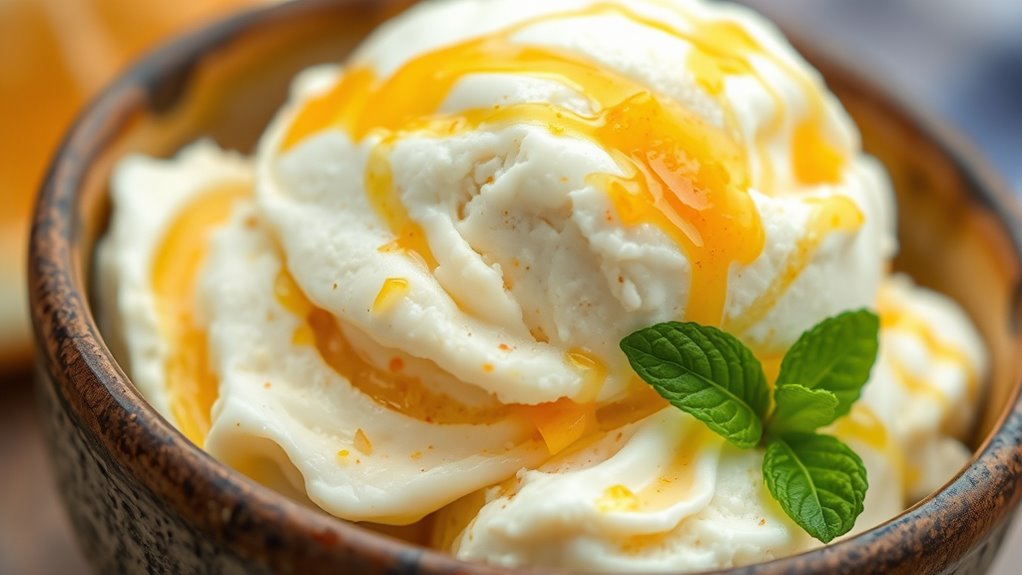
Adding vanilla extract can enhance the overall flavor and create a rich, inviting aroma. Citrus zests introduce bright, fresh notes that elevate simple ice cream bases. Don’t be afraid to combine different extracts and zests to craft unique, memorable flavors.
Boost With Vanilla Extract
Enhancing your homemade ice cream with vanilla extract can elevate its flavor and add a warm, inviting aroma. Using vanilla essence provides a simple yet effective flavor boost that makes your ice cream taste richer and more complex. A few drops of high-quality vanilla extract can transform a basic base into a decadent treat, giving it depth and a subtle sweetness. Be careful not to overdo it; start with a teaspoon and taste as you go. The vanilla essence complements other ingredients and enhances the overall flavor profile. This small addition makes a noticeable difference, giving your ice cream that professional, homemade touch friends won’t believe. Experimenting with vanilla extract is an easy way to elevate your ice cream game.
Citrus Zest Enhancements
Incorporating citrus zest into your homemade ice cream instantly brightens its flavor and adds a fresh, tangy note. The citrus aroma enhances the overall sensory experience, making each bite lively. Adjusting zest intensity allows you to control how pronounced the citrus flavor is—less zest for subtlety, more for a bold punch. Here’s a helpful guide:
| Zest Amount | Citrus Aroma Strength | Zest Intensity Effect |
|---|---|---|
| 1 tsp | Mild | Light citrus hint |
| 2 tbsp | Moderate | Noticeable citrus burst |
| ¼ cup | Strong | Intense citrus flavor |
Use lemon, lime, or orange zest to tailor your ice cream’s brightness. Experiment to find the perfect balance that excites your palate.
Unique Flavor Combinations
Experimenting with flavor enhancers like extracts and zests opens up endless possibilities for creating unique ice cream combinations. You can elevate classic flavors or craft entirely new ones by mixing in unexpected ingredients. Explore unique flavor pairings such as lavender and honey or basil and lemon to surprise your taste buds. Unconventional ingredient ideas like espresso, cardamom, or even balsamic vinegar can add depth and complexity. Use extracts sparingly to intensify flavors without overpowering the base, and add zests for bright, fresh notes. Combining these elements allows you to develop signature flavors that stand out. Don’t be afraid to experiment—sometimes the most memorable ice creams come from bold, creative pairings. Your friends won’t believe it’s homemade when you serve these inventive, irresistible flavors.
Serve at the Correct Temperature for Optimal Taste and Texture
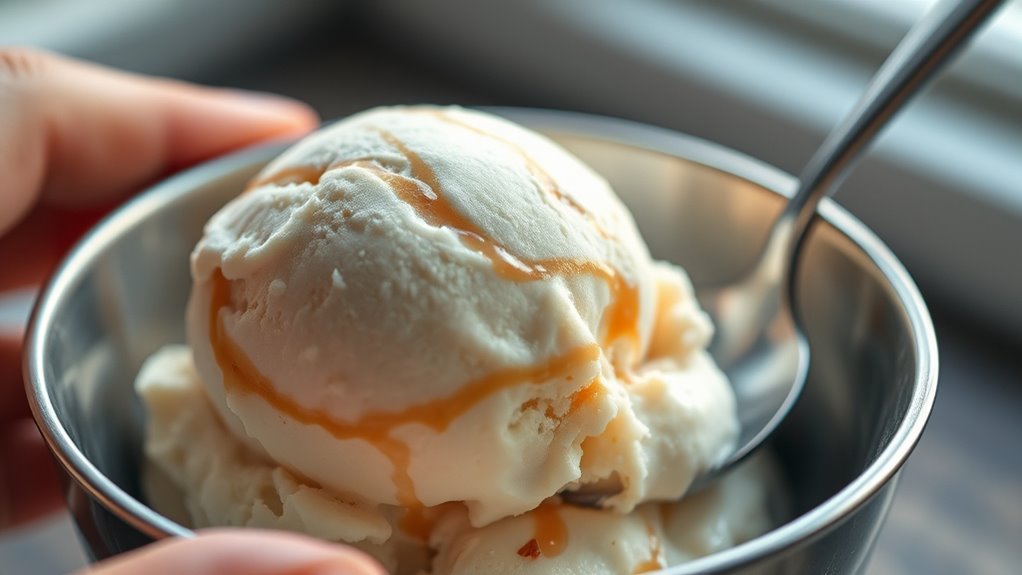
To enjoy the best flavor and texture from your homemade ice cream, it’s important to serve it at the right temperature. The ideal serving temperature for ice cream is just below freezing, around 6-10°F. If you serve it too cold, the ice cream becomes hard and difficult to scoop, which can dull its ice cream texture. Conversely, if it’s too warm, it melts quickly, losing its firmness and flavor. To achieve the perfect balance, let your ice cream sit at room temperature for 5-10 minutes before serving. This allows it to soften slightly, enhancing its creaminess and flavor. Proper serving temperature ensures your ice cream maintains a smooth, luscious texture and delivers maximum taste with every spoonful.
Store Properly to Maintain Freshness and Creaminess
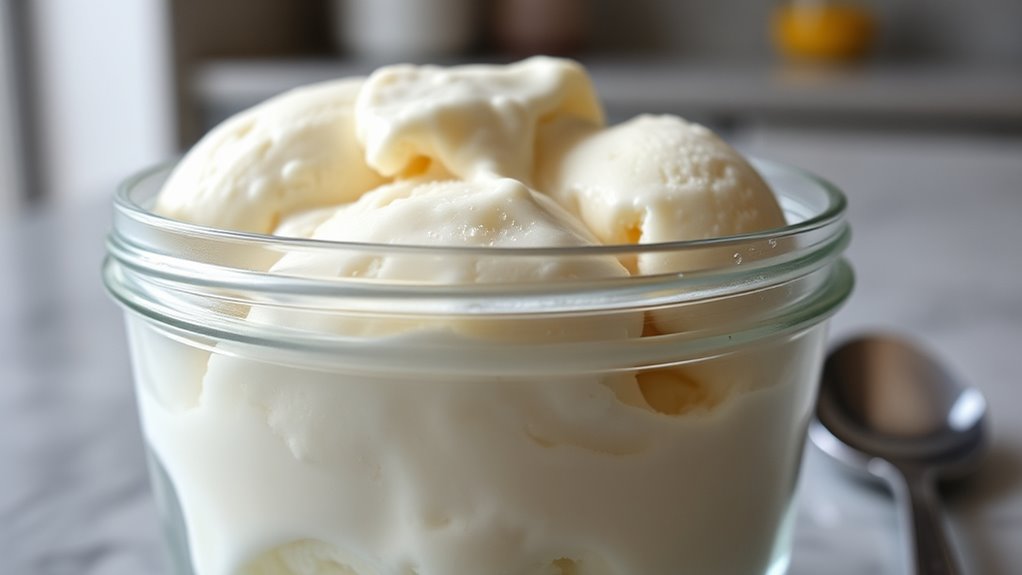
Proper storage is essential to keep your homemade ice cream fresh and creamy for as long as possible. Start by organizing your freezer to guarantee the ice cream stays at a consistent temperature, which helps preserve its texture. Use a dedicated container with an airtight lid to prevent freezer burn and moisture loss. Keep your ice cream towards the back of the freezer, where the temperature is most stable, and avoid frequent opening that causes temperature fluctuations. Label your containers with the date you made them so you can enjoy the oldest batches first. Proper freezer organization not only maintains freshness but also makes it easier to access your homemade treat whenever craving strikes. With these tips, your ice cream stays delicious, creamy, and ready to enjoy anytime.
Practice Patience and Tweak Recipes to Perfect Your Technique
Achieving perfect homemade ice cream requires patience as you refine your techniques and adjust recipes based on your results. Patience cultivation is key—you might need to try multiple times to get the texture, sweetness, and flavor just right. Don’t be discouraged by initial setbacks; each batch teaches you something new. Tweak your recipes gradually, noting how small changes affect the final product. For example, adjusting sugar levels or chilling times can markedly improve creaminess. Remember, perfection comes from persistent recipe refinement and a willingness to experiment. Over time, your skills will sharpen, and your ice cream will reach a level that impresses everyone. Practice patience consistently, and you’ll develop a foolproof method for irresistibly creamy, homemade ice cream.
Frequently Asked Questions
Can I Make Dairy-Free or Vegan Ice Cream at Home?
Absolutely, you can make dairy-free or vegan ice cream at home! Use dairy-free options like coconut milk, almond milk, or cashew cream as your base. These ingredients create rich, creamy textures perfect for vegan ice cream. Experiment with flavors and add-ins, and freeze your mixture. With a blender or ice cream maker, you’ll have delicious, homemade vegan ice cream that everyone will love, no dairy required!
What Are Some Natural Sweetener Alternatives for Healthier Ice Cream?
Imagine adding a gentle touch of nature’s sweetness to your homemade ice cream. You can explore natural sweetener options like honey, maple syrup, agave nectar, or coconut sugar to create healthier sugar substitutes. These options bring rich flavors and diminish refined sugar intake, making your ice cream not only delicious but also better for your health. Experimenting with these natural alternatives guarantees your treat is both satisfying and nourishing.
How Do I Prevent Ice Cream From Becoming Too Hard or Icy?
To prevent your ice cream from becoming too hard or icy, focus on improving the ice cream texture through proper freezing techniques. Make sure to churn the mixture well to incorporate air, which creates a smoother consistency. Also, add a small amount of alcohol or natural sweeteners like honey, which lower the freezing point. Store your ice cream in an airtight container, and avoid over-freezing to keep it creamy and enjoyable.
Are There Tips for Making Low-Fat or Reduced-Calorie Ice Cream?
You can make low-fat or reduced-calorie ice cream by swapping in low fat alternatives like skim milk or Greek yogurt, which add creaminess without extra fat. Using natural sweeteners or reducing sugar helps create reduced calorie options. Incorporate fruit purees or flavor extracts to enhance taste without adding calories. Churning slowly prevents ice crystals, ensuring a smooth texture that everyone will love, even with healthier ingredients.
How Can I Customize Recipes for Allergies or Specific Dietary Needs?
When customizing ice cream recipes for allergies or dietary needs, you can use ingredient substitutions to make allergy-friendly options. Swap dairy milk with plant-based alternatives like almond or oat milk, and replace eggs with mashed bananas or applesauce. Always check labels for potential allergens and experiment with safe ingredients to find the best flavor and texture. This way, everyone can enjoy your homemade ice cream without worries.
Conclusion
With these tips, your homemade ice cream will be irresistibly smooth and bursting with flavor. Picture spoonfuls melting on your tongue, rich and creamy like a scoop from a boutique shop. As you perfect your technique, each batch becomes a treasure—cool, velvety, and truly your own. So grab your ingredients, get creative, and enjoy the sweet reward of ice cream that’s so good, your friends won’t believe it’s homemade.